
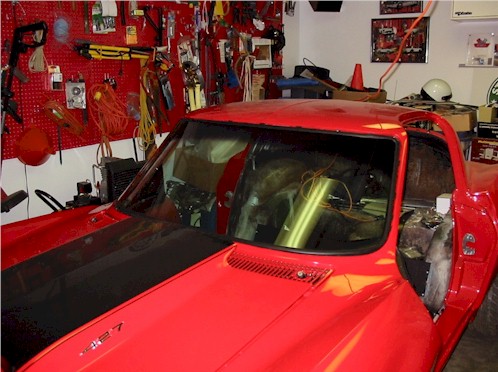
After using the wrong sealant during the first installation attempt; then waiting weeks and weeks for a backordered replacement windshield weatherstrip (gasket) -- ruined the first new one; we finally got the new windshield installed today.
The windshield fits well and looks beautiful!
Thanks to Fuelie and my good neighbour Doug.....and it really is best done with three people.
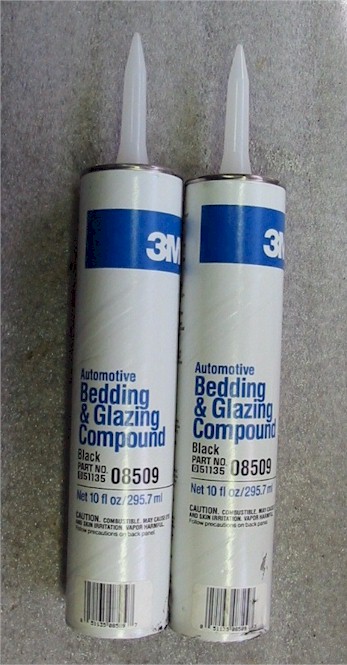
And, here is the correct sealant........one tube should do.
The way we did it (not saying this is the only way) -
1. Lay a bead of sealant inside the gasket slit where the glass sits.
2. Install the gasket to the windshield.
3. Lay a narrow bead of sealant at the base of the trough all around the windshield frame.
4. Insert the pull-cord around the circumference of the inner lip of the gasket leaving about 10 extra inches at each end where they meet (bottom center). Tape the ends up the windshield out of the way for the moment.
5. Spray Pam (yes, Pam) onto a rag and wipe it on the outside of the gasket's "inner" lip -- the area that will rest against the window frame when the windshield is first laid in place on the car.
6. Lay the windshield in the frame (bottom first).
7. With one person at each corner (outside the car) begin pressing the glass in place (use palms/open hands to spread out the pressure on the glass) working the two upper corners up and in. One person (inside the car) begins pulling the cord from the bottom center outwards -- this pulls the gasket lip over the frame (metal ledge) into the car. Slowly work around the glass (about one foot on one side; then one foot on the other; etc.) until the entire lip is inside. The guys outside continue pushing the glass into the upper corners while ensuring that the pulling of the cord does not slip the gasket too far "inside".
8. Make final adjustments and clean up with lacquer thinners followed by glass cleaner -- careful of the paint!!!!
Definitely works well with three people.
Thanks very much for the help you two!!
The windshield fits well and looks beautiful!
Thanks to Fuelie and my good neighbour Doug.....and it really is best done with three people.
And, here is the correct sealant........one tube should do.
The way we did it (not saying this is the only way) -
1. Lay a bead of sealant inside the gasket slit where the glass sits.
2. Install the gasket to the windshield.
3. Lay a narrow bead of sealant at the base of the trough all around the windshield frame.
4. Insert the pull-cord around the circumference of the inner lip of the gasket leaving about 10 extra inches at each end where they meet (bottom center). Tape the ends up the windshield out of the way for the moment.
5. Spray Pam (yes, Pam) onto a rag and wipe it on the outside of the gasket's "inner" lip -- the area that will rest against the window frame when the windshield is first laid in place on the car.
6. Lay the windshield in the frame (bottom first).
7. With one person at each corner (outside the car) begin pressing the glass in place (use palms/open hands to spread out the pressure on the glass) working the two upper corners up and in. One person (inside the car) begins pulling the cord from the bottom center outwards -- this pulls the gasket lip over the frame (metal ledge) into the car. Slowly work around the glass (about one foot on one side; then one foot on the other; etc.) until the entire lip is inside. The guys outside continue pushing the glass into the upper corners while ensuring that the pulling of the cord does not slip the gasket too far "inside".
8. Make final adjustments and clean up with lacquer thinners followed by glass cleaner -- careful of the paint!!!!
Definitely works well with three people.
Thanks very much for the help you two!!

")


