the diff LH / RH output seals are also an issue . What is the correct part number for those seals, any tricks other than what the service manual shows?
Thanks again for your help, I really appreciate your knowledge.
Joe
Hi there,
Now your really opening up a can of details. First off, the seals that you are talking about are 2, the oring that goes around the entire circumference of the side cover and the axle shaft seal itself. Now, do NOT, I REPEAT, DO NOT use the procedure in the service manual.
It has been updated with a TSB with a revised procedure along with special sealant to prohibit further leaks.
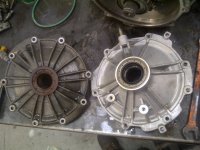
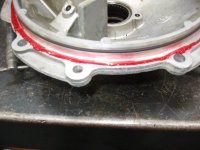
The first pic shows the front of the right side and left side cover and the axle seal respectively.
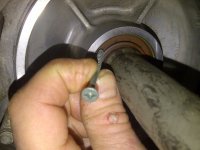
The second pic shows the groove where the oring sits.
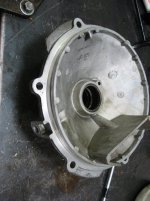
The third pic is the bead of Anerobic flange sealant used on the flange itself. The sealant does NOT TOUCH THE ORING.
Torque specifications in the service manuals are correct and should be used CORRECTLY.
Now, that being said, your final 2 details are CRITICAL TO ACCURATE REPAIR.
#1, usage of the correct fluid, 88862624 DEXRON LS is crutial to a differential that lasts as long as the car can go.
#2, do NOT, repeat DO NOT fill the fluid all the way to the top. Fill the fluid till it is within 1/4 inch of the top of the fill hole when cold. Heat with usage will create expansion that will raise the fluid level. If you do not do this, you WILL get blowout from the vent on top of the differential housing.
Part numbers: Oring 89047953 Axle seal 88996703 Anerobic sealant 1052942
Allthebest, Paul
 Jane Ann
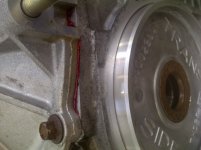

")
")