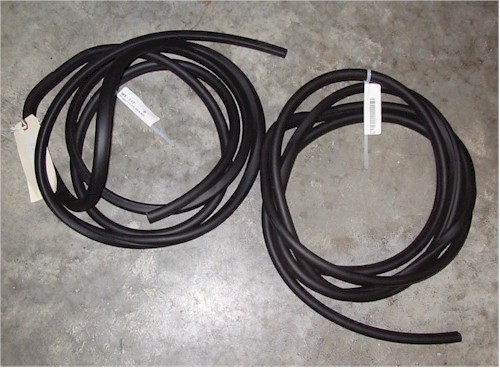
All new weatherstrips have mold-release compound on them, and the adhesive doesn't like that - won't bond securely. Throughly clean the surface on the weatherstrips where you're going to put adhesive with alcohol on a clean rag, several times, before you start, to get the mold release compound off the rubber.
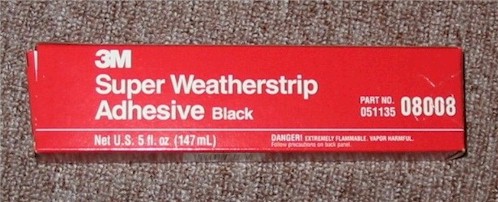
Later cars have plastic "pins" in the weatherstrip that go into holes in the door to locate the w/s, but midyears don't. I'd get LOTS of 3"-long strips of masking tape ready before you start, and do about 12" of w/strip at a time - brush adhesive on the w/strip and on the door (clean the door with alcohol too), let it "tack" up, then apply the w/strip and apply the tape strips to hold it in position. Then move on to the next 12" (do the molded rear upper corner first). Don't close the door - leave it open for about 12 hours so the adhesive sets before you stress the w/strip by closing the door. Go to the hardware store and buy some cheap 1/2" paintbrushes (the ones with the metal tube handles) - you're going to use lots of them. Also get a can of 3M #08984 "General Purpose Adhesive Cleaner" (safe on cured paint) - you'll need it clean up the squeeze-out and drips - nothing else will touch the "yellow snot".
")


")


 ..Damm if it don't look like it.


