firstgear
Well-known member
- Joined
- Oct 11, 2003
- Messages
- 1,895
- Location
- Norwalk, Ohio
- Corvette
- 15 Z06, 01 Vert, 63 SWC & 60 ALL RED
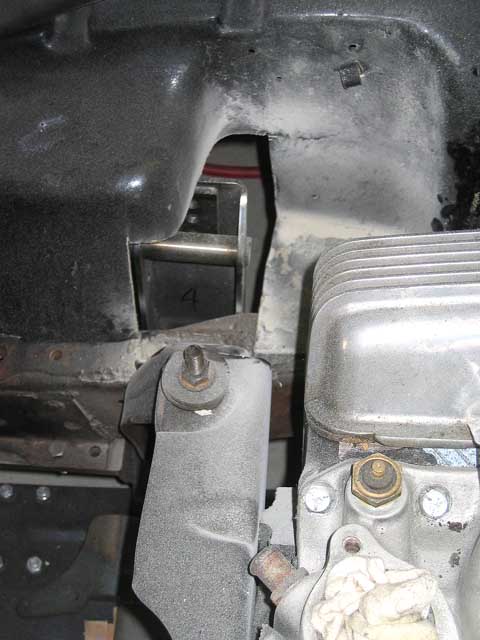
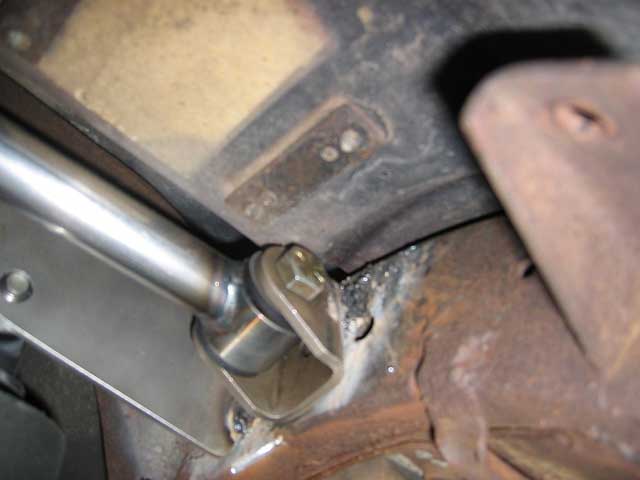
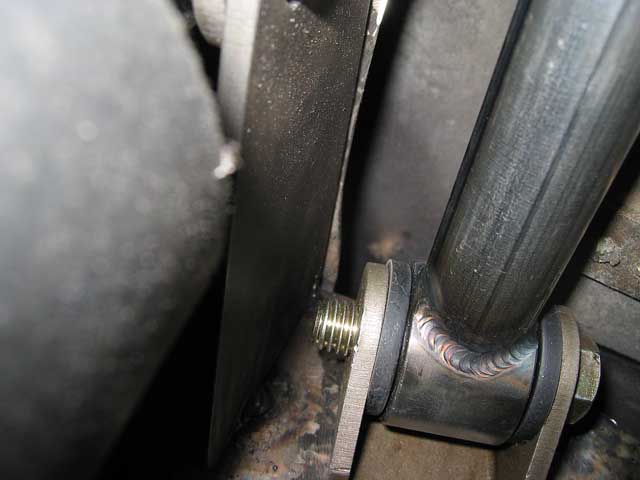
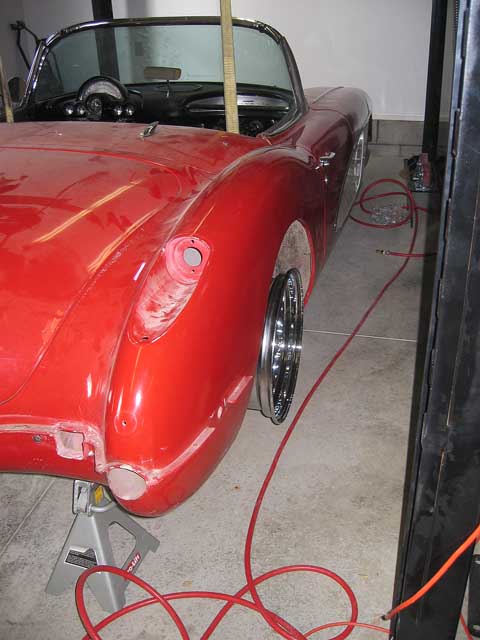
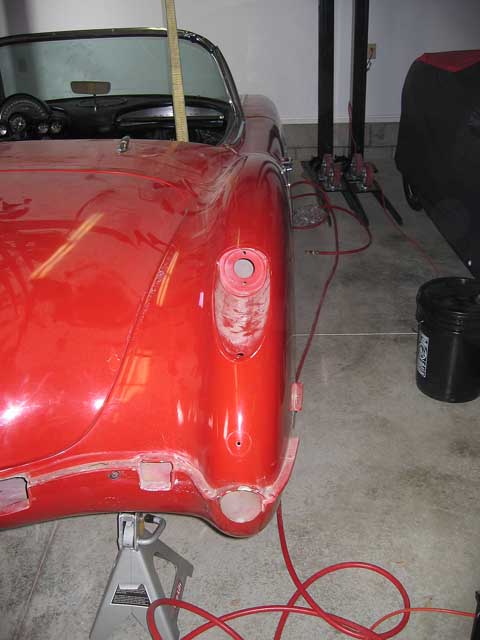
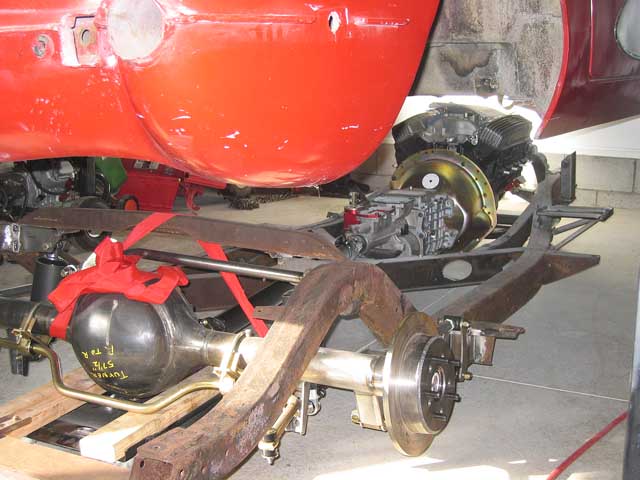
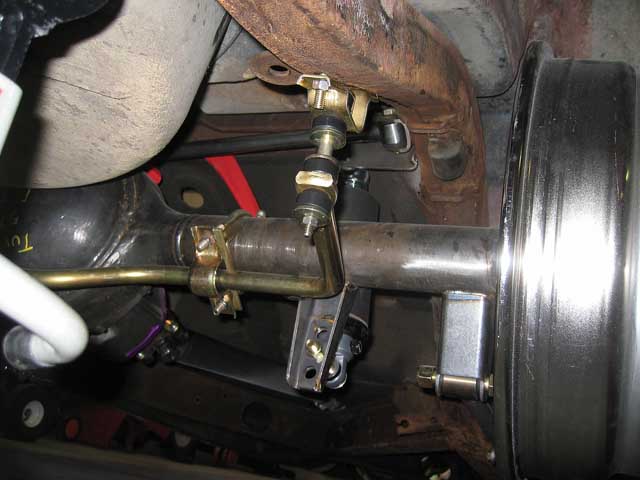
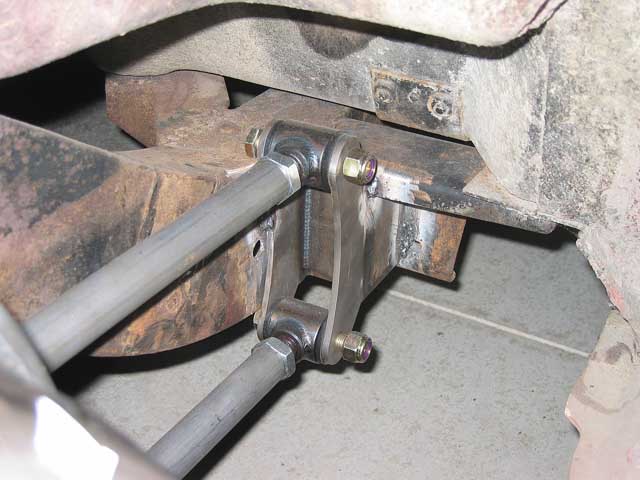
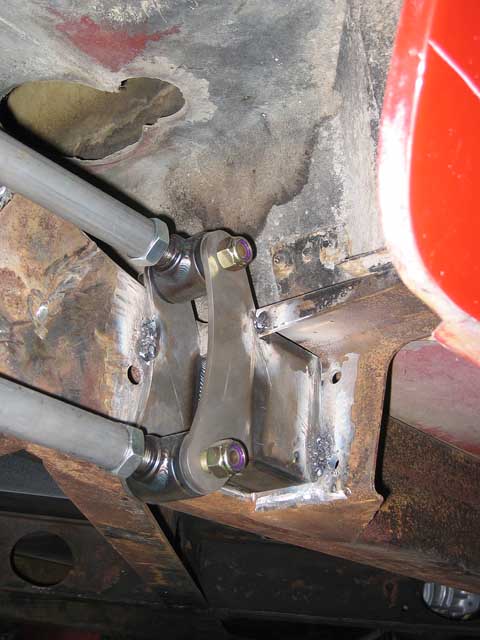
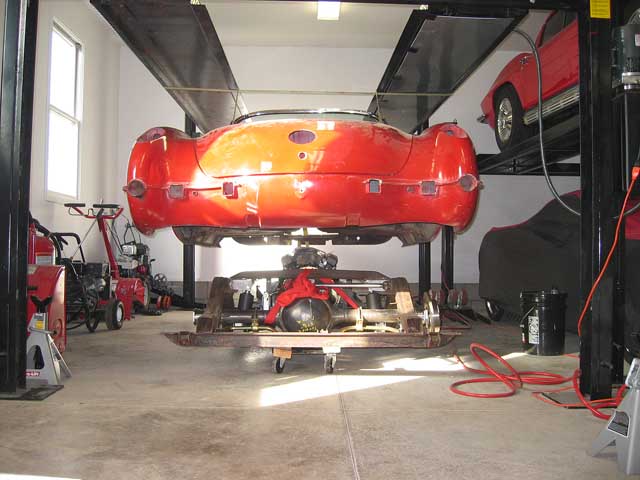
I got the rear sway bar installed today and I was ready to put the body back on to check for clearances as well as see where the rear wheels will be when fully reassembled.
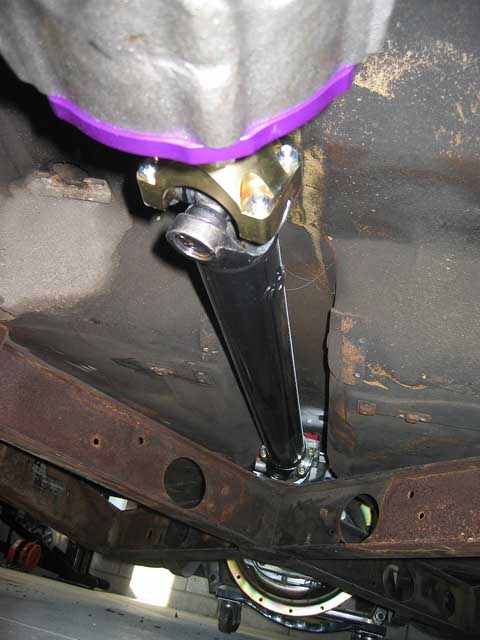
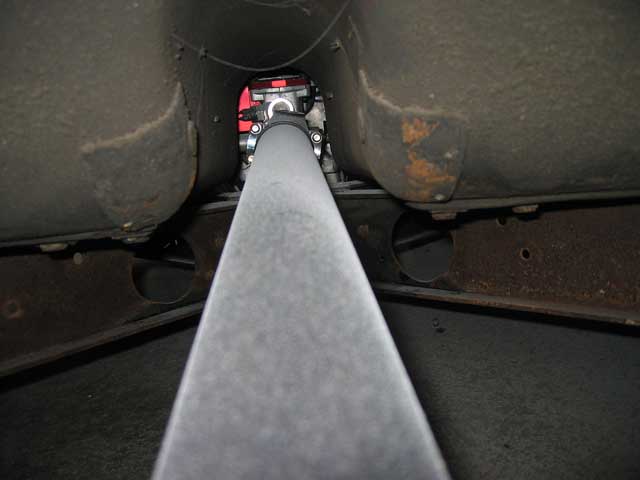
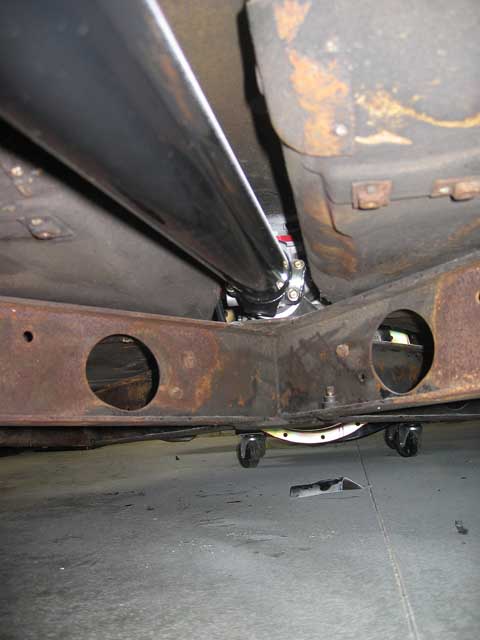
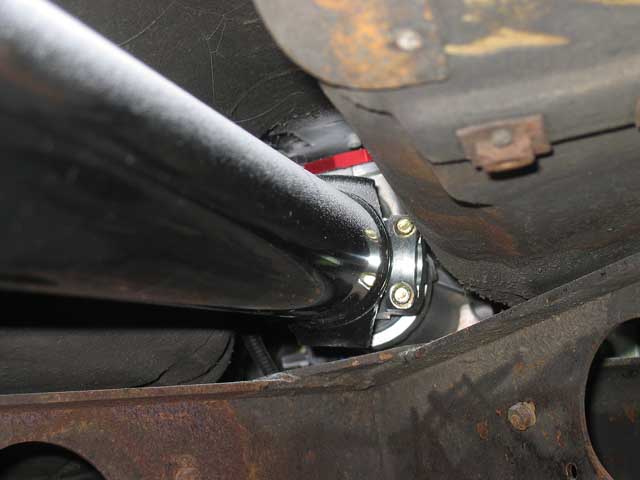
First, I have to tell you I am really impressed with the Classic Chevy 5 Speed Tremce TKO600......wow that fit nicey....with the 1310 yoke there was a ton of clearance in the drive shaft tunnel, I had cut the bottom of the ash tray out as that is what you are supposed to do because the tranny is supposed to hit it...it looked to me that I probably could have gotten away without cutting it. I know some people talked about having the sagging tunnel problem, allI can say is when I looked under the frame, I sure didn't see any of that.....
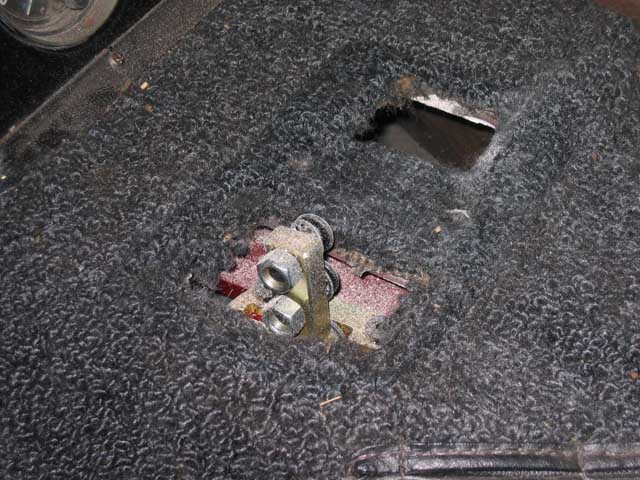
The shifter came right where it was supposed to and the top of the attachment point for the shift handle was prottruding through the shifter hole.
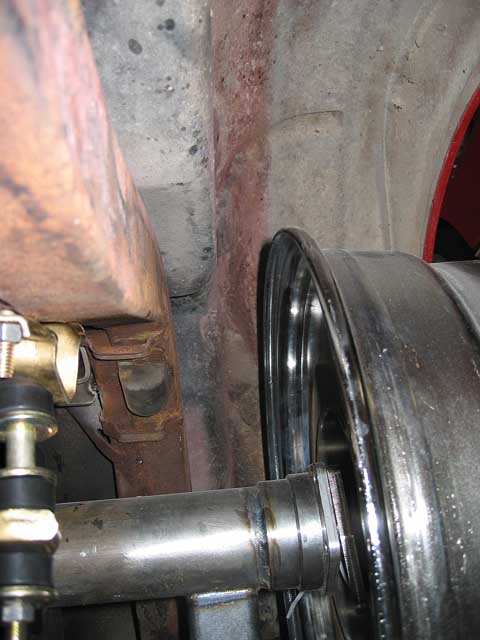
I cut out a couple of the areas around the front suspension, I don't think I cut enough on one side as it looked like the glass in that section was slightly hung up. I figure once I get the complete front end together that I will notch the necessary clearances.
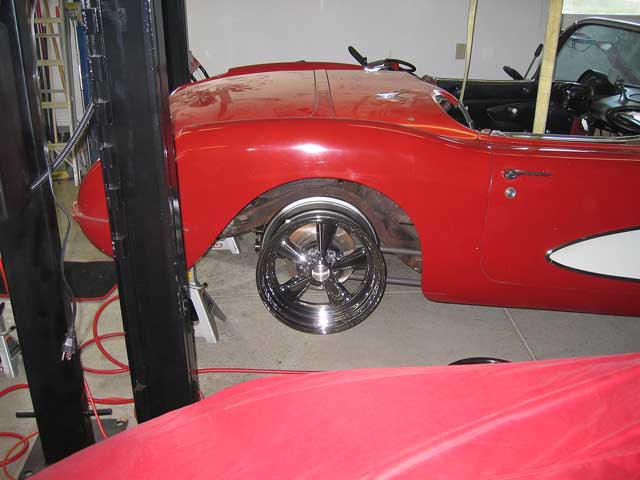
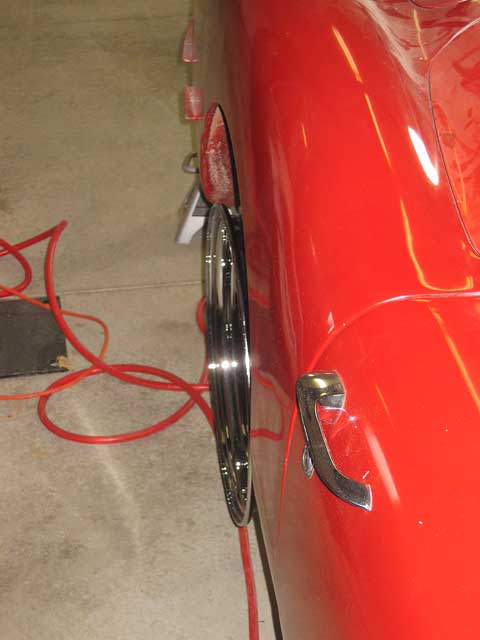
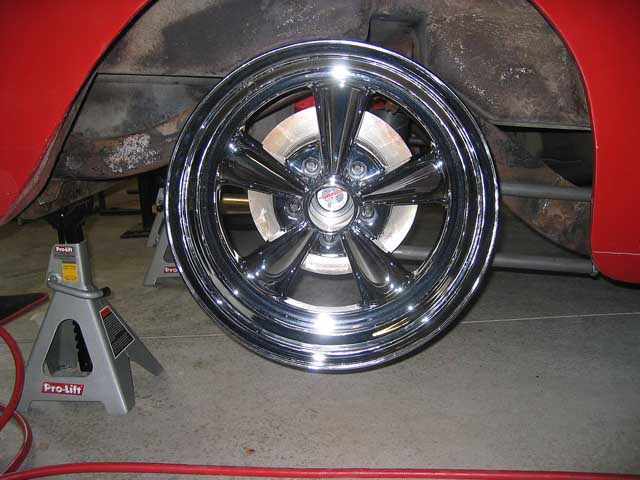
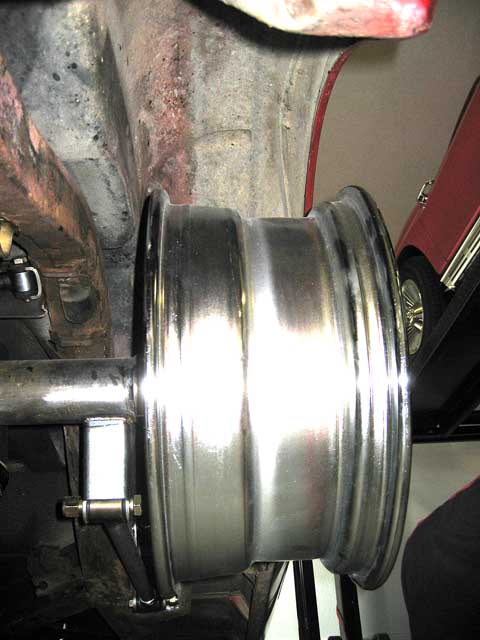
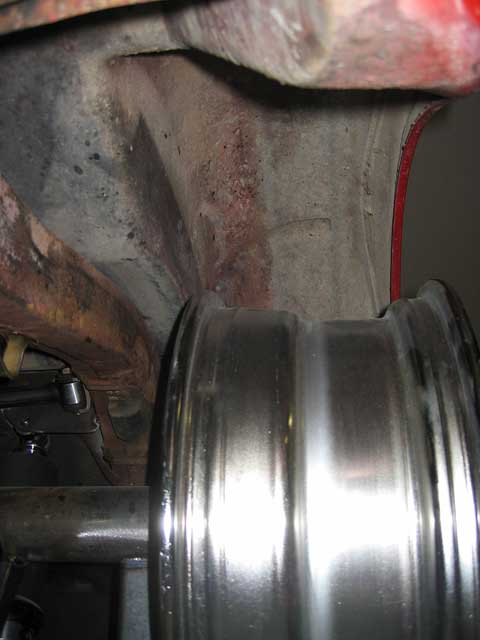
The Cragar 8" wheel with the 3.5" backspace looks like it will be just fine...I would have liked another 1/4-1/2" tucked under the wheel well, but I think everything will look great.....I just don't like it when the wheels stick out beyond the fenders.....
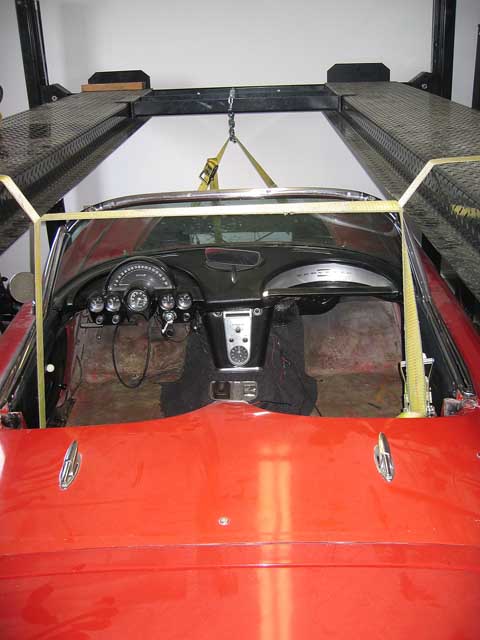
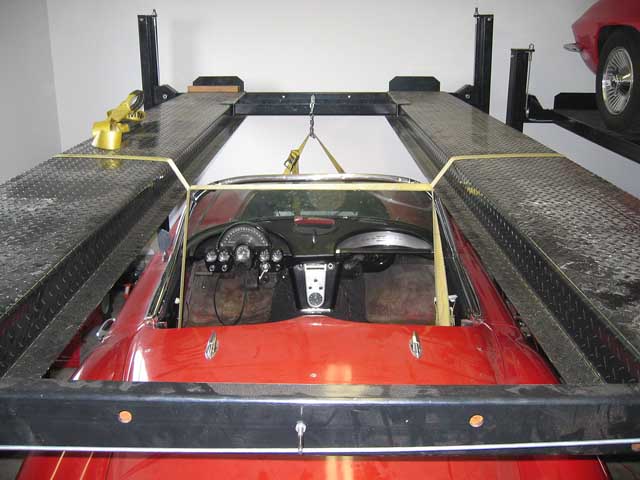
I changed the way I lifted the car this time. I used equal lift strap lengths and attached them to the seat belt points. I also put the radiator frame back in the car and bolted that in. After doing that I attached a couple of hooks with a lift strap and lifted on the radiator frame. No problem, it worked great and the car was equally balanced front to rear as well as left to right.
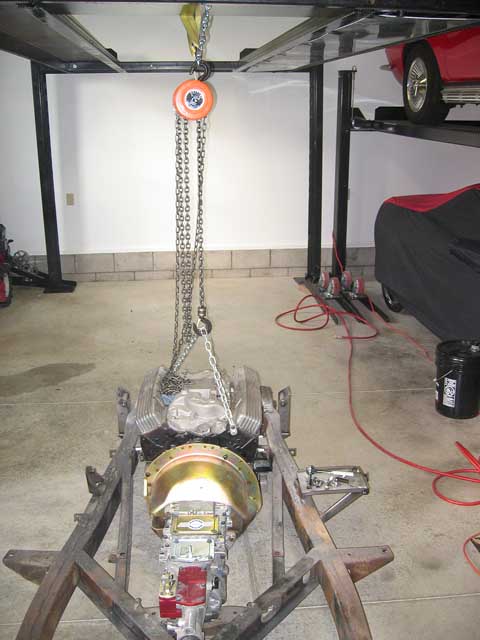
Pulled the body back off, and then proceeded with removing the engine, bell housing and Tremec TKO600. No big deal, used my chain hoist and she lifted right out. I sold the motor mounts including those pieces that are attached to the frame to another Corvette owner. I need to make some templates of where everything goes so that they can get them welded in the right location.
Tomorrow I plan to get the rear end off the frame and get everything ready for final welding. I have decided to take the battery tray off (anyone need a "like new" battery tray?, only reason like new is that it was welded on, but other than that never had a battery in the tray).
I have photos and will add them in when I get home....right now I am at the hospital with Sharon....found a computer so I could keep busy while she does her work....when she is done, then we can scoot.....check back later...more photos to be posted....
Herb
First, I have to tell you I am really impressed with the Classic Chevy 5 Speed Tremce TKO600......wow that fit nicey....with the 1310 yoke there was a ton of clearance in the drive shaft tunnel, I had cut the bottom of the ash tray out as that is what you are supposed to do because the tranny is supposed to hit it...it looked to me that I probably could have gotten away without cutting it. I know some people talked about having the sagging tunnel problem, allI can say is when I looked under the frame, I sure didn't see any of that.....
The shifter came right where it was supposed to and the top of the attachment point for the shift handle was prottruding through the shifter hole.
I cut out a couple of the areas around the front suspension, I don't think I cut enough on one side as it looked like the glass in that section was slightly hung up. I figure once I get the complete front end together that I will notch the necessary clearances.
The Cragar 8" wheel with the 3.5" backspace looks like it will be just fine...I would have liked another 1/4-1/2" tucked under the wheel well, but I think everything will look great.....I just don't like it when the wheels stick out beyond the fenders.....
I changed the way I lifted the car this time. I used equal lift strap lengths and attached them to the seat belt points. I also put the radiator frame back in the car and bolted that in. After doing that I attached a couple of hooks with a lift strap and lifted on the radiator frame. No problem, it worked great and the car was equally balanced front to rear as well as left to right.
Pulled the body back off, and then proceeded with removing the engine, bell housing and Tremec TKO600. No big deal, used my chain hoist and she lifted right out. I sold the motor mounts including those pieces that are attached to the frame to another Corvette owner. I need to make some templates of where everything goes so that they can get them welded in the right location.
Tomorrow I plan to get the rear end off the frame and get everything ready for final welding. I have decided to take the battery tray off (anyone need a "like new" battery tray?, only reason like new is that it was welded on, but other than that never had a battery in the tray).
I have photos and will add them in when I get home....right now I am at the hospital with Sharon....found a computer so I could keep busy while she does her work....when she is done, then we can scoot.....check back later...more photos to be posted....
Herb