IH2LOSE
Well-known member
- Joined
- May 24, 2001
- Messages
- 3,908
- Location
- We Will All Meet Again
- Corvette
- 1966,and a 1962 thats almost complete
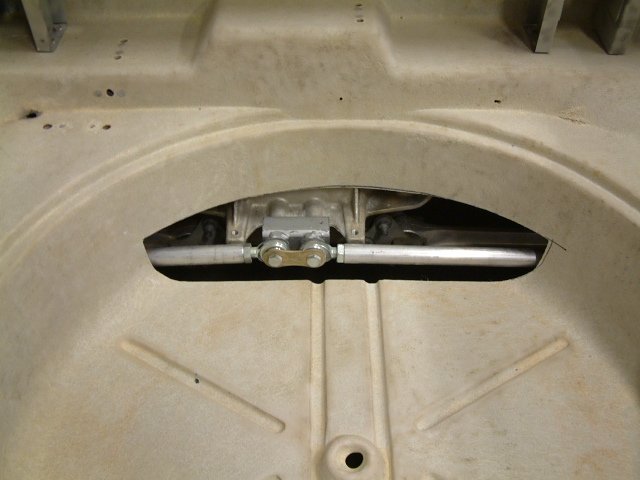
John Mcgraw said:Larry,
Check out these 2 pics from my album. They show the mounting plates that I fabricated.
http://img.villagephotos.com/p/2003-8/339303/P0001057.JPG
http://img.villagephotos.com/p/2003-8/339303/P0000881.JPG
Thanks John
I have seen the pictures a hundred times and never noticed the plates,I purchased some 3/8" aluminum flat bar stock that I polished and was going to sandwitch it also,I think I may drop down to a thinner stock on the bottom of the car.
I also had to install some 3/8" aluminum plates between the mount plates and the floor reinforcements to raise the seat up just a little. I found the the seat adjuster handle was hitting on the little raised hump that the original front mount sat on top of. putting this shim under the tracks, raised it just enough.
John What did you use the bell washers for that came with the seats? Are they supposed to go between the seat tracks and the seat frames? or did you just mount the seat frames to the tracks flush?
Did you just raise the front section of the seat frame to allow the handel to clear the original rib in the floor pan (so the seat had a rake to it) or did you raise the entire seat frame (front and rear to keep it level) I had chose the 3/8 bar stock to raise me up over the rib.
Thanks again