L
Lethal Tendencies
Guest
Follow along with the video below to see how to install our site as a web app on your home screen.
Note: This feature may not be available in some browsers.
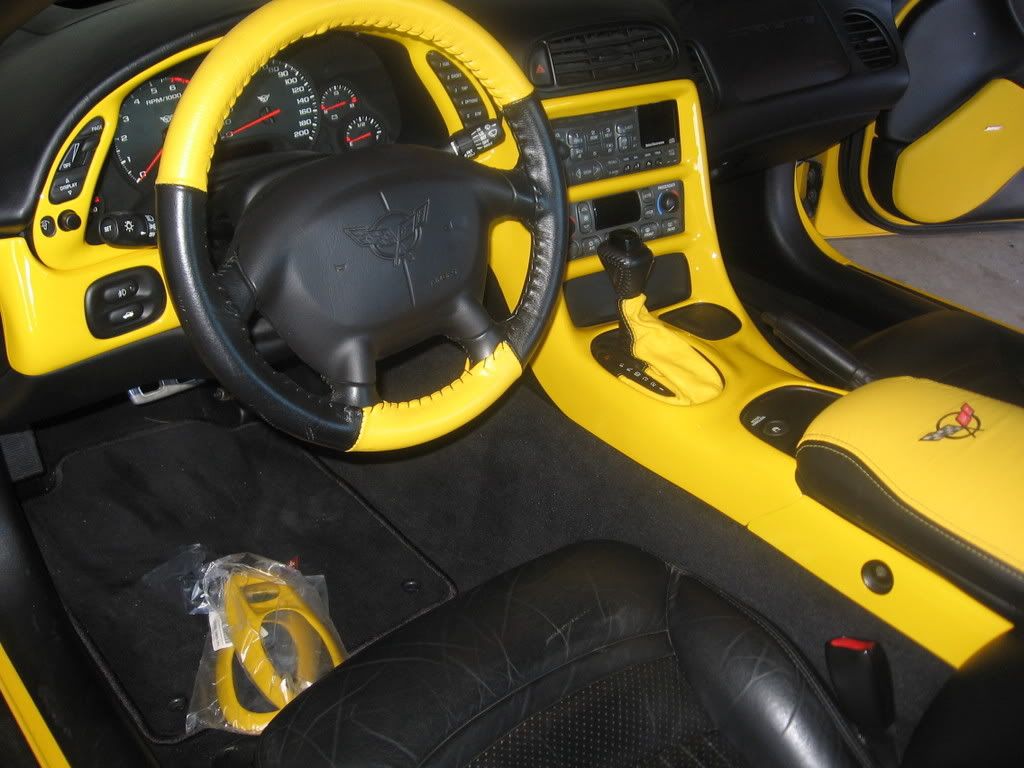
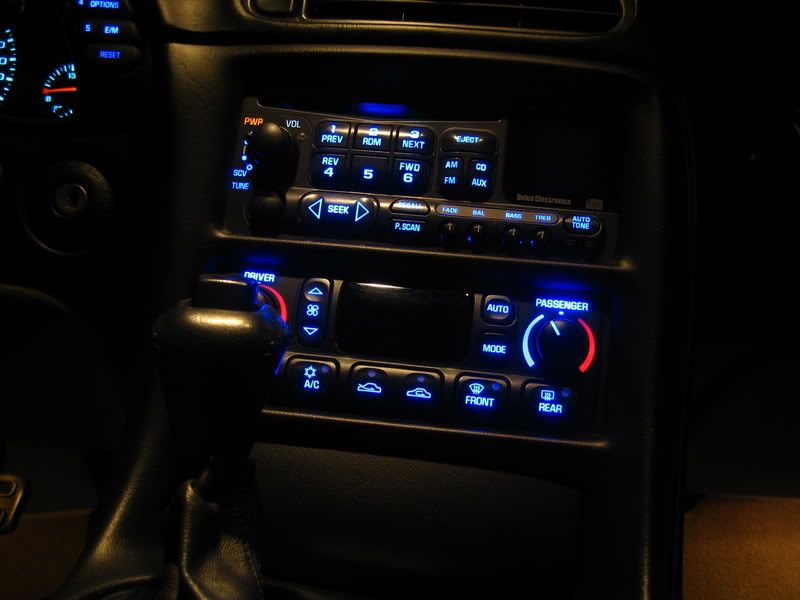
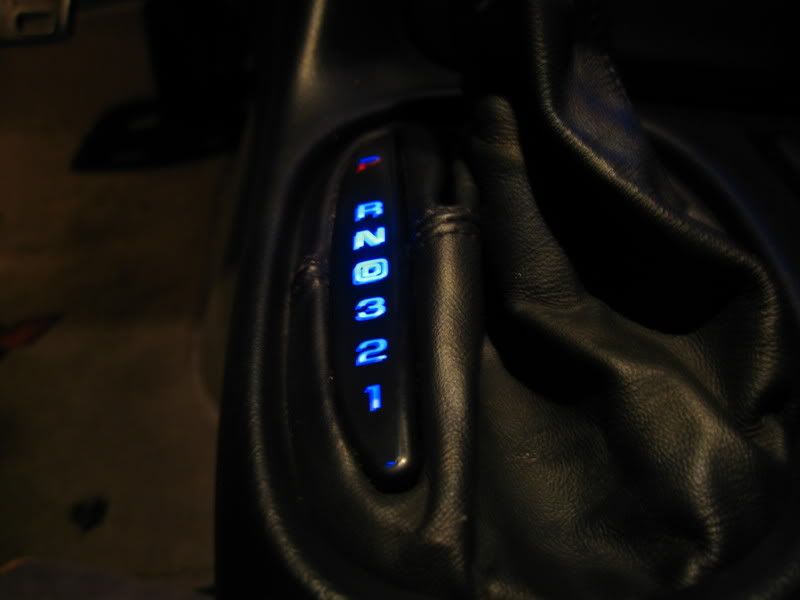
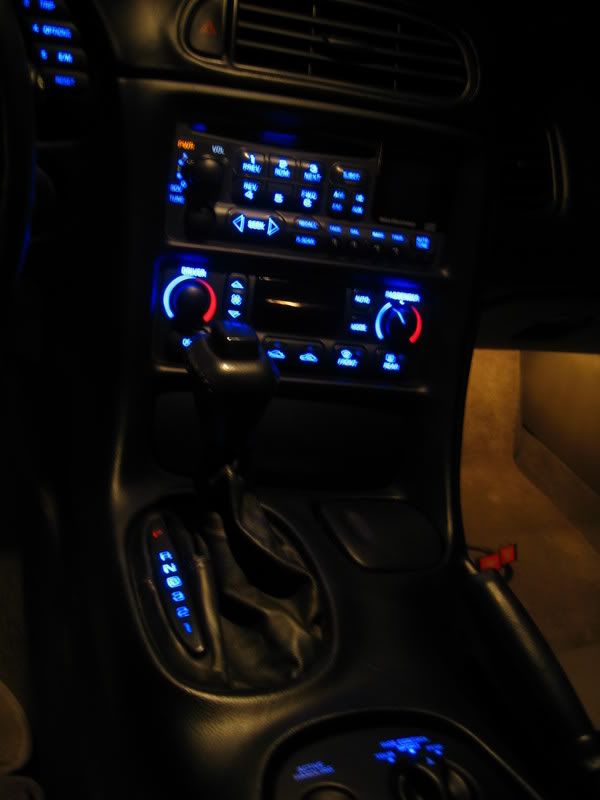
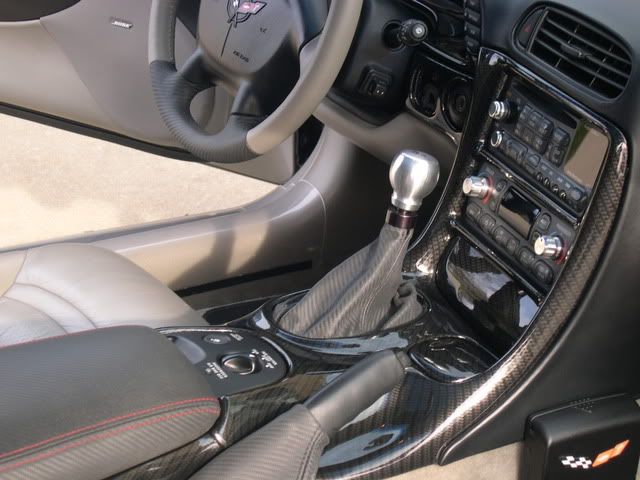
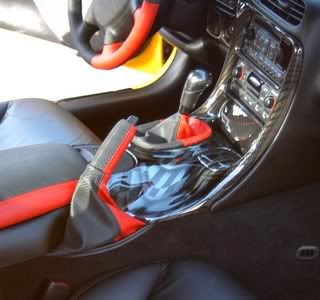
Mine has the wheel, shift boot, center arm rest, & Em brake boot
along with the door arm rests( which are not pictured but very
comfortable) done by Vette Essentials.


Very nice


Just a little interior upgrade by VetteEssentials.....


Dealers:


") ....nice job.
....nice job.