
Sub-title "Lessons from the Trenches" 
During re-assembly of this complete body-off project, I am discovering the truth of the advice I've read over the years.
1. Deal with the old parts as you remove them. Don't just bag and label them as I did. Deal with them. That means clean them up and determine whether they are servicable enough to re-use. If they are not, arrange to find replacements before you find various stages of the re-assembly held up for the want of a single, but important, part.
2. Write down far more that you ever think you will need. In my case, I know where almost everything goes on this car that I've owned for 36 years and have had apart in various ways several times. BUT, what I should have done was written up a ledger of replacement parts required, details of each item, a list of possible sources, the date and/or stage when it will be required, etc.
Now that you've absorbed these few words of wisdom here's some pretty pictures to look at from the latest parts shipment.
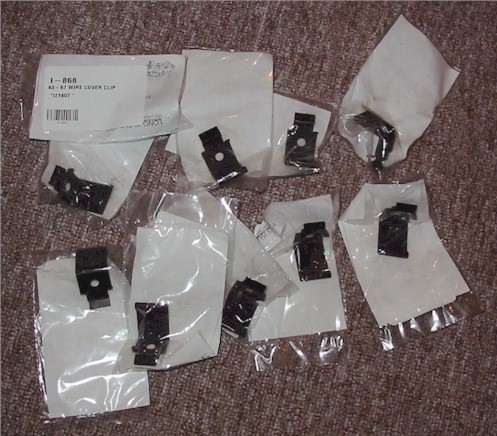
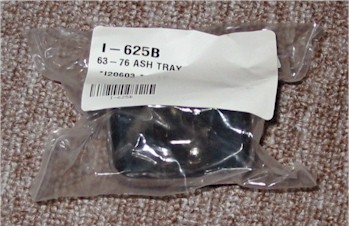
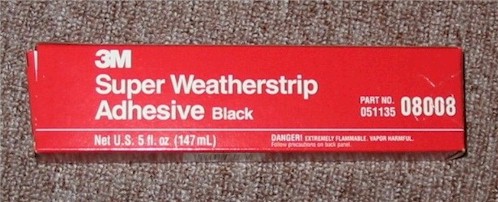
First, from Chapter 24...
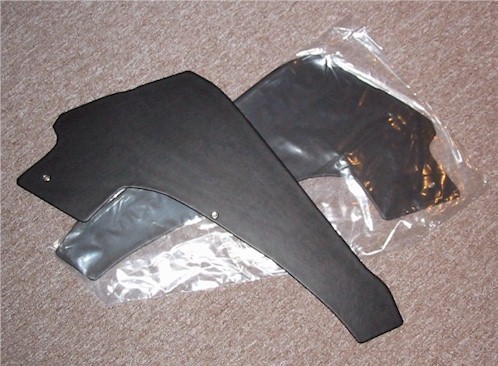
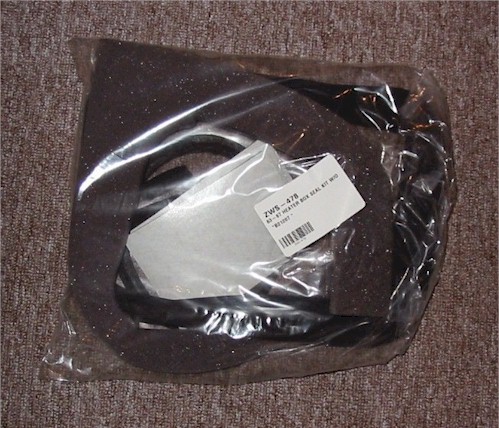
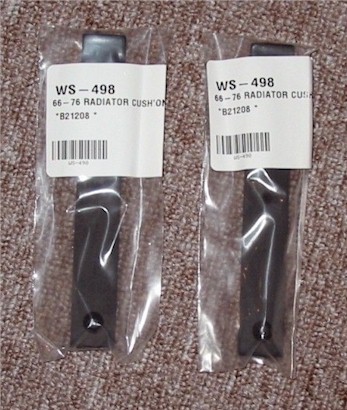
Then, from Chapter 26...
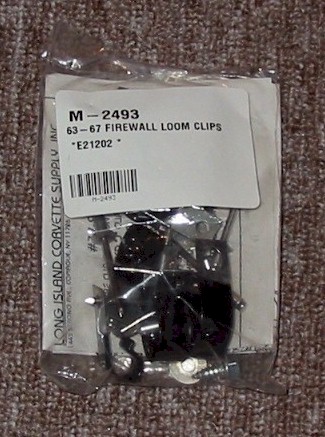
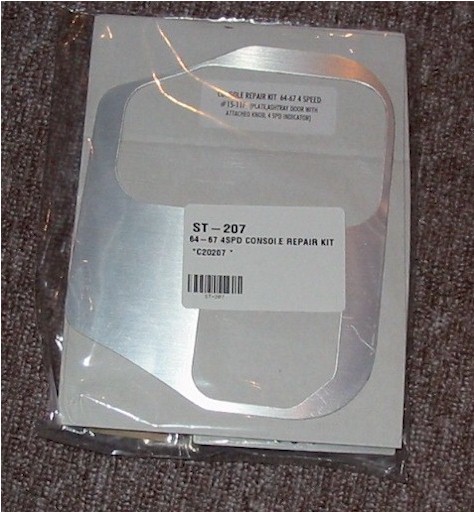
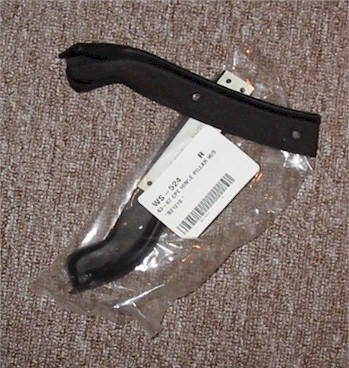
And, from Chapter 27...
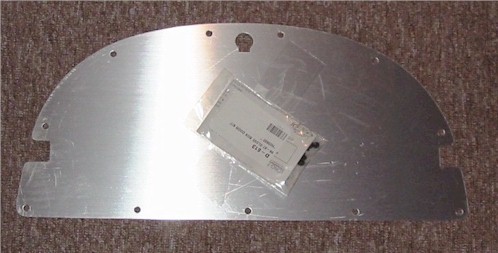
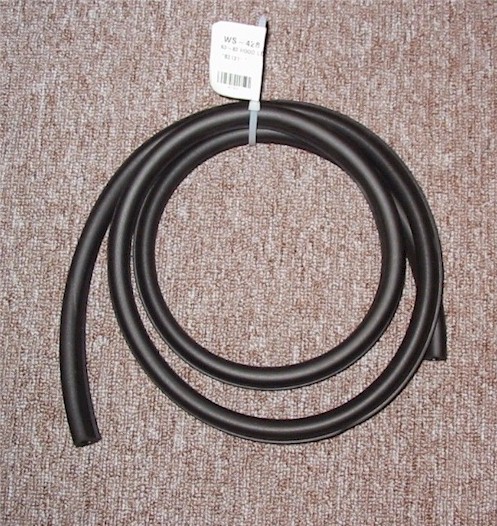
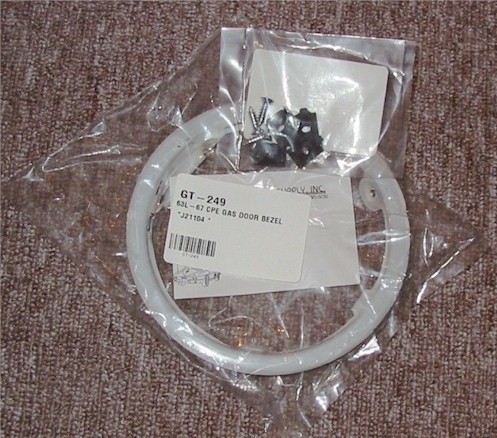
And, Chapter 28...
For a more complete look, visit the various chapters on the website.
During re-assembly of this complete body-off project, I am discovering the truth of the advice I've read over the years.
1. Deal with the old parts as you remove them. Don't just bag and label them as I did. Deal with them. That means clean them up and determine whether they are servicable enough to re-use. If they are not, arrange to find replacements before you find various stages of the re-assembly held up for the want of a single, but important, part.
2. Write down far more that you ever think you will need. In my case, I know where almost everything goes on this car that I've owned for 36 years and have had apart in various ways several times. BUT, what I should have done was written up a ledger of replacement parts required, details of each item, a list of possible sources, the date and/or stage when it will be required, etc.
Now that you've absorbed these few words of wisdom
here's some pretty pictures to look at from the latest parts shipment.First, from Chapter 24...
Then, from Chapter 26...
And, from Chapter 27...
And, Chapter 28...
For a more complete look, visit the various chapters on the website.
") )
)


