Welcome to the Corvette Forums at the Corvette Action Center!

1967 Convertible Restomod with Roadster Shop Chassis

RestoCreations

Well-known member
Joined
Jun 25, 2009
Messages
80
Location
Birmingham, Alabama
Corvette
59, 63 Vert, 67 Vert, 67 Coupe, 63 Split
I'm transferring this thread from the other forum, so I will post dates in bold to indicate the actual timeline of the build.

4/08/2015
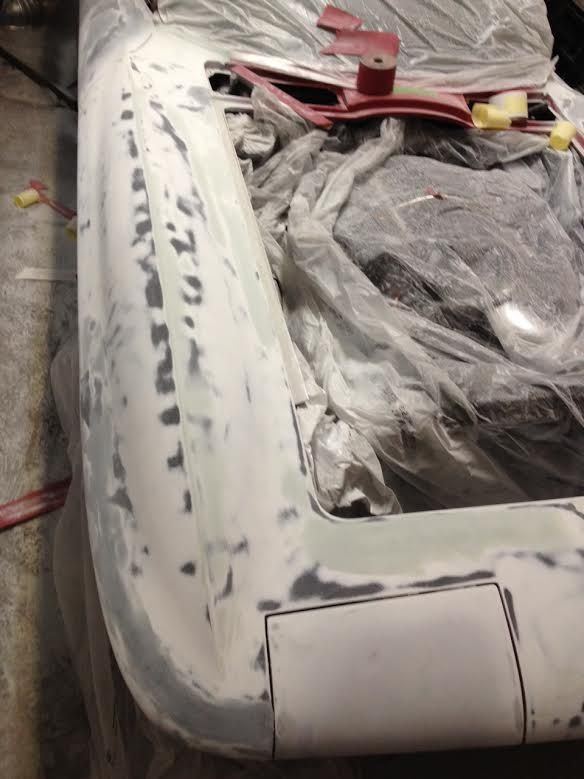
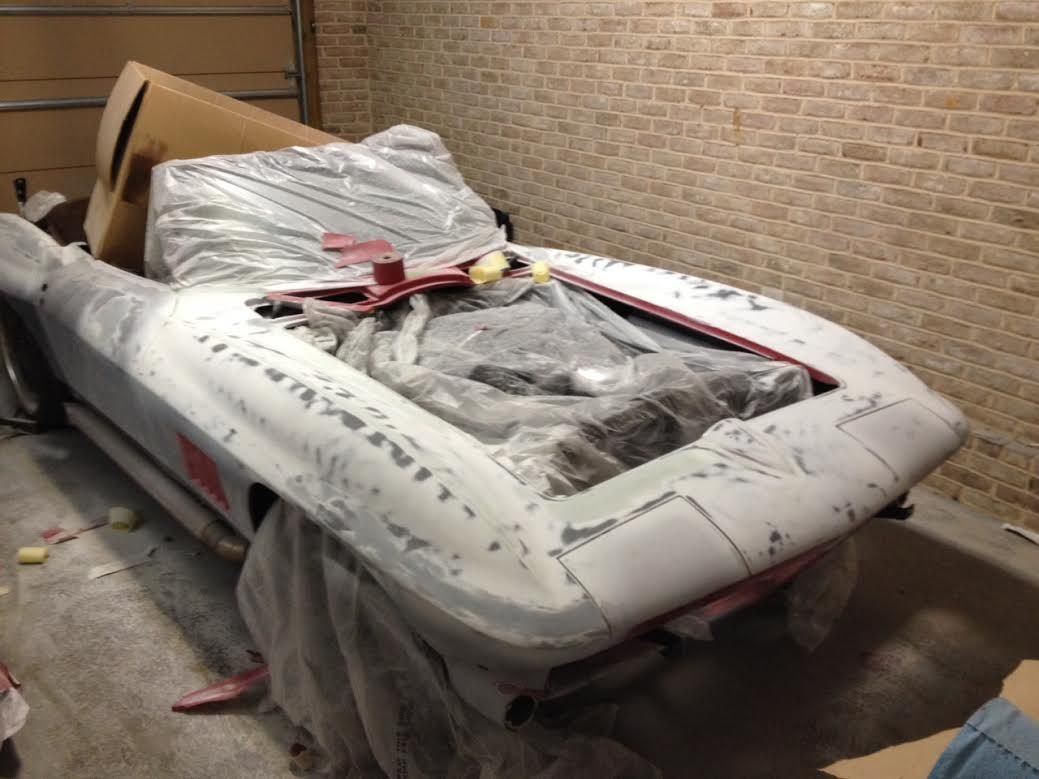
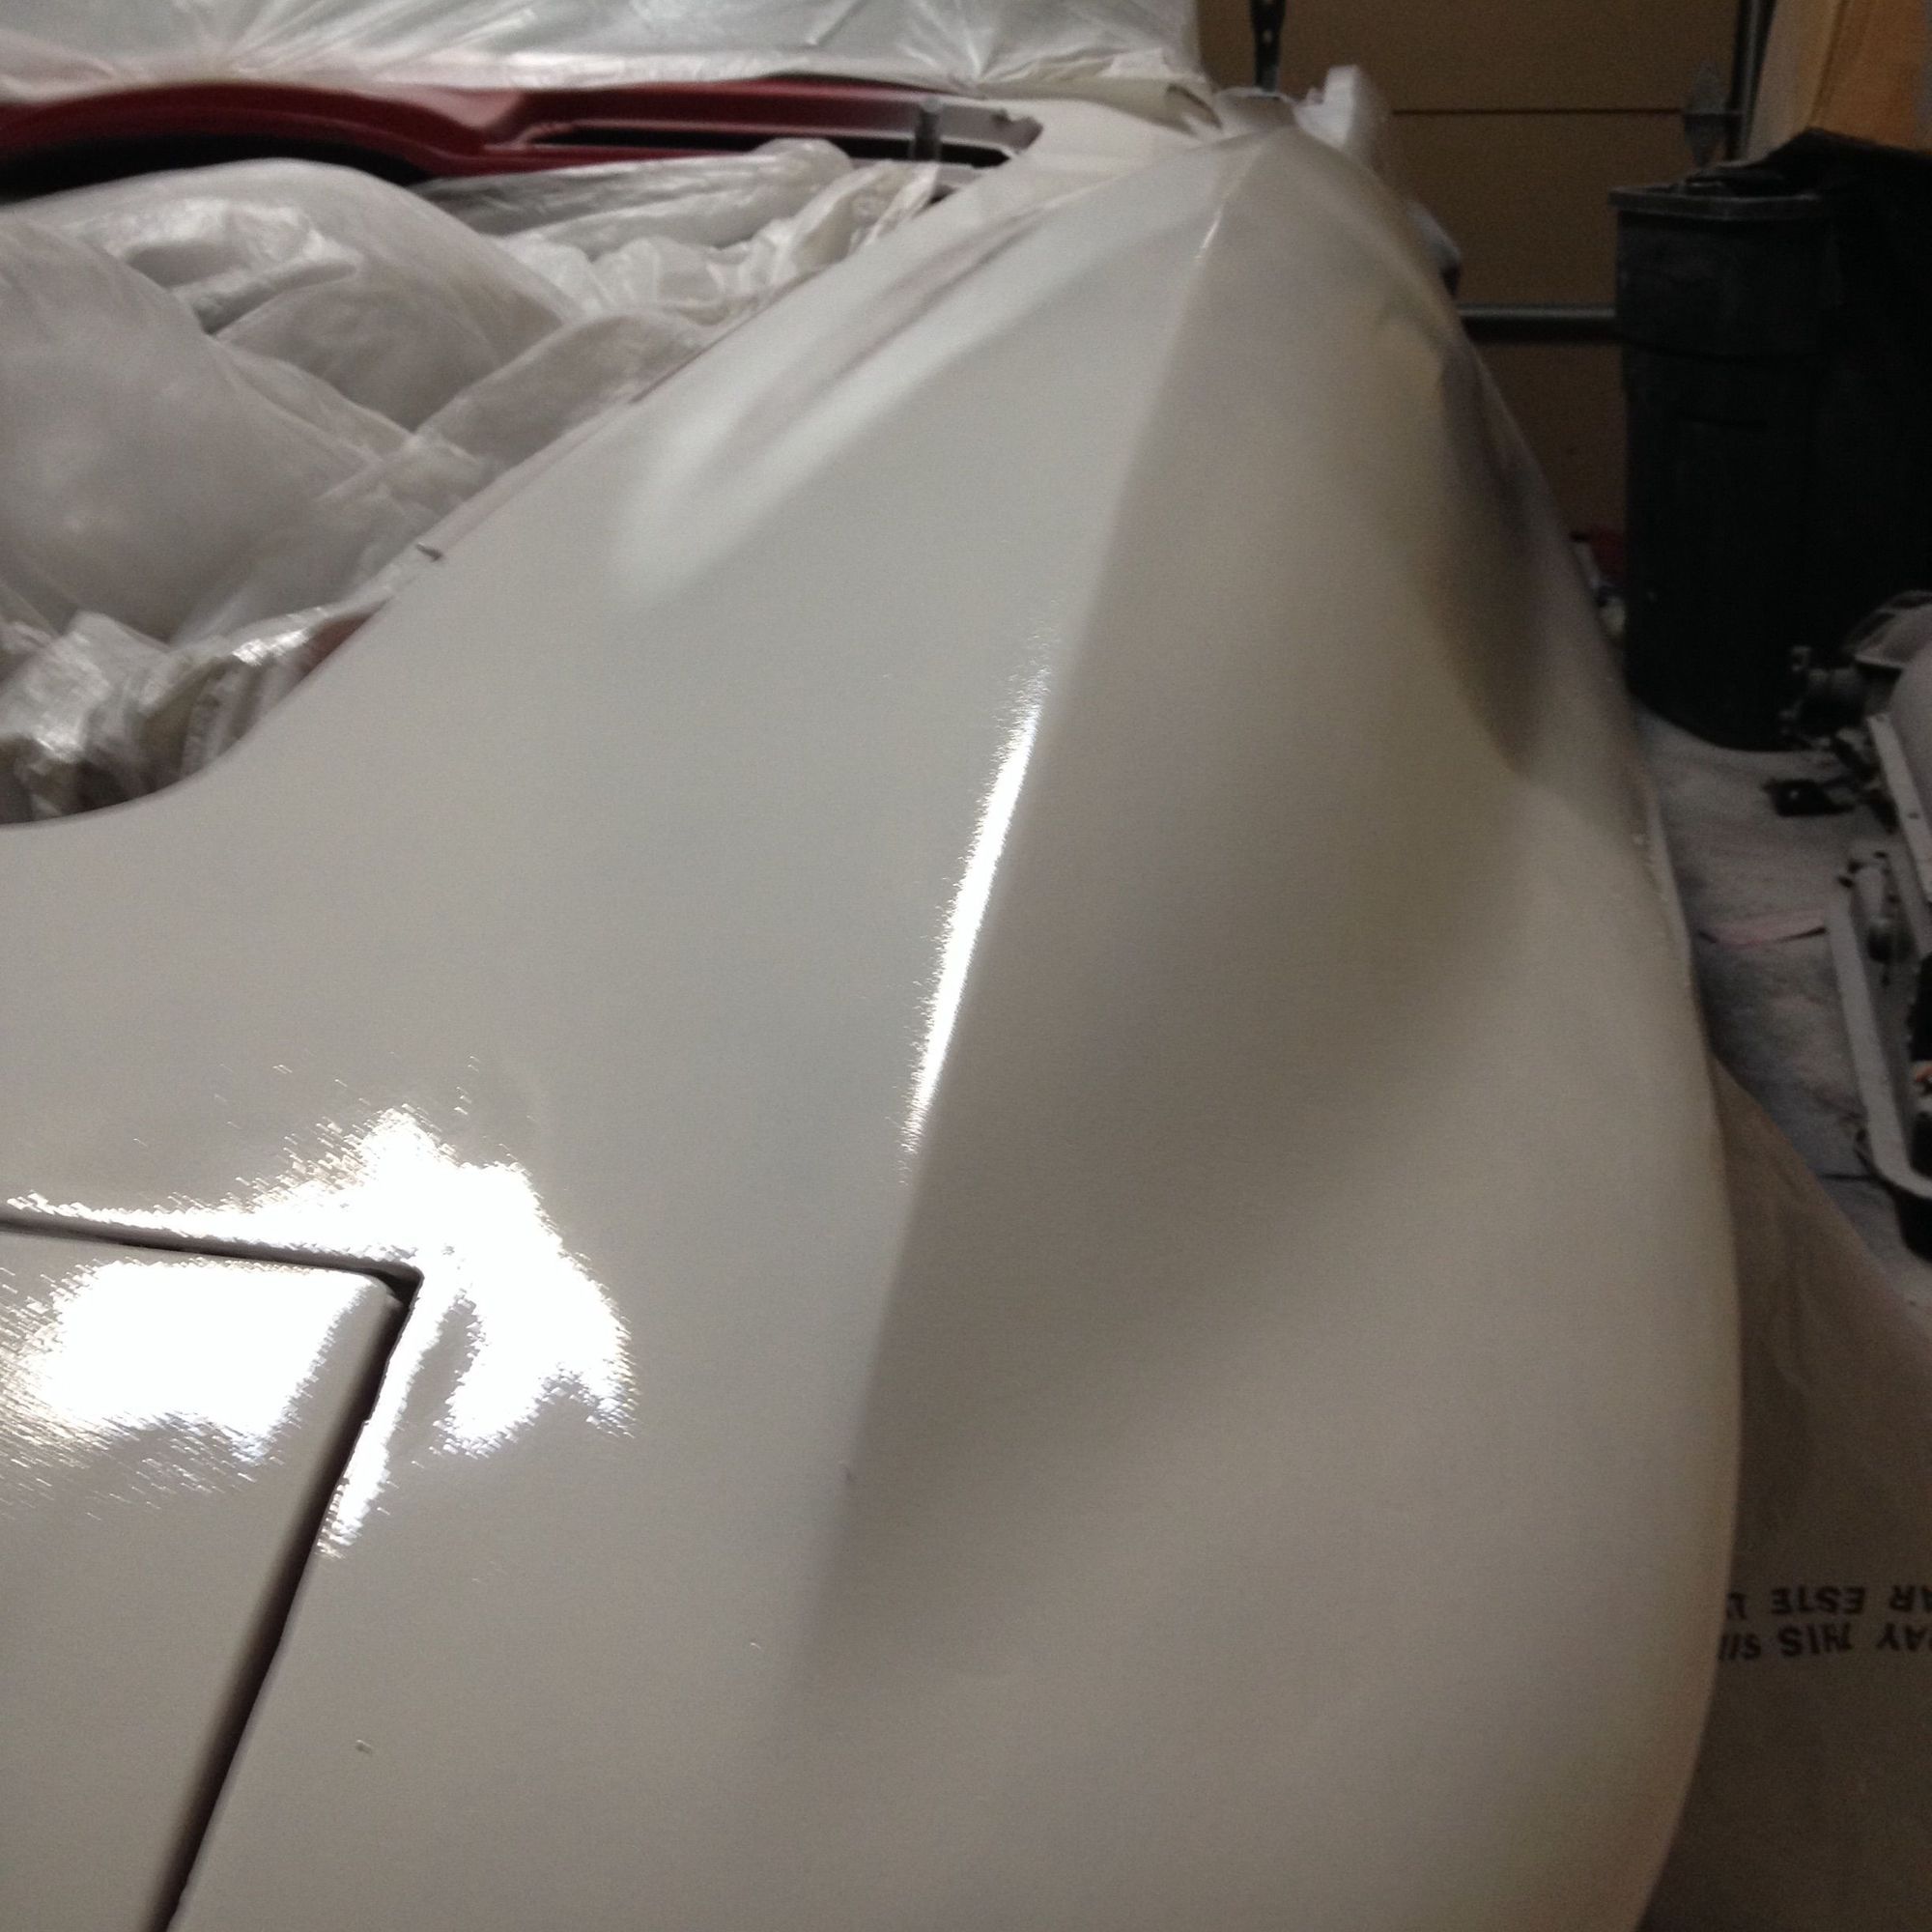
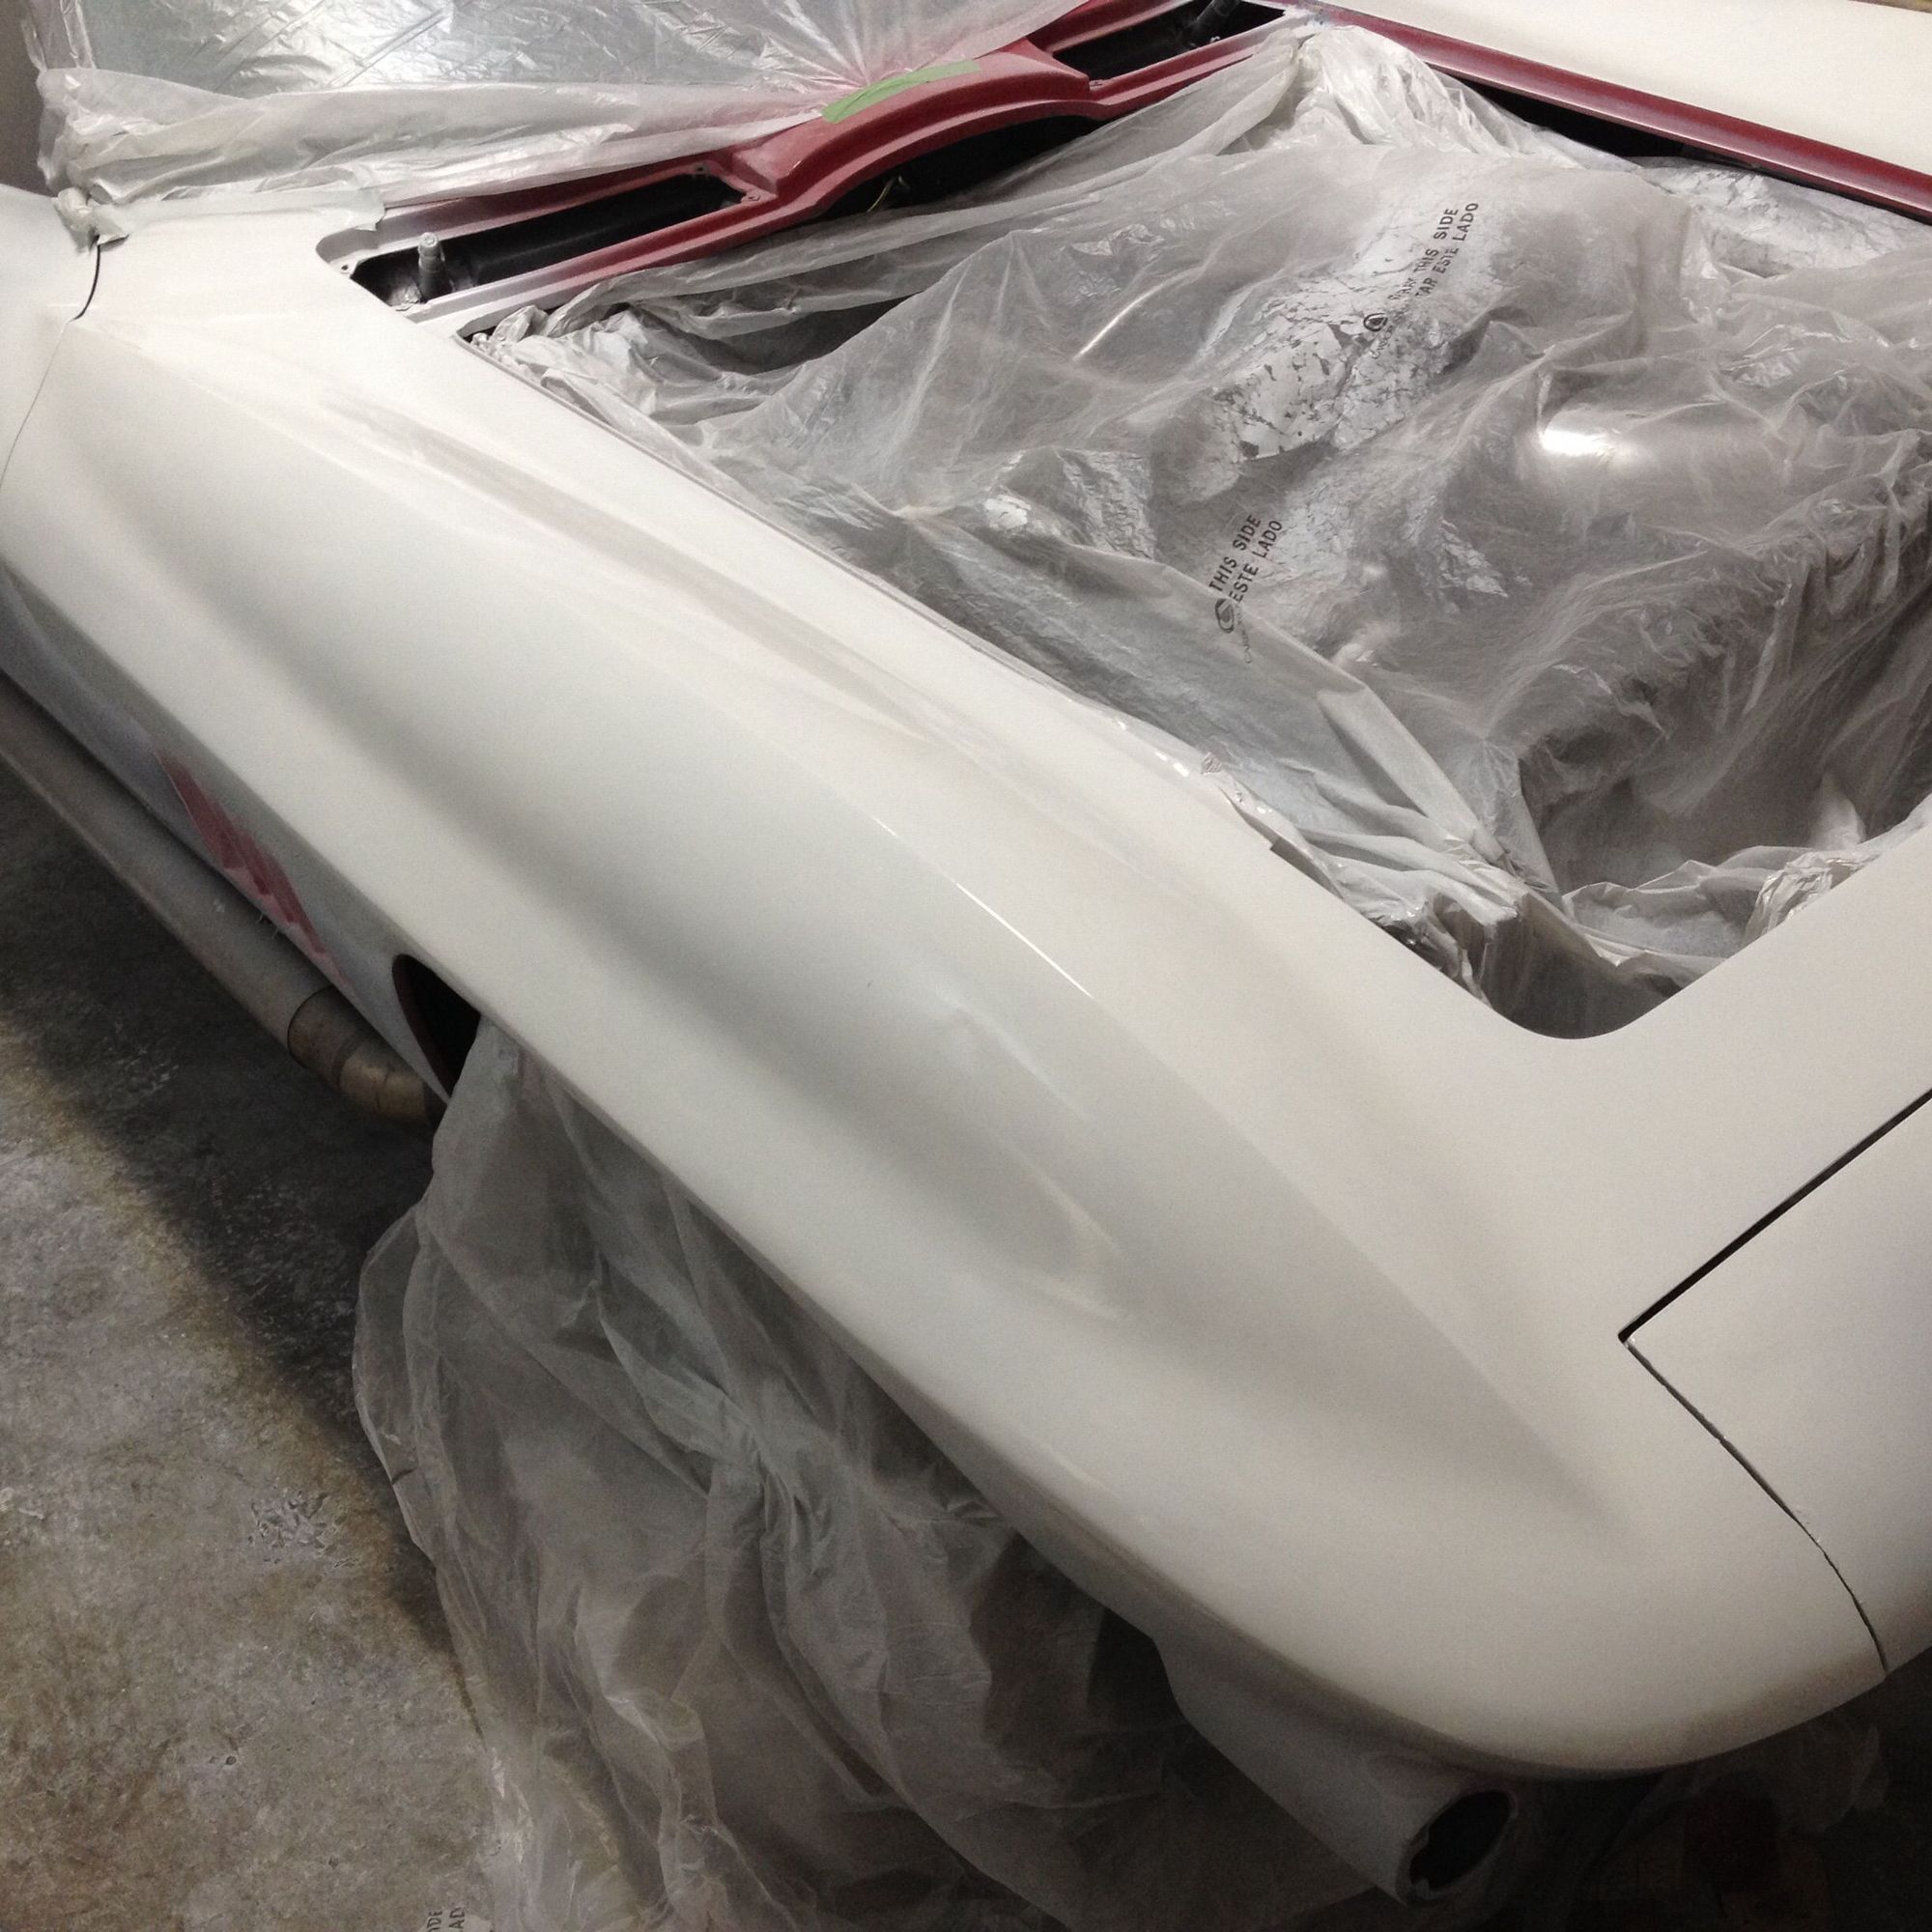
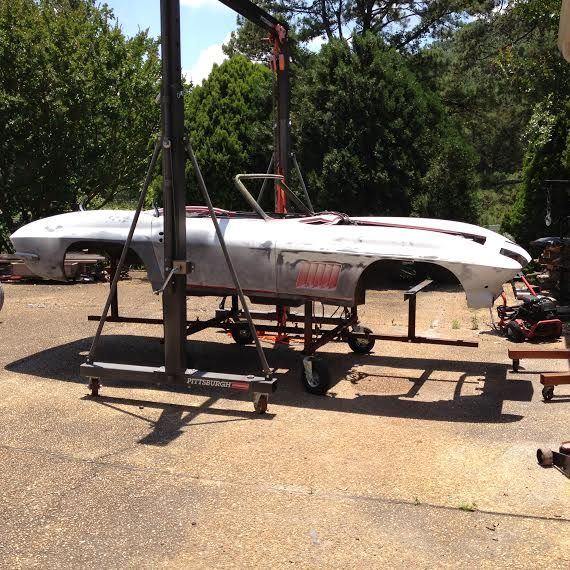
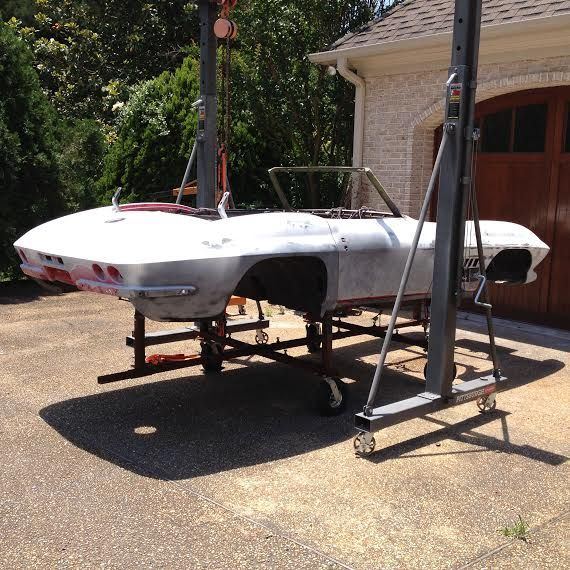
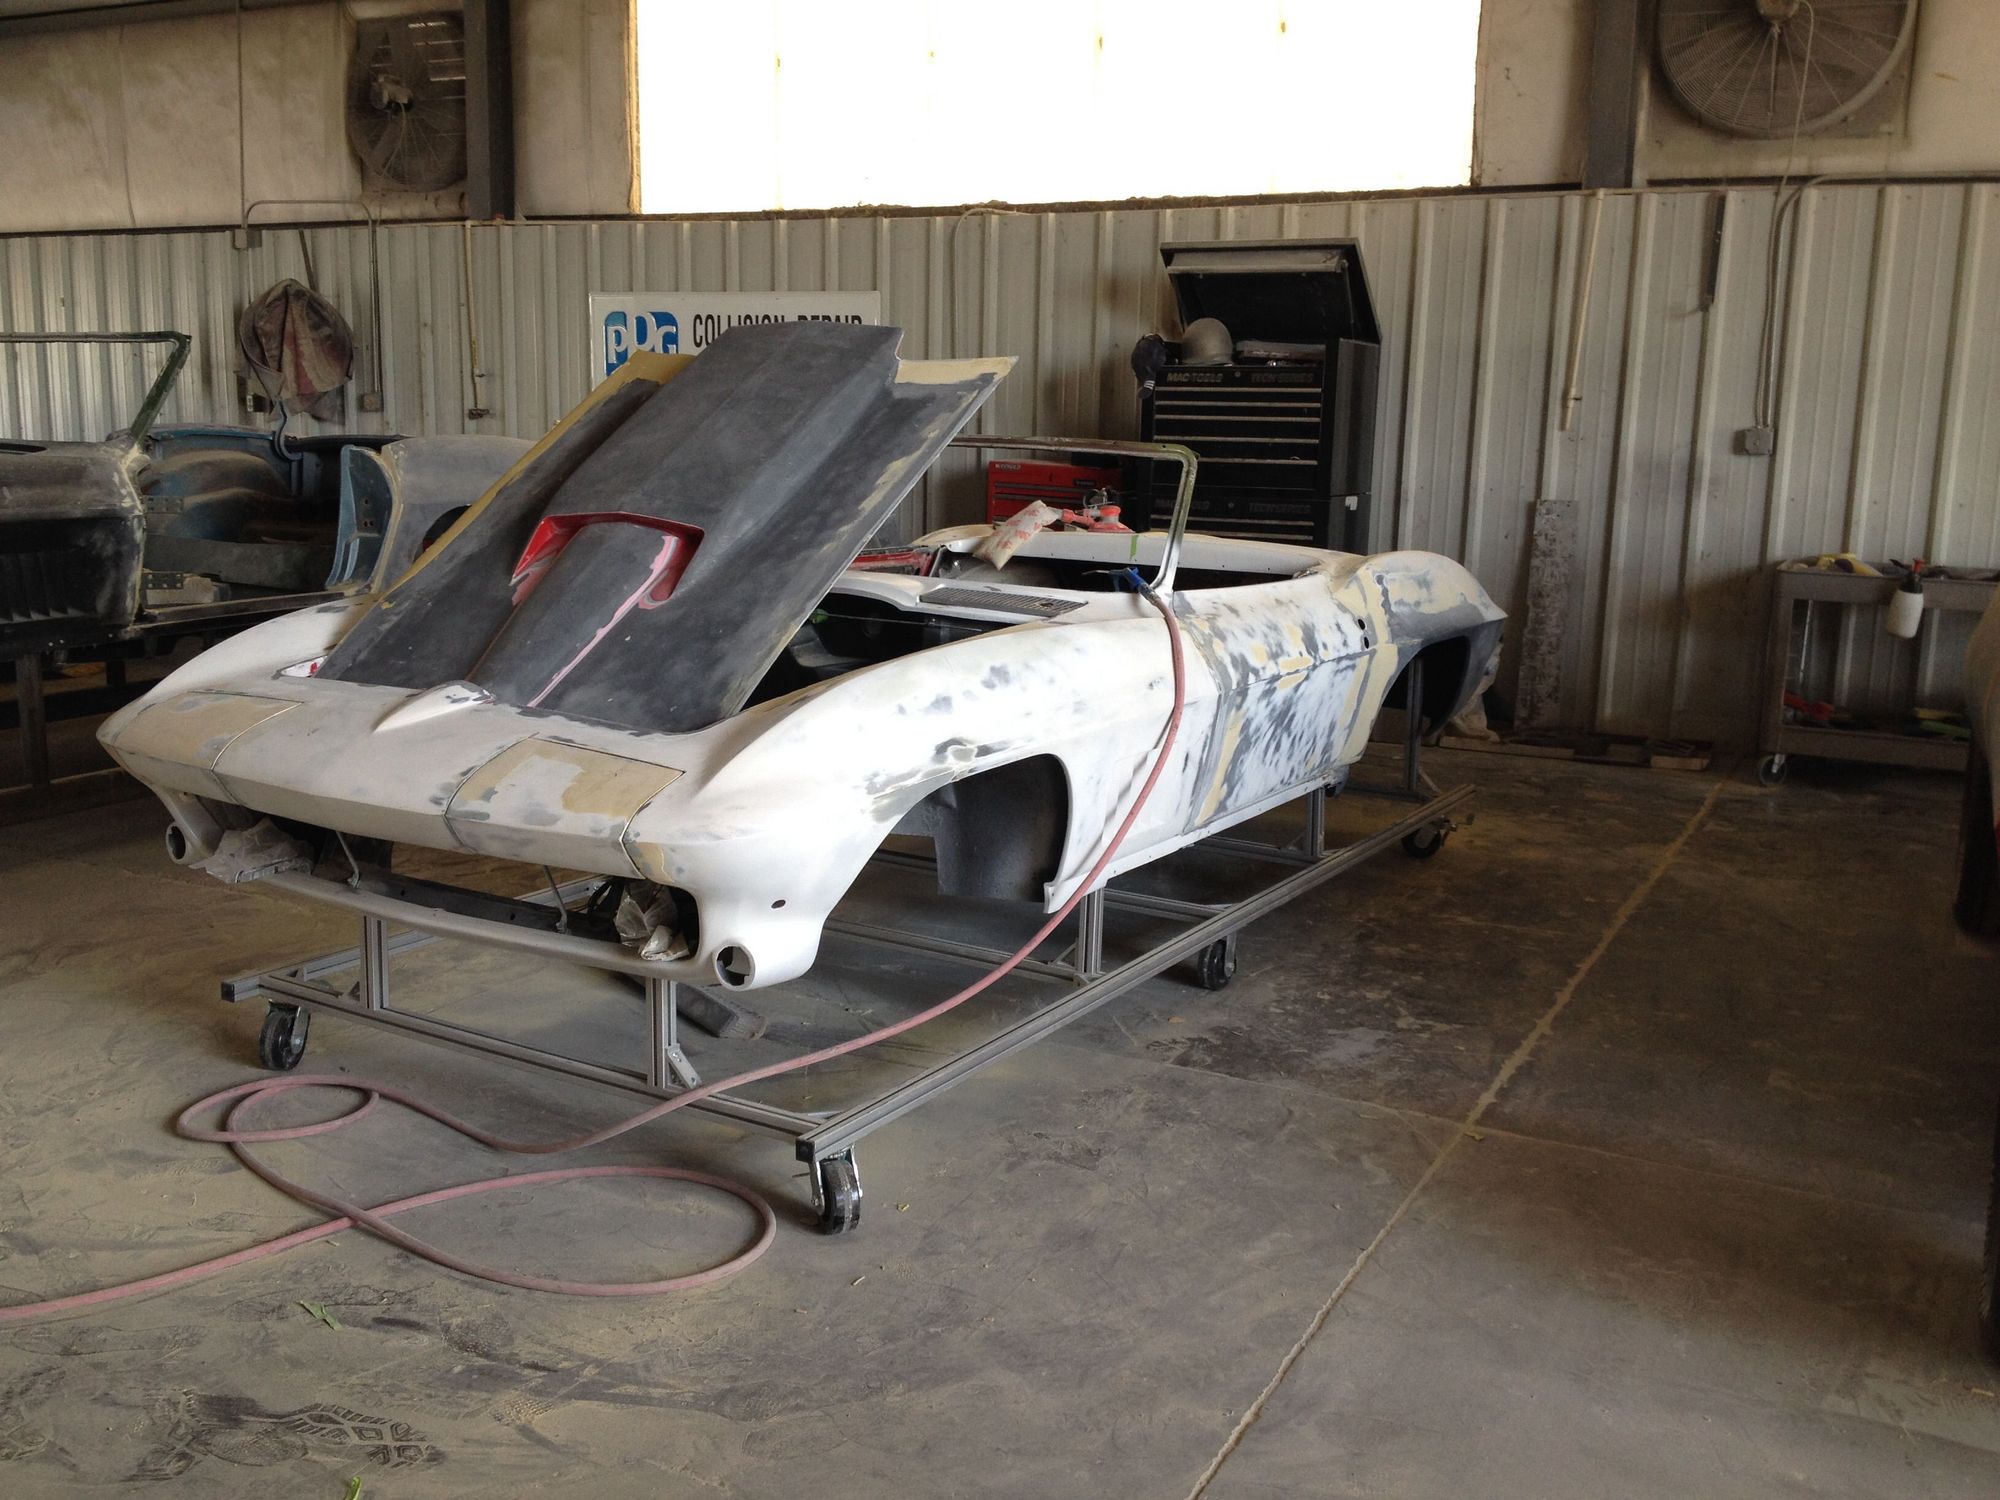
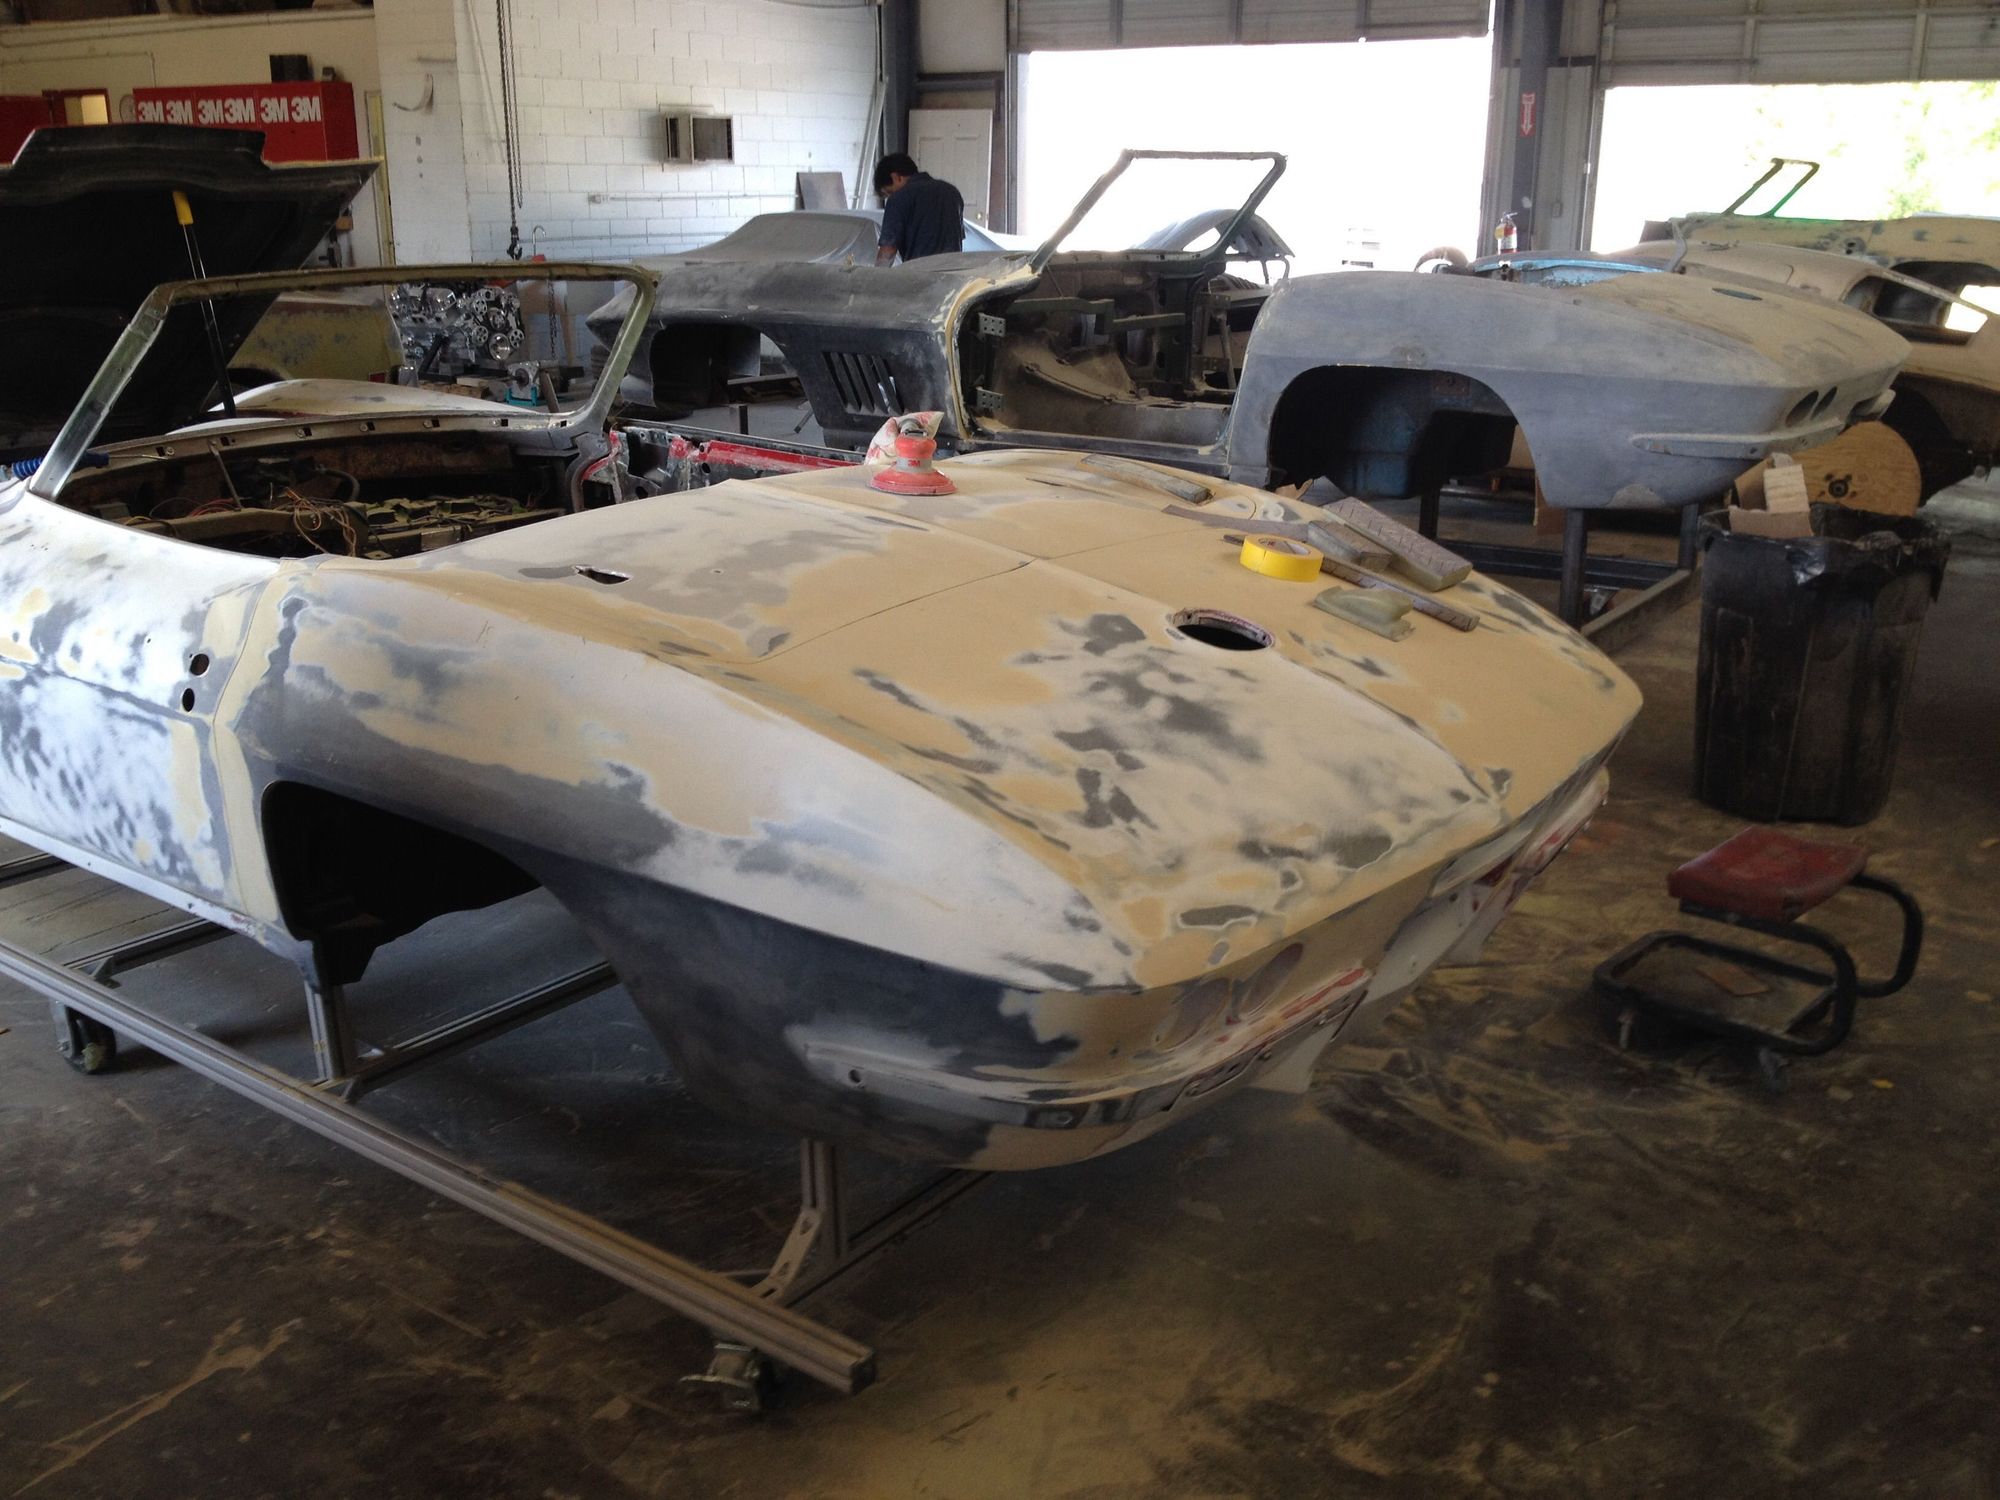
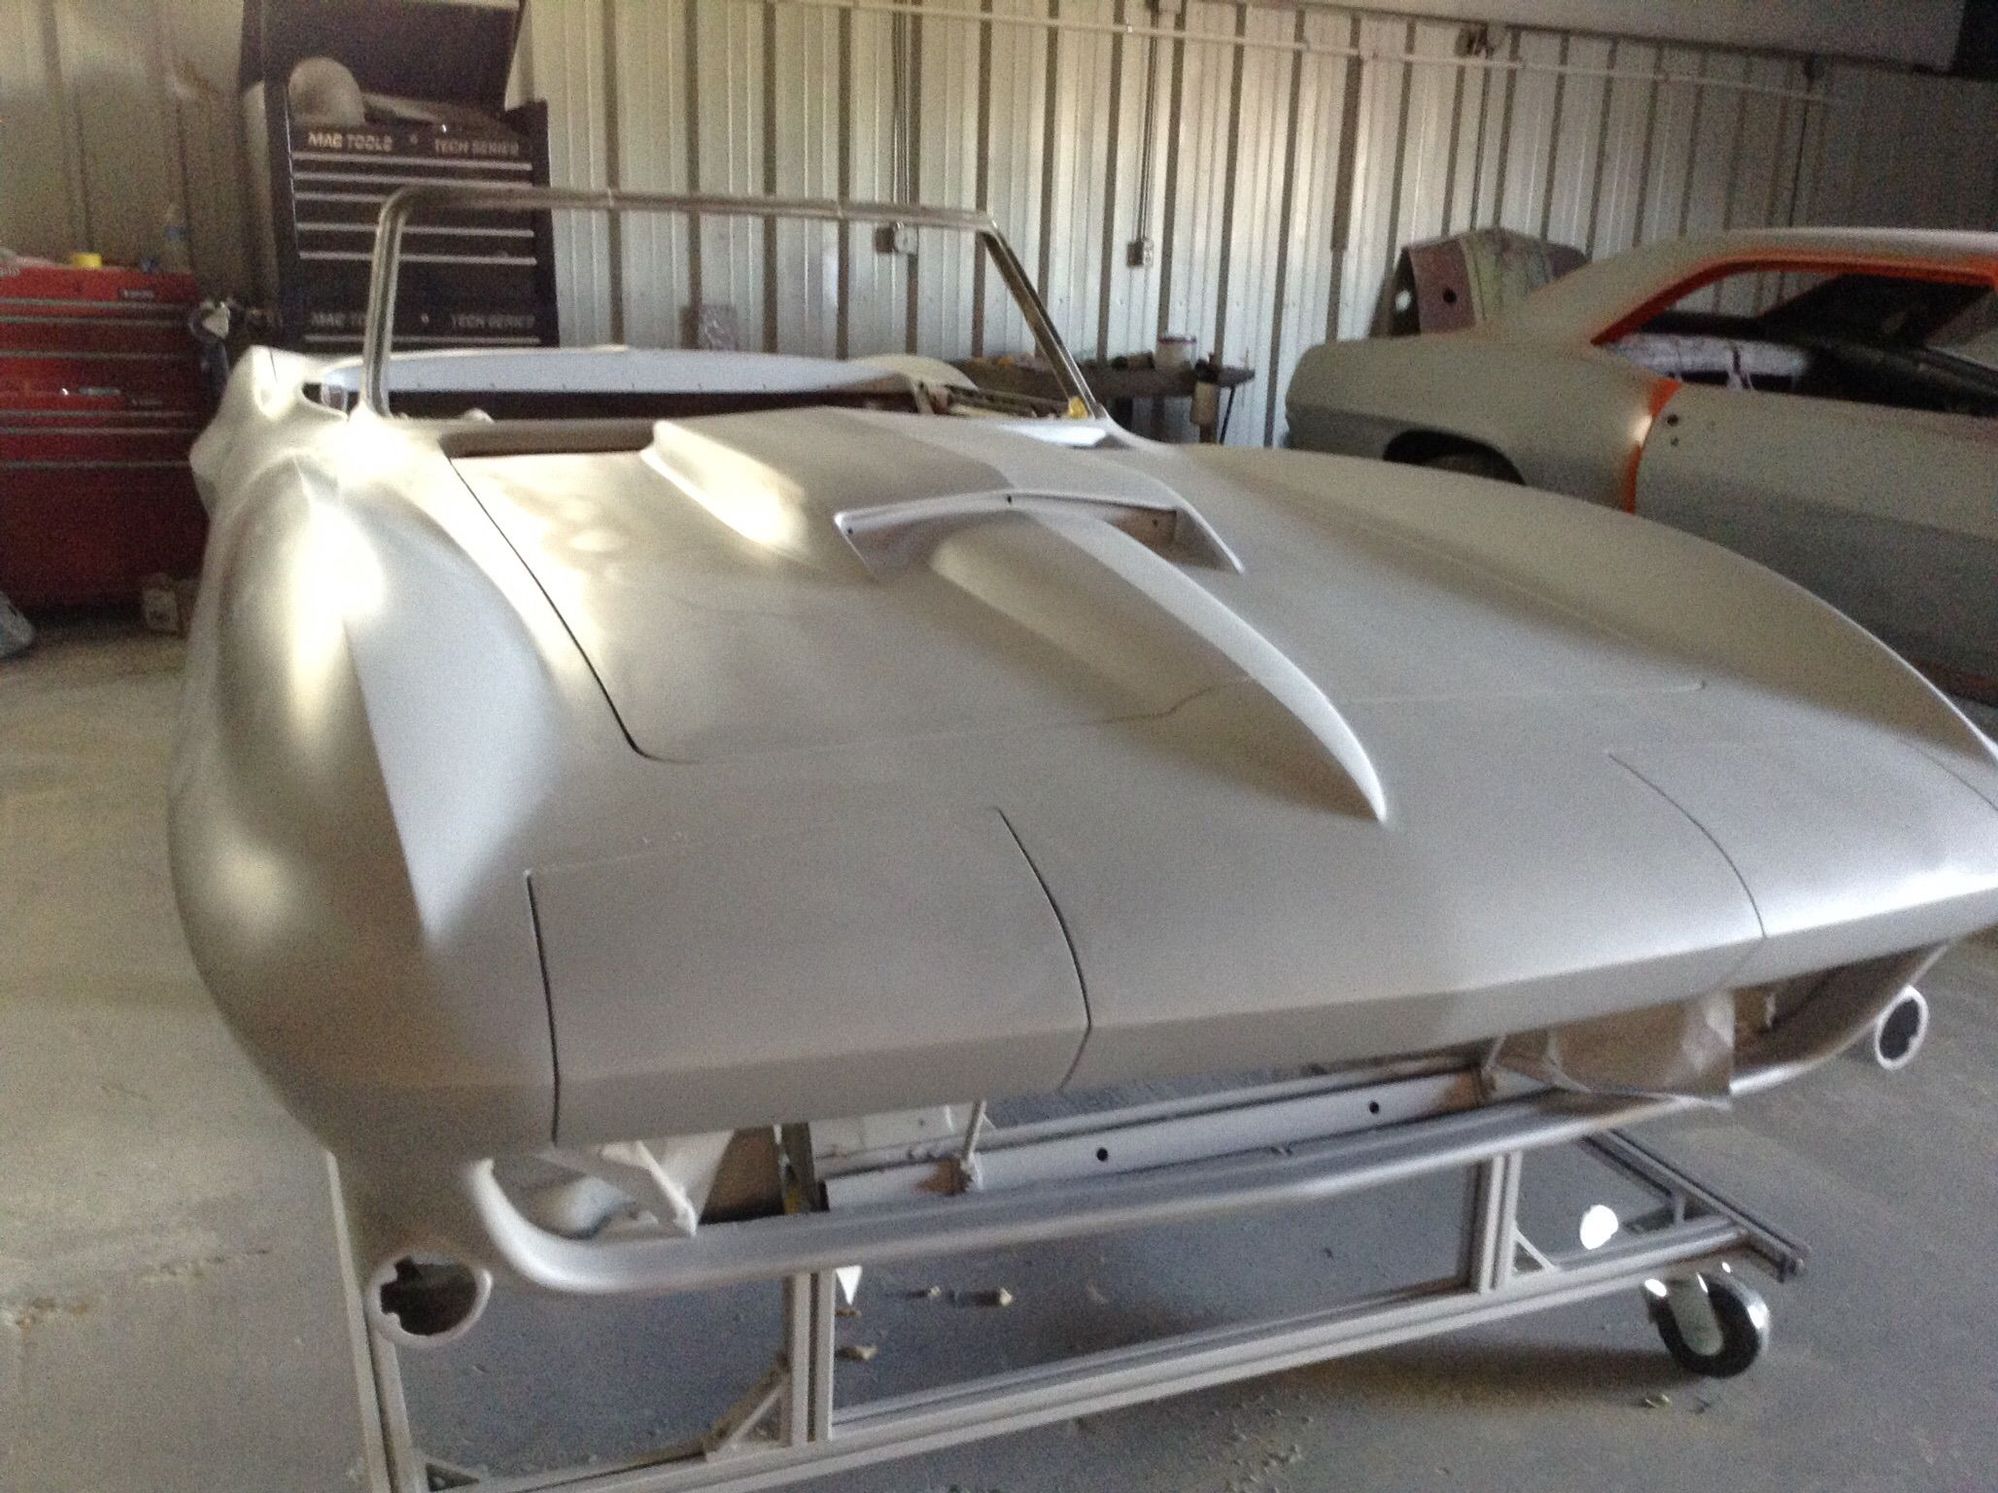
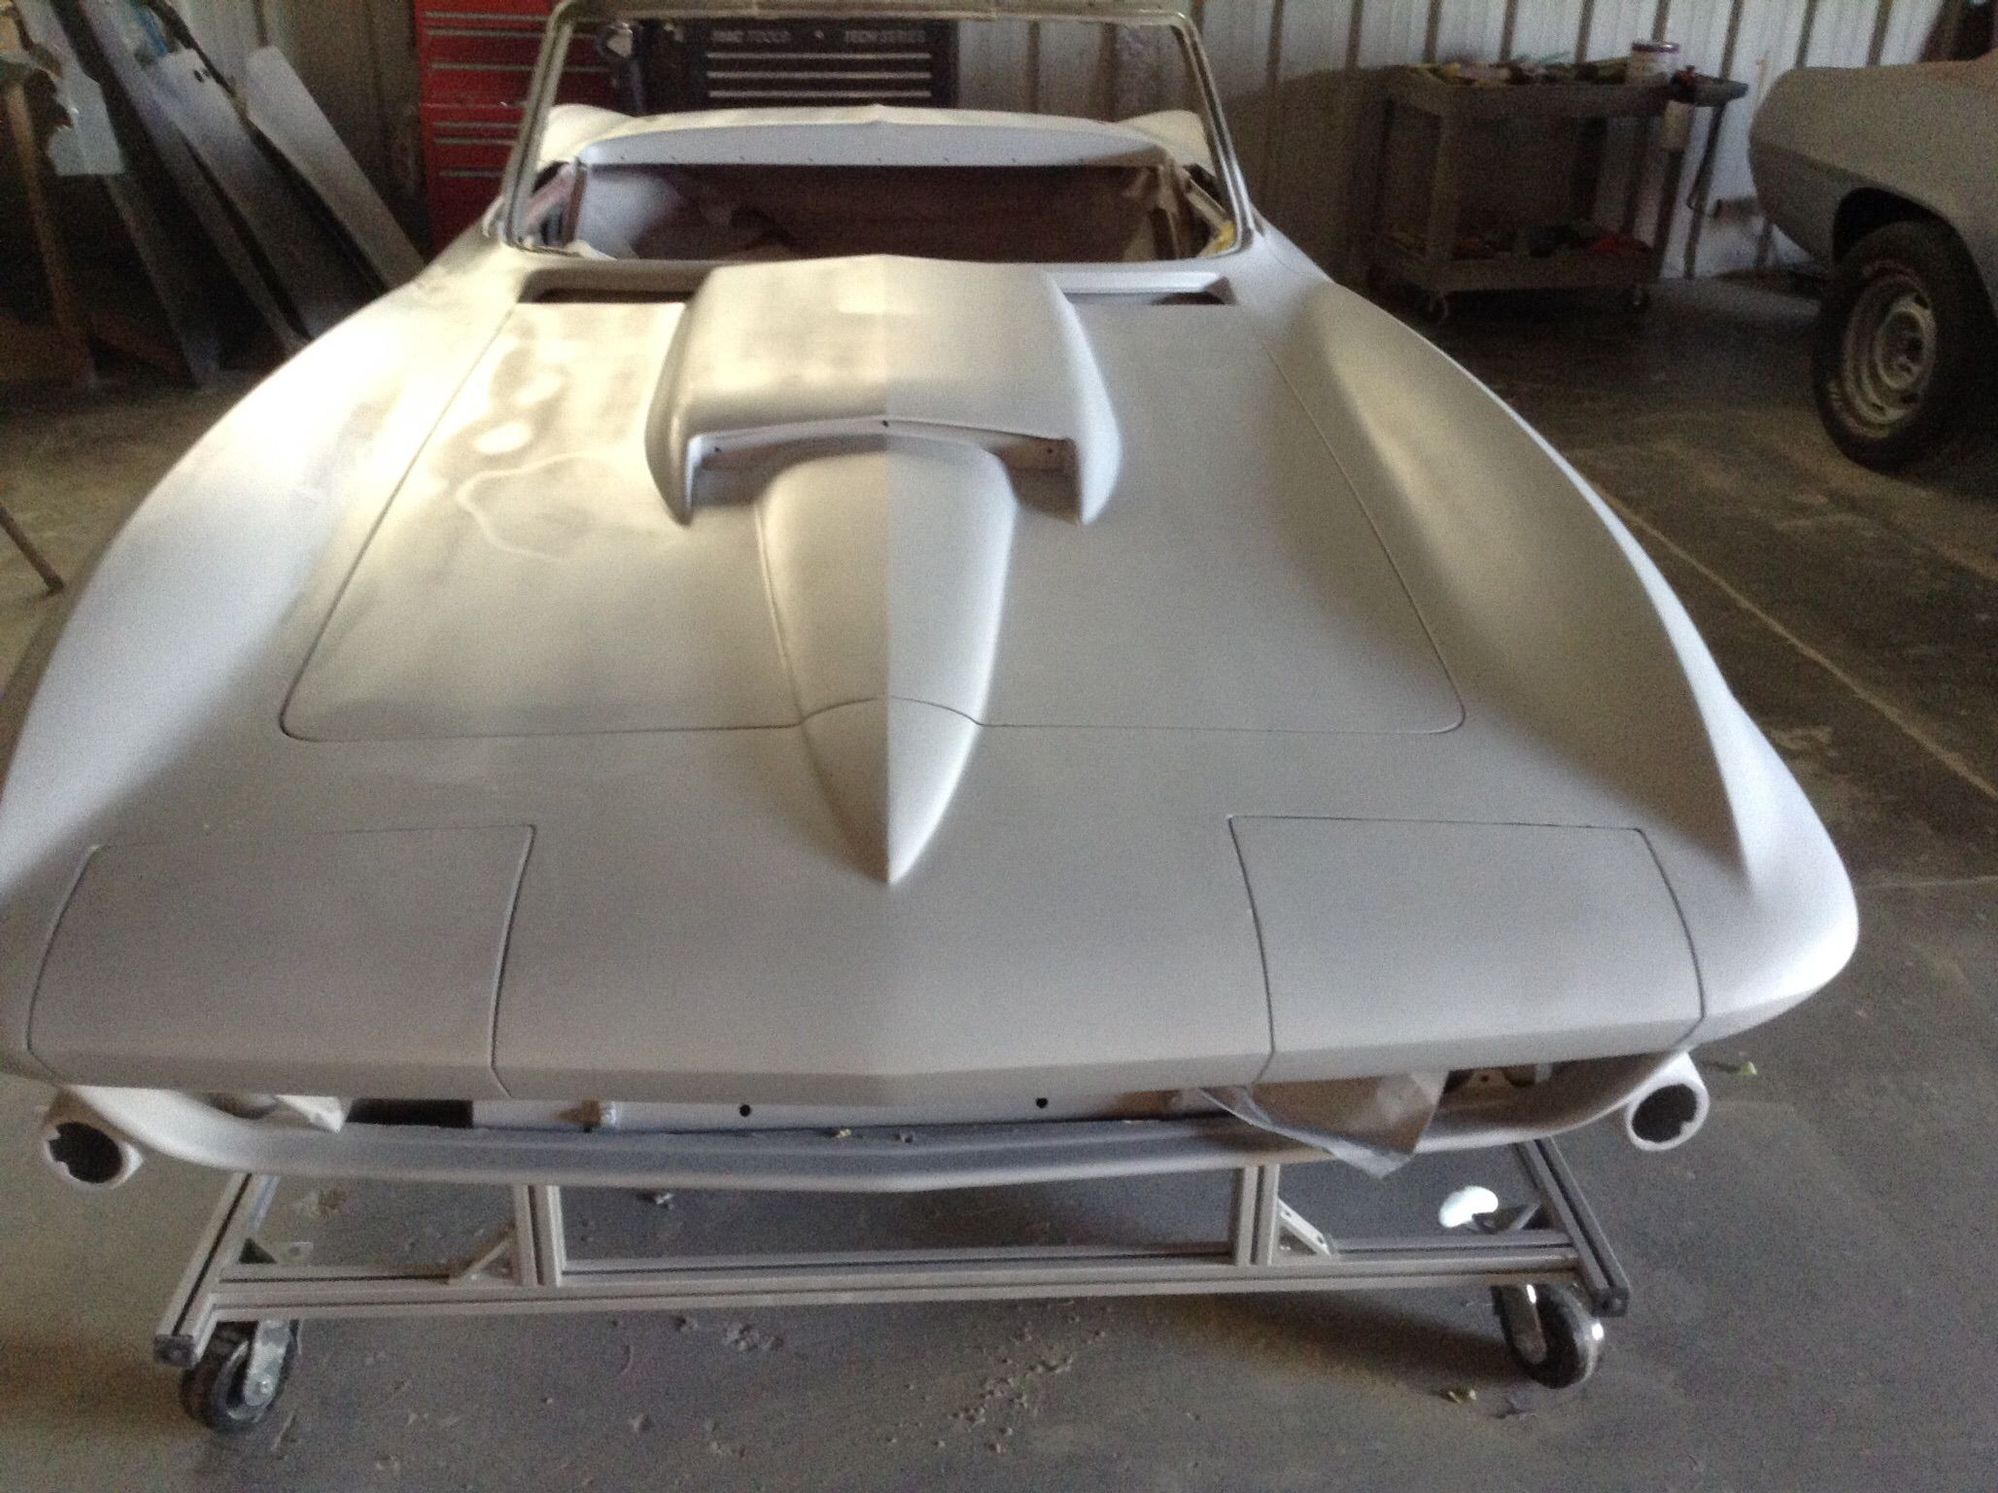
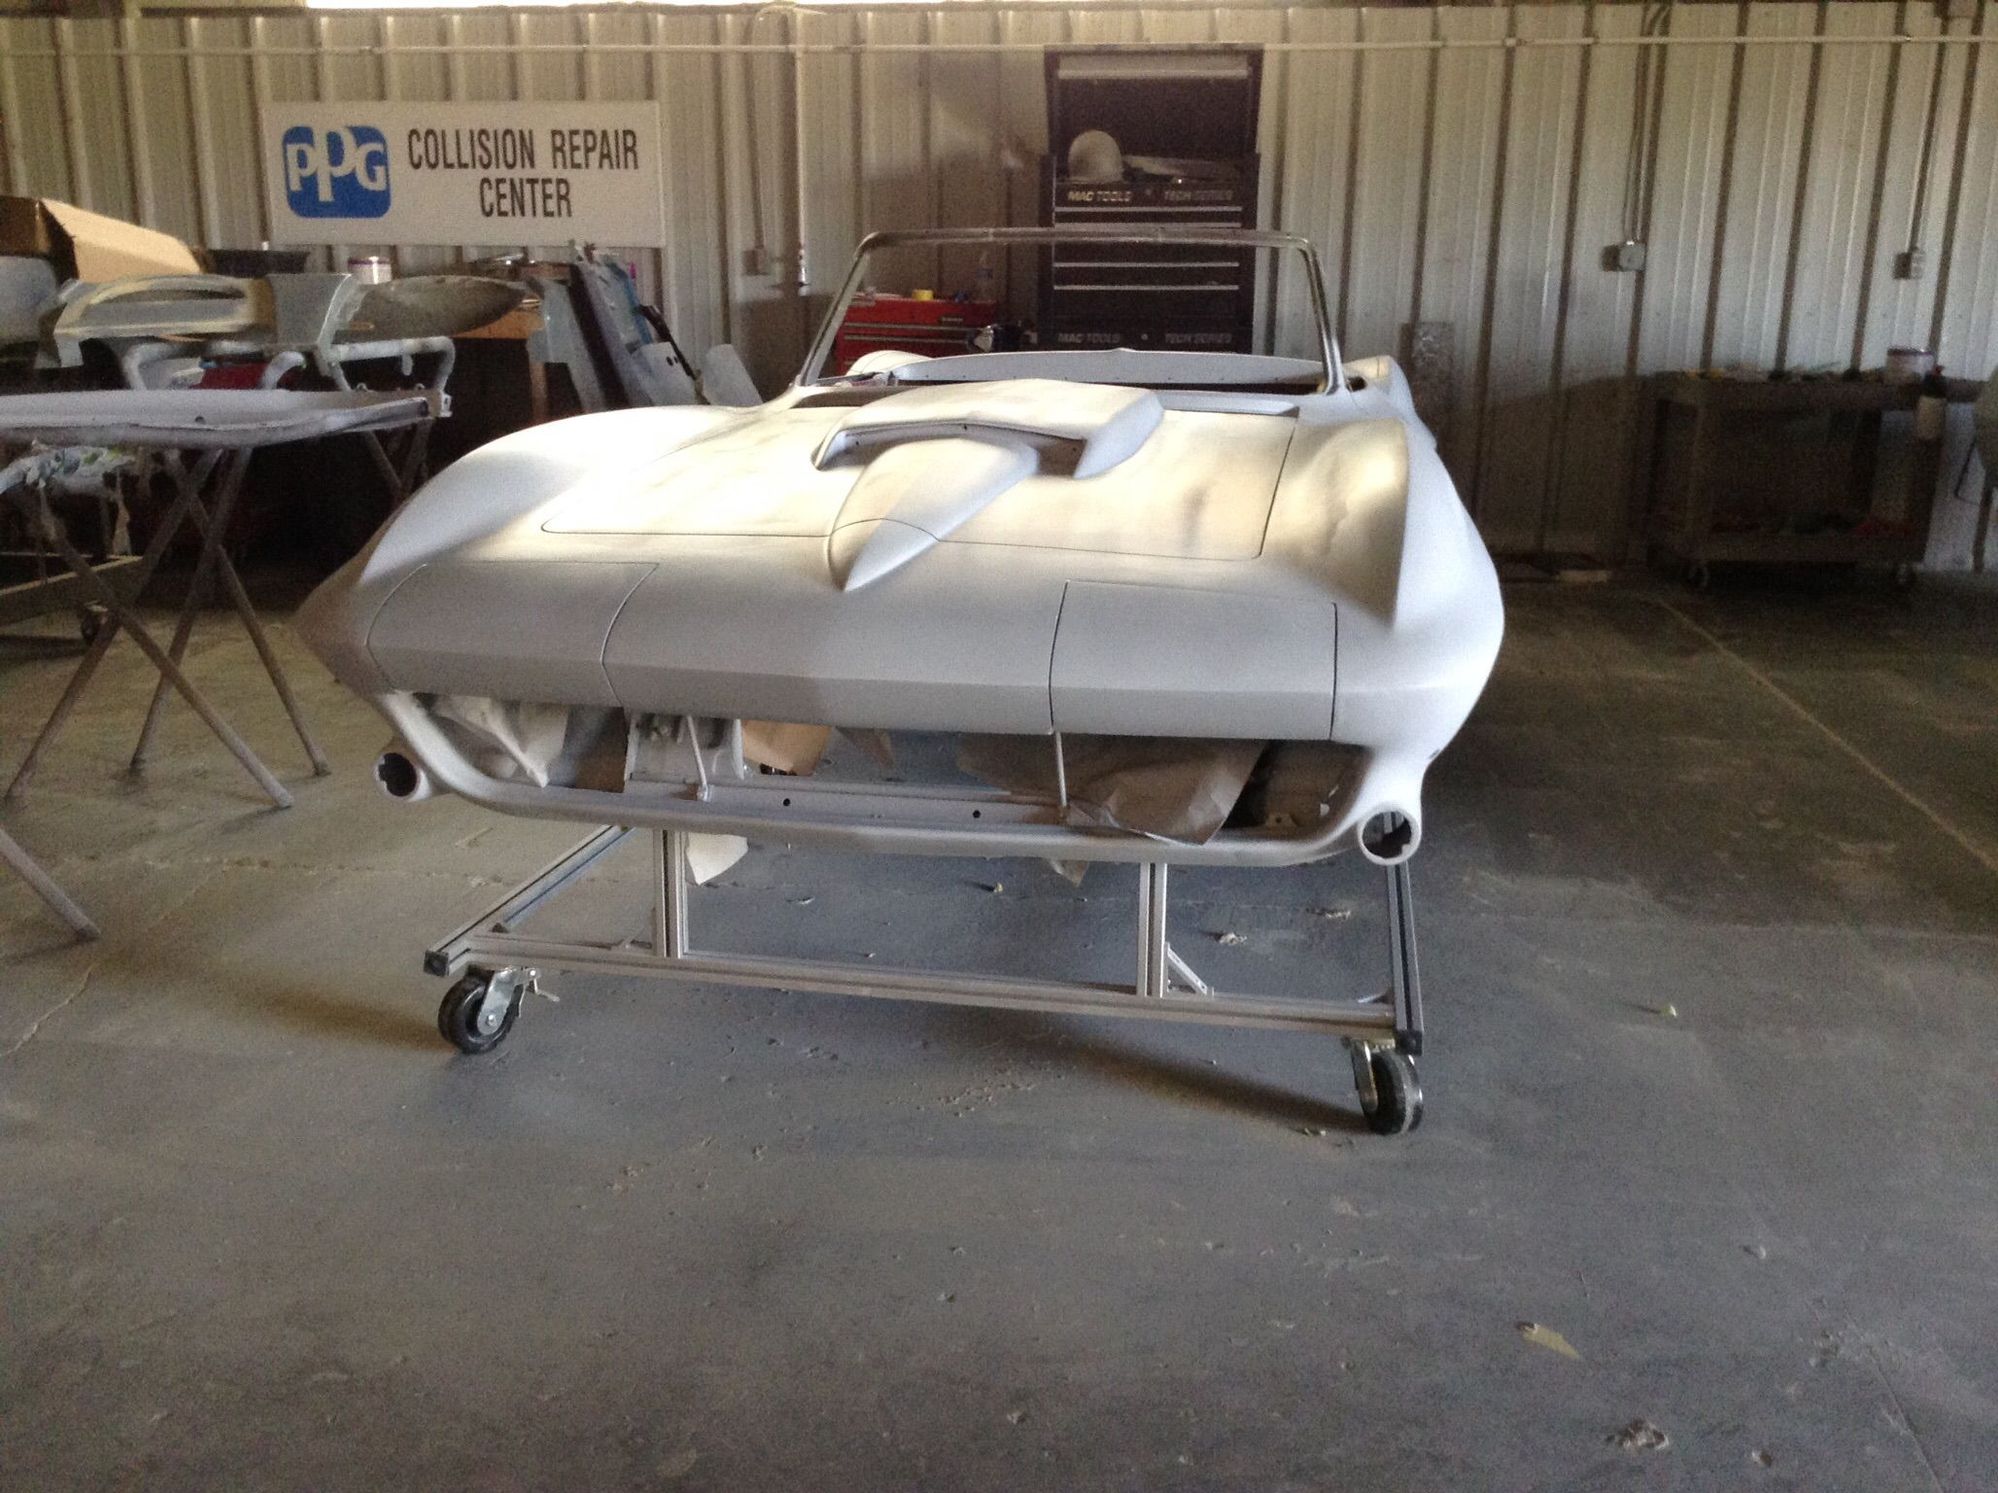
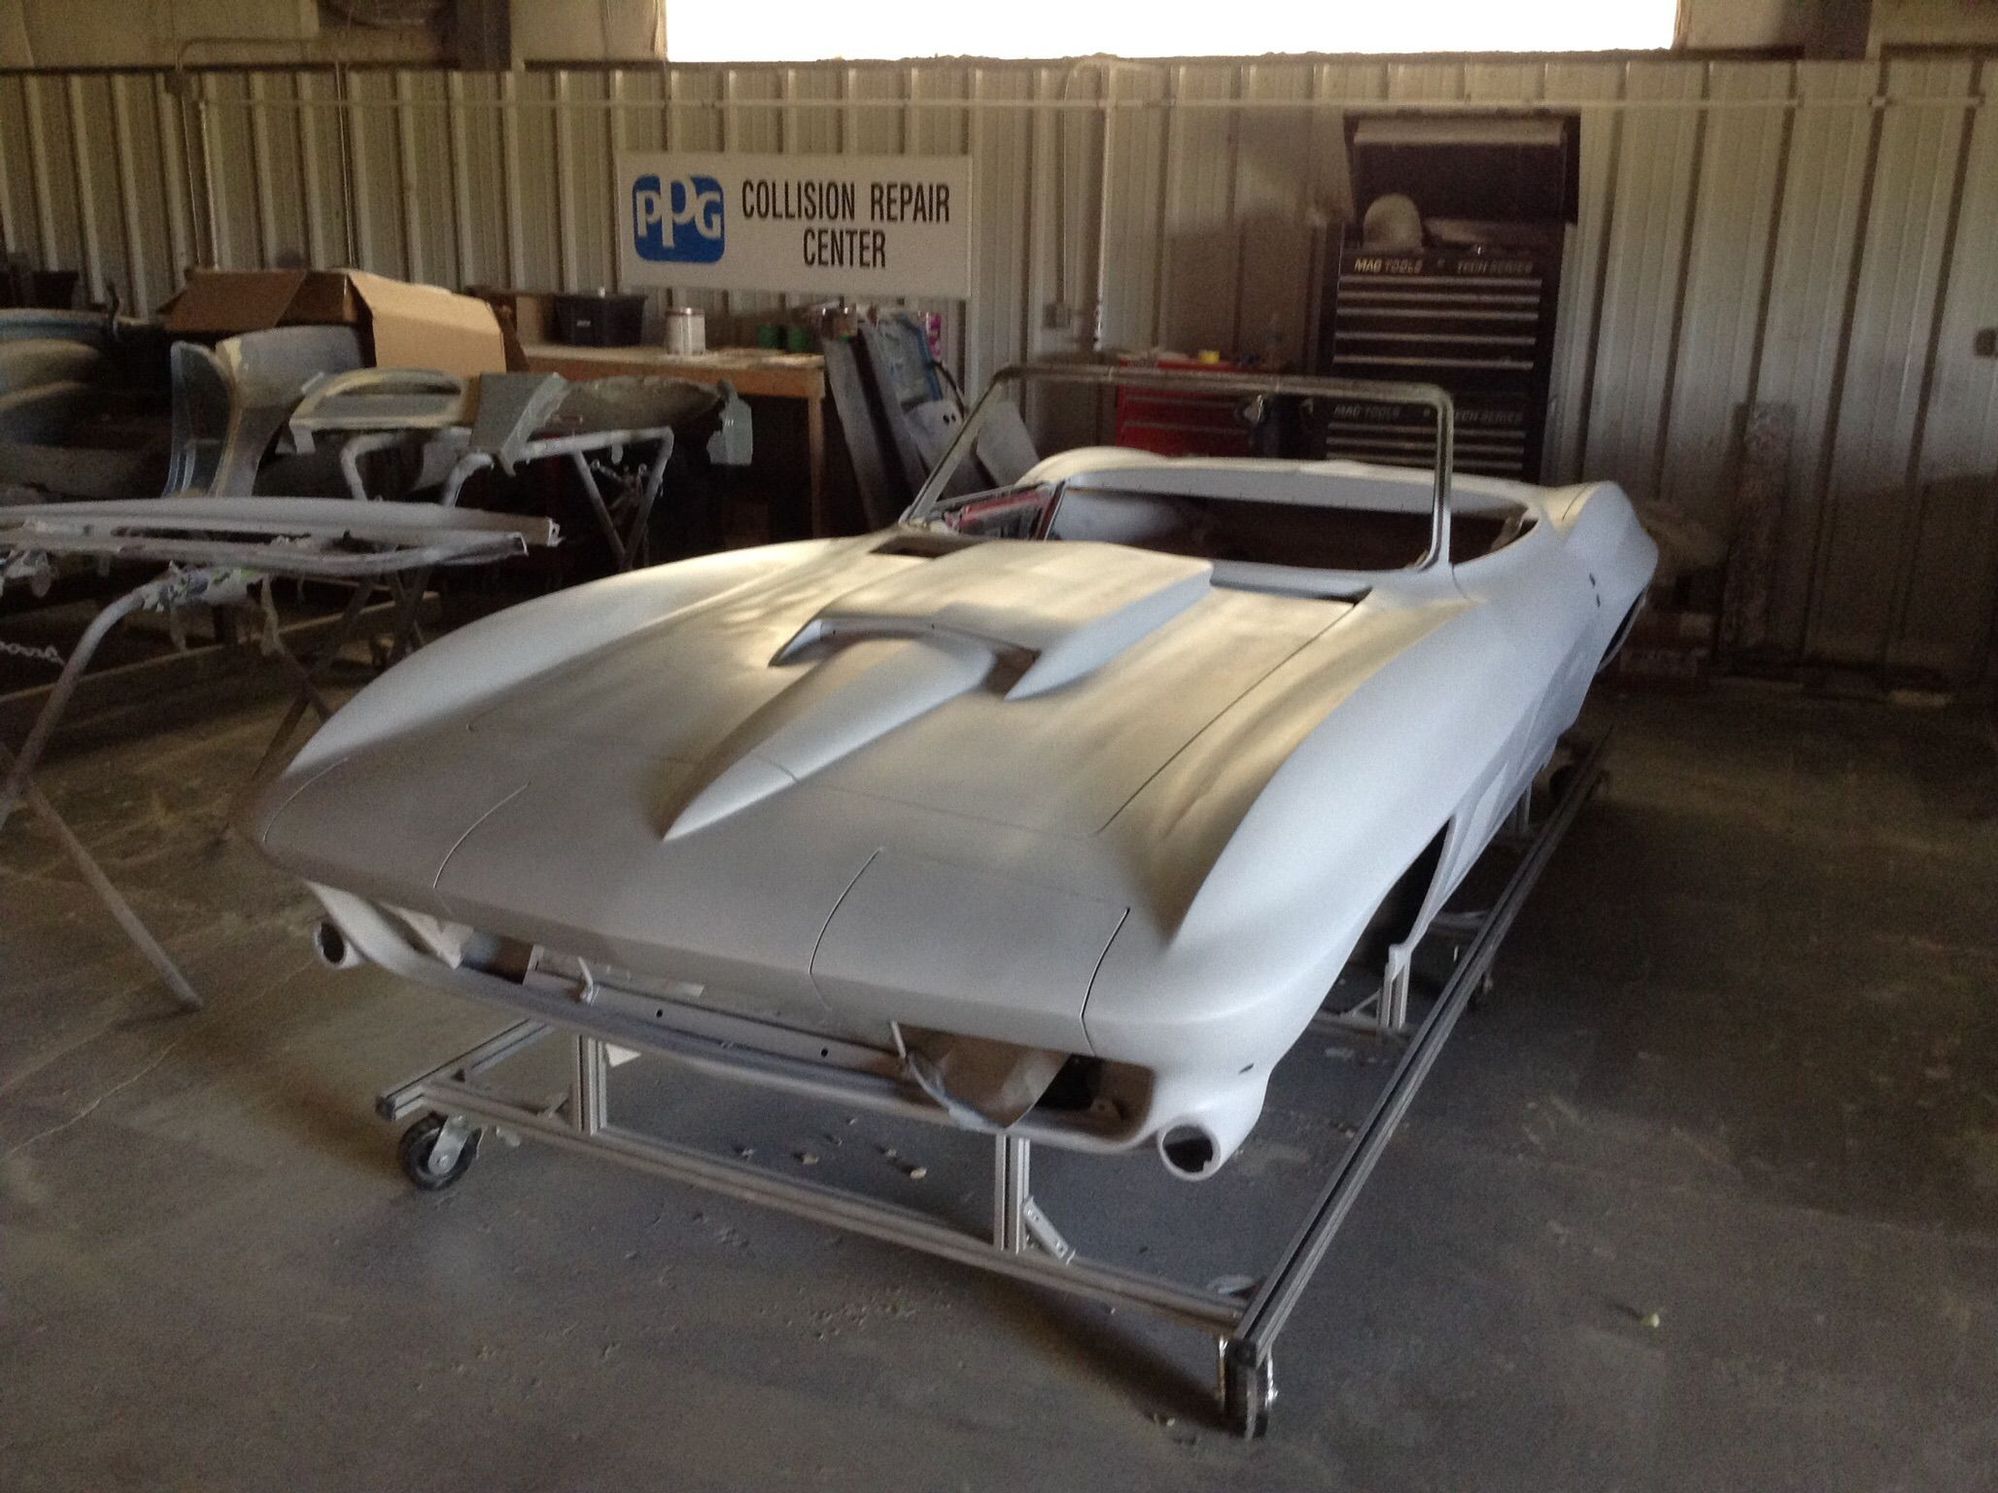
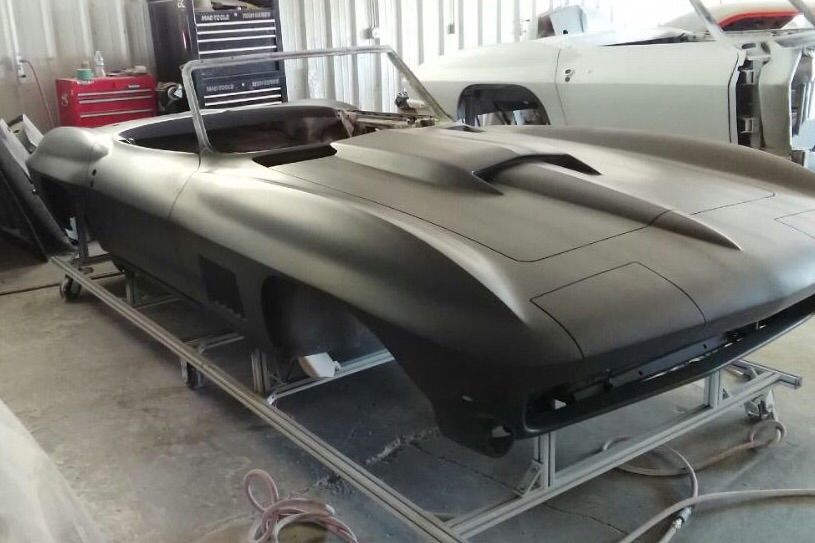
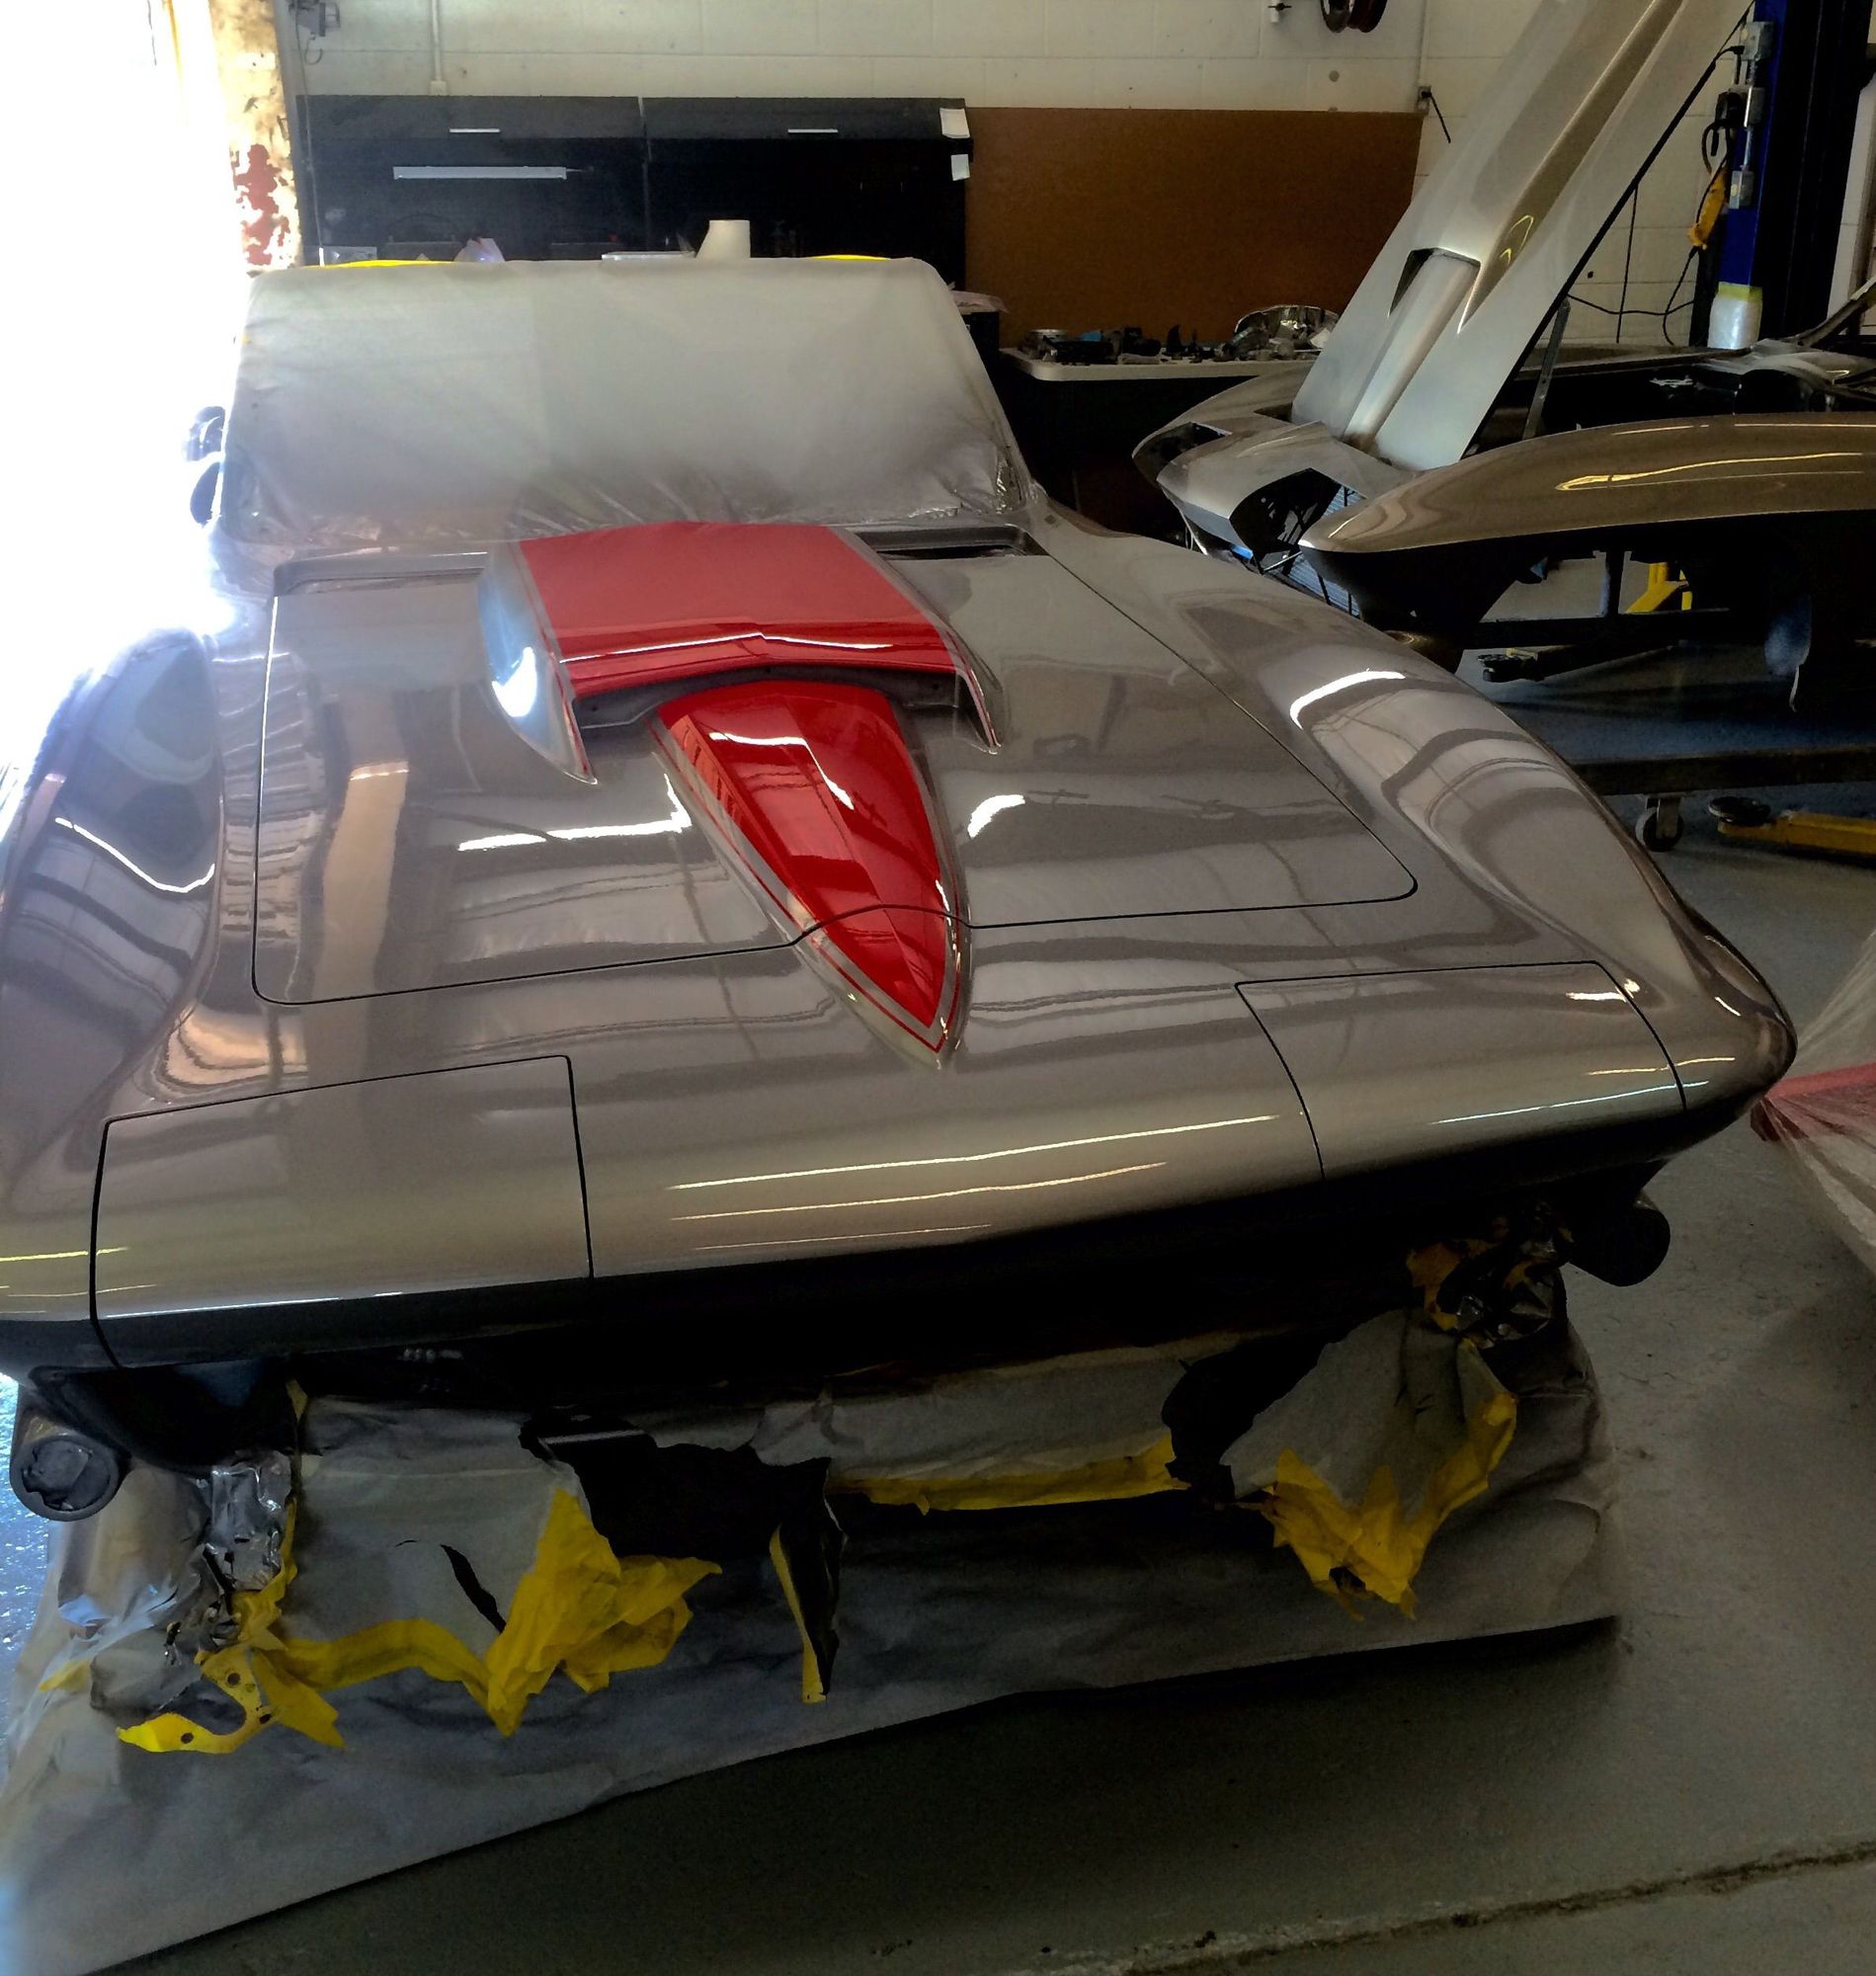
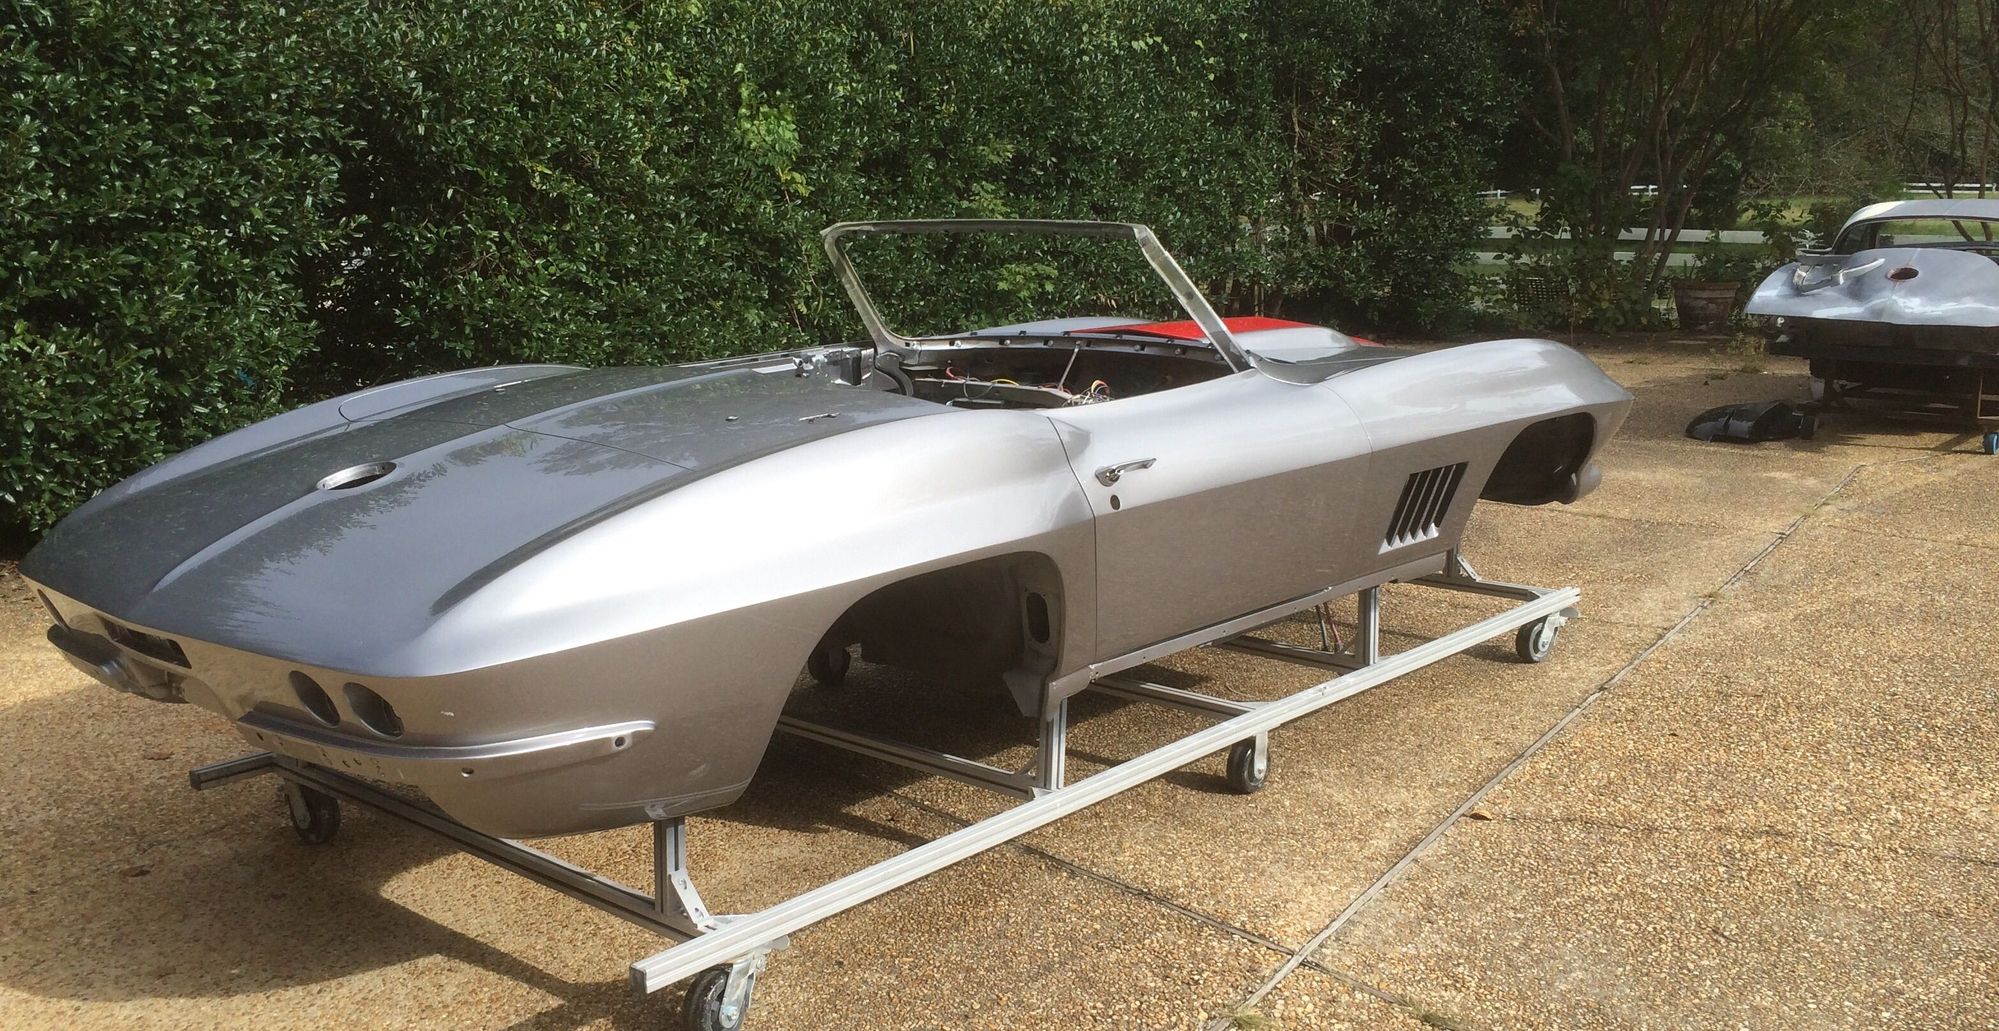
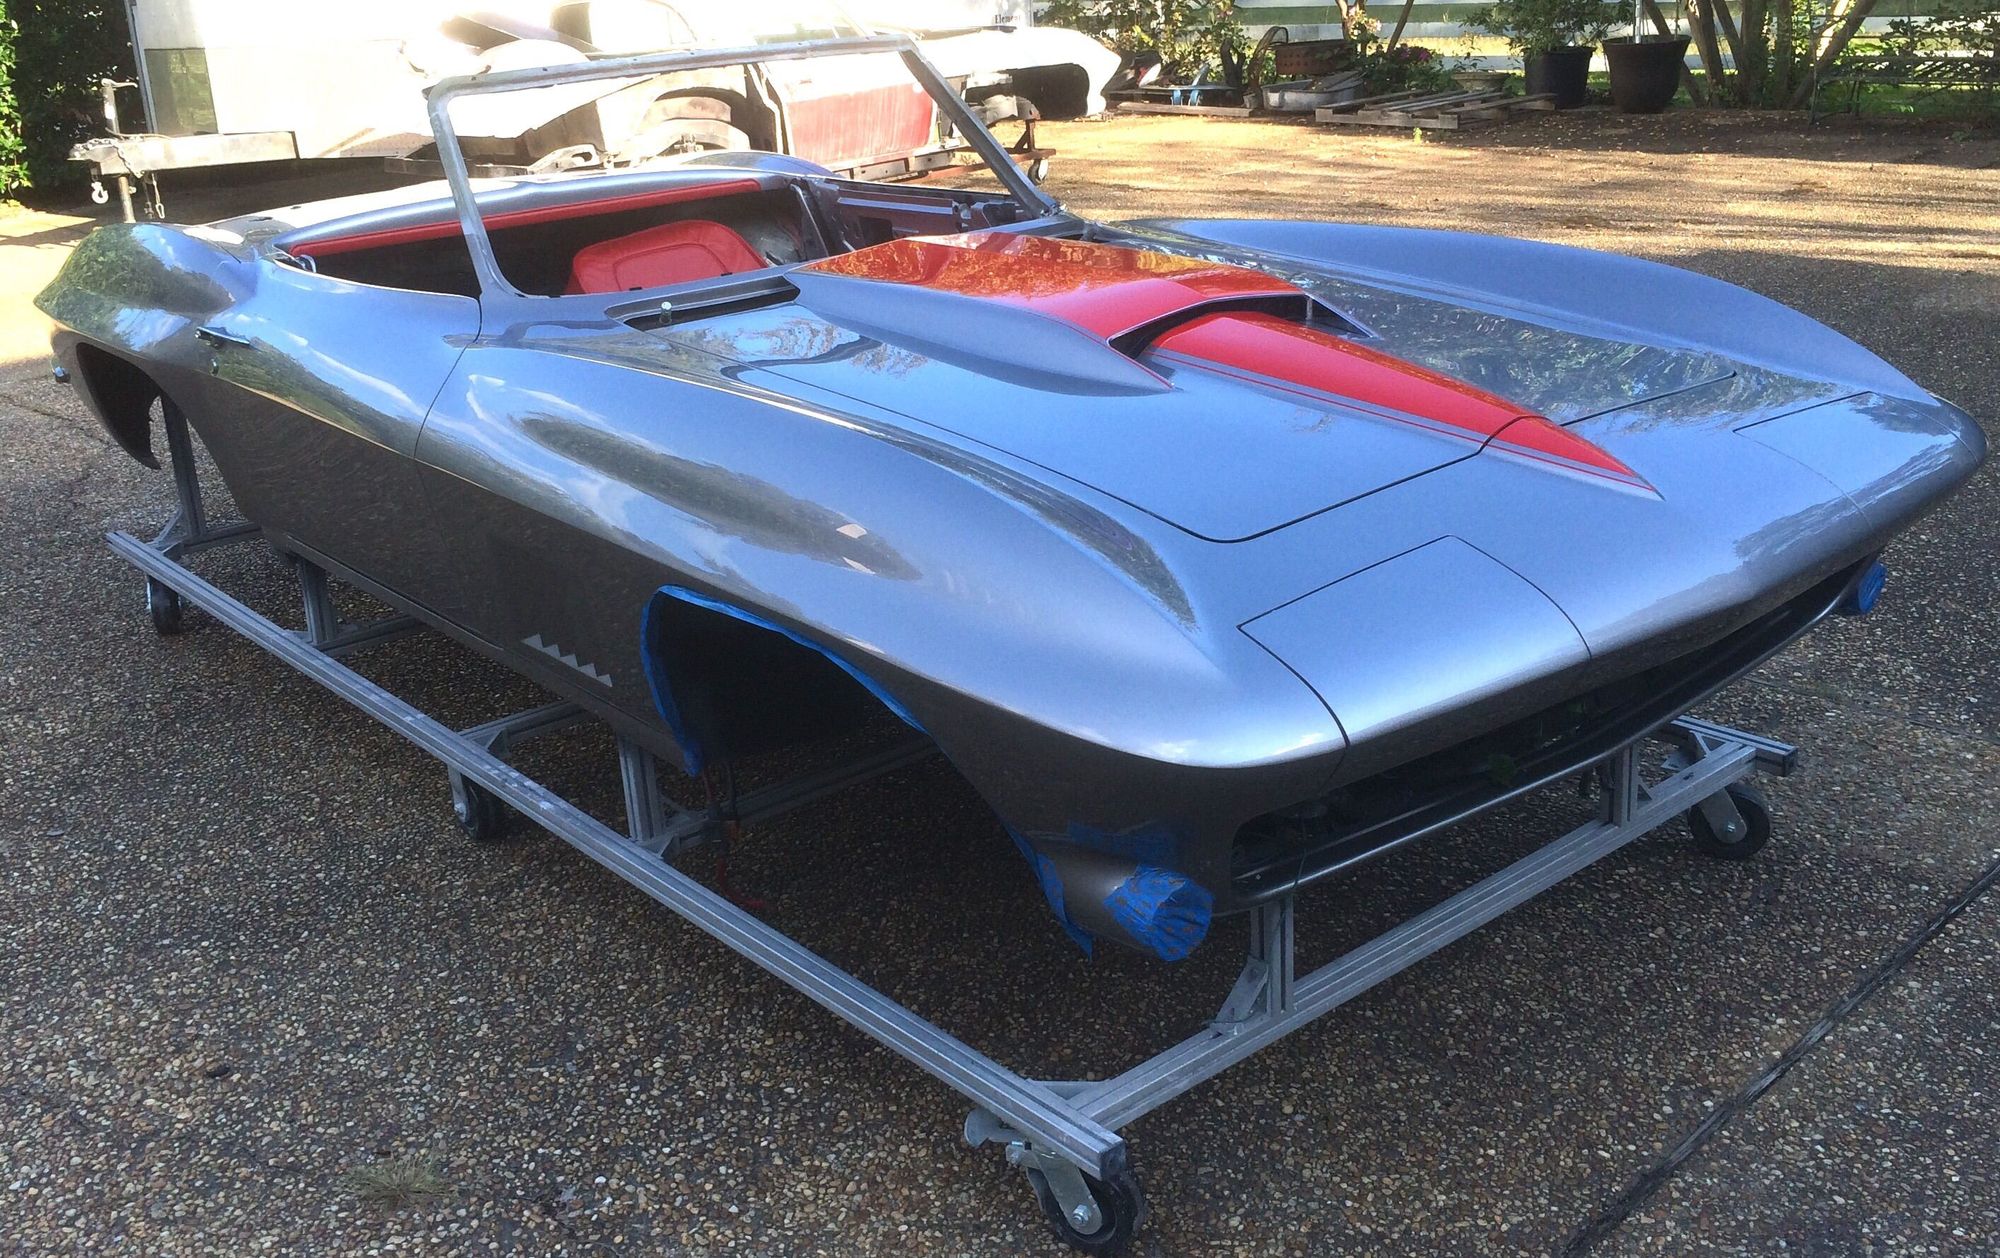
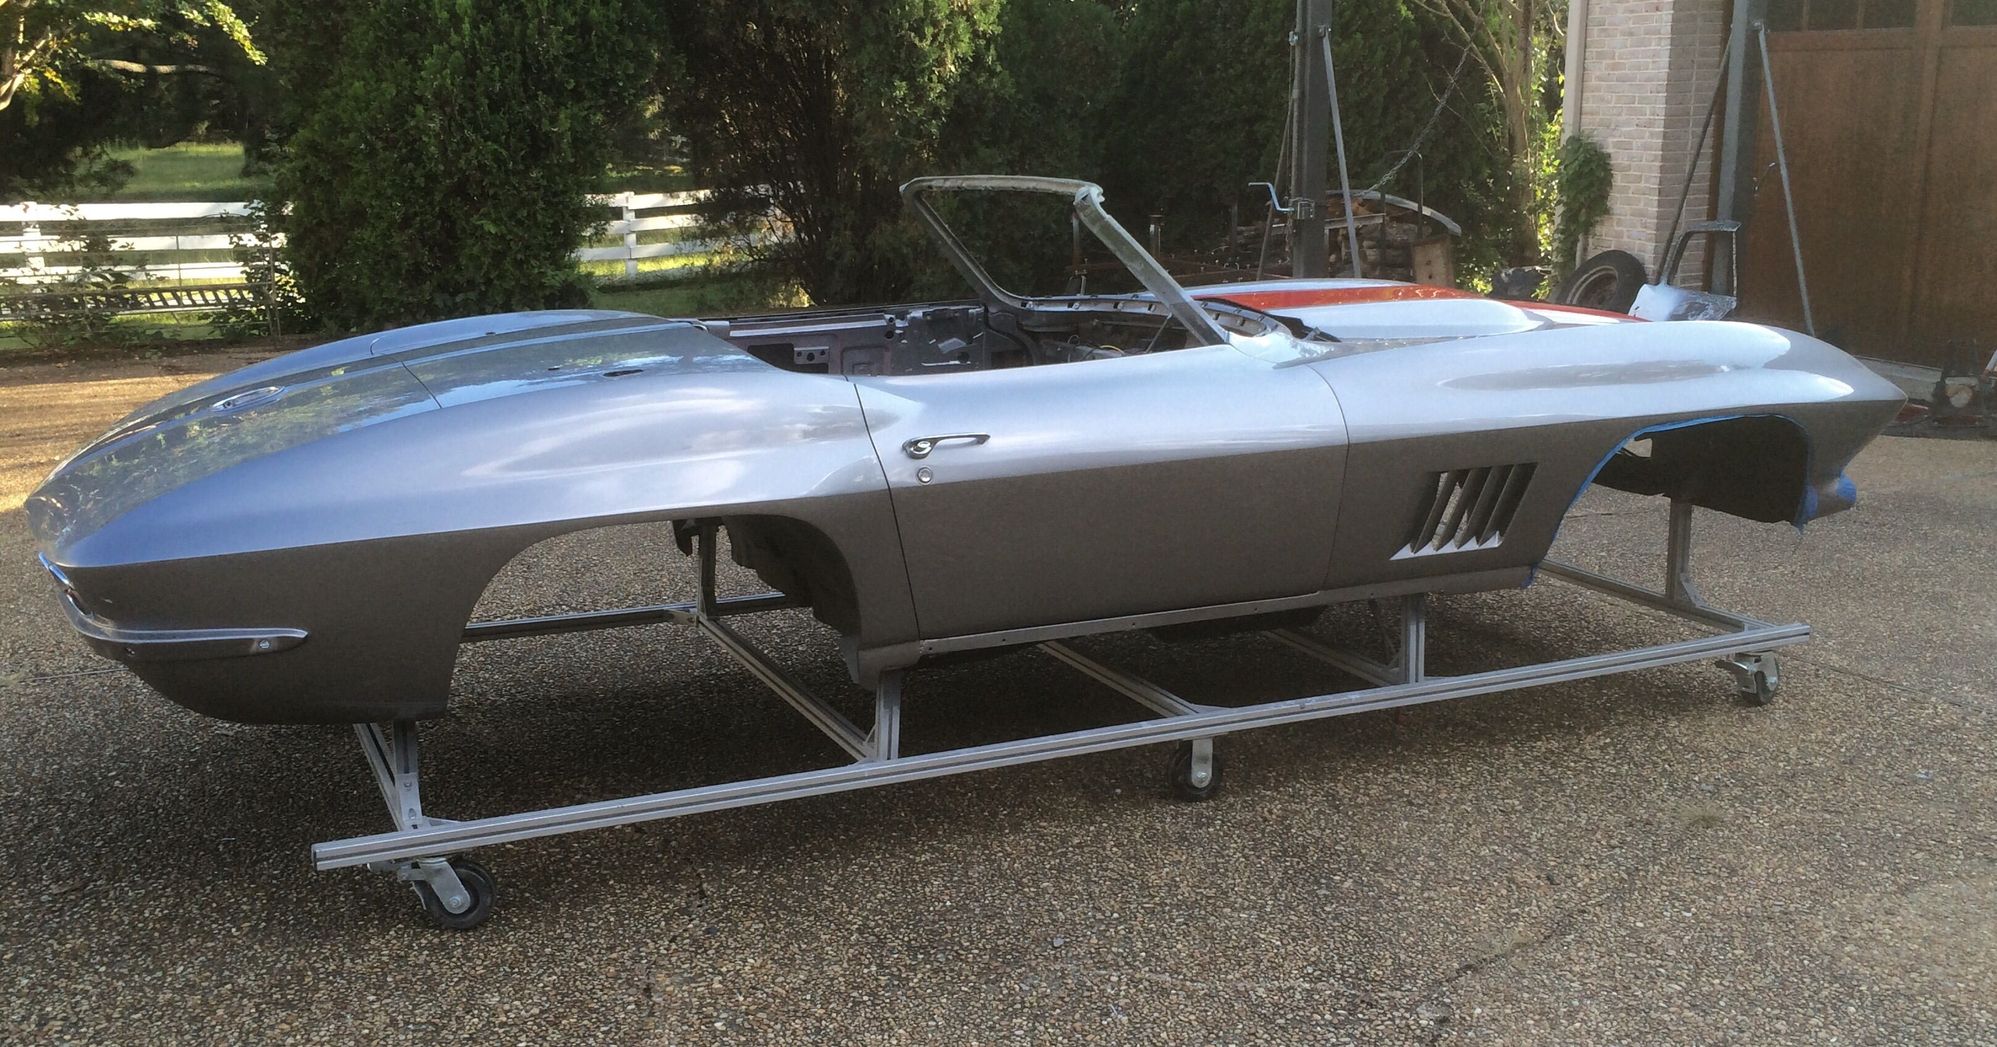
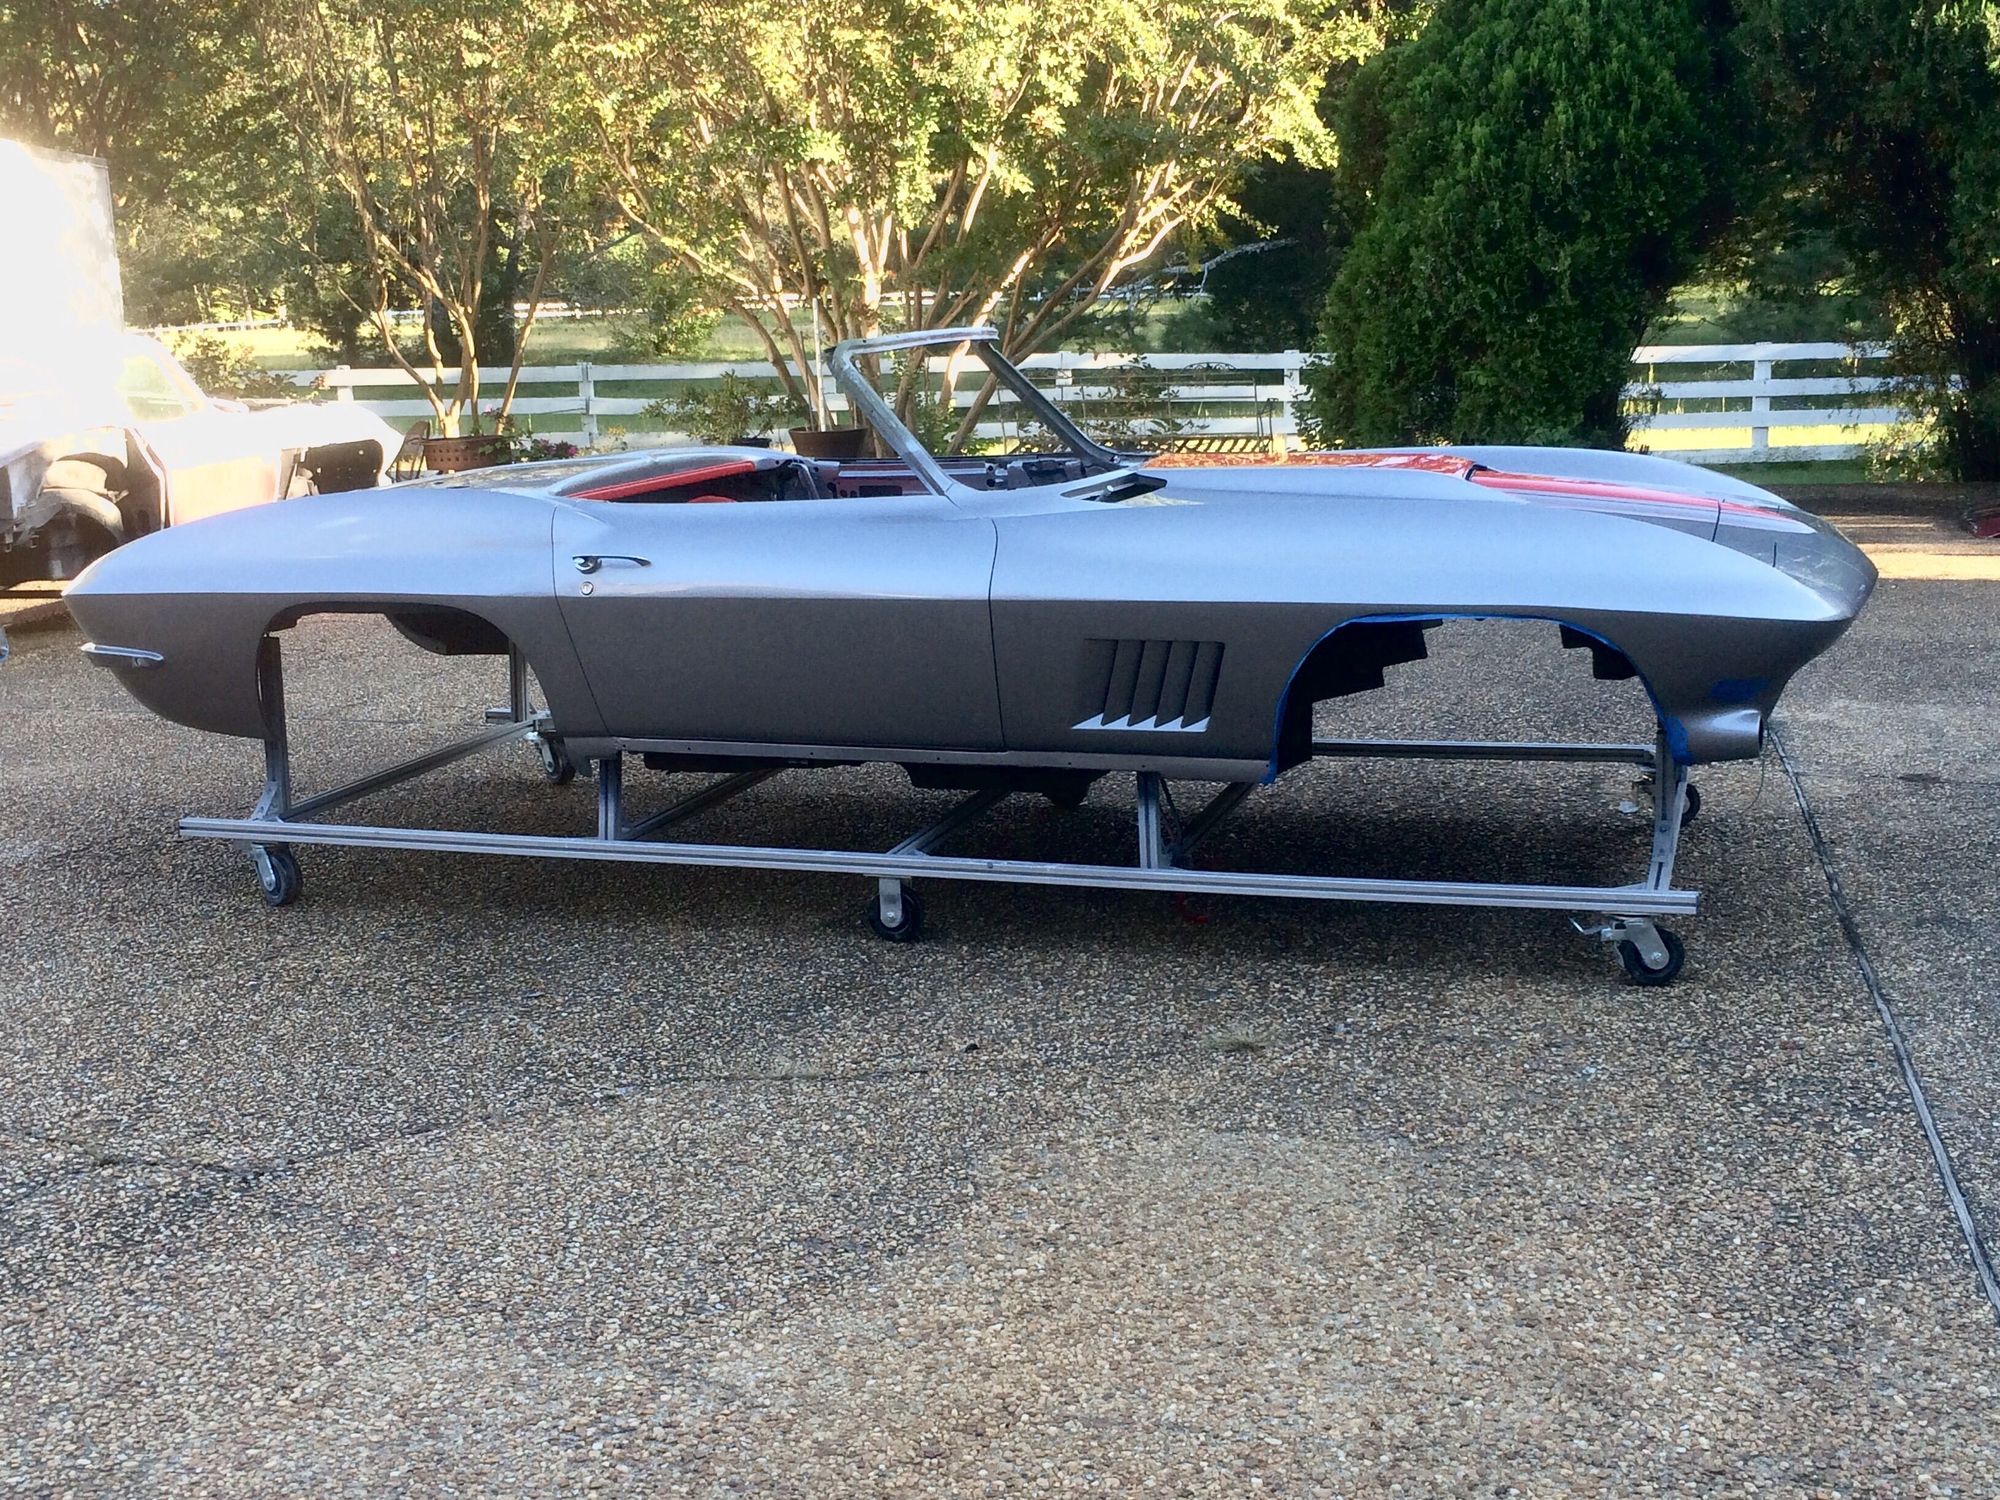
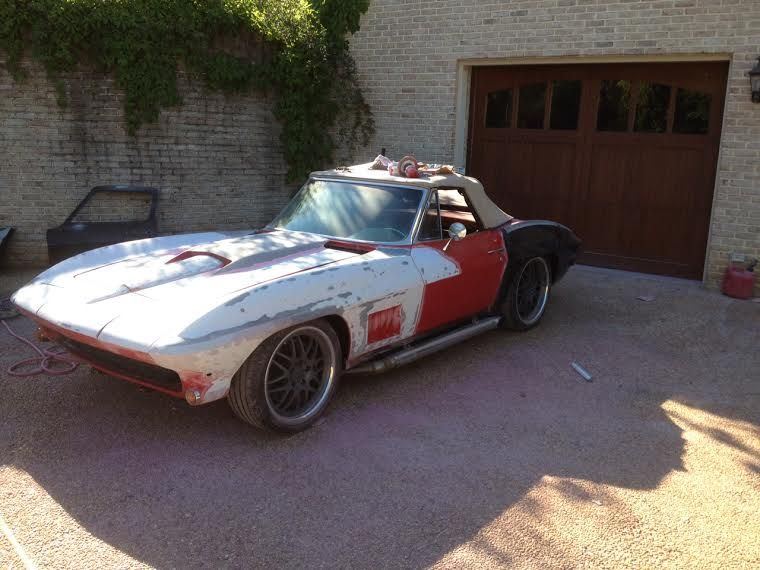
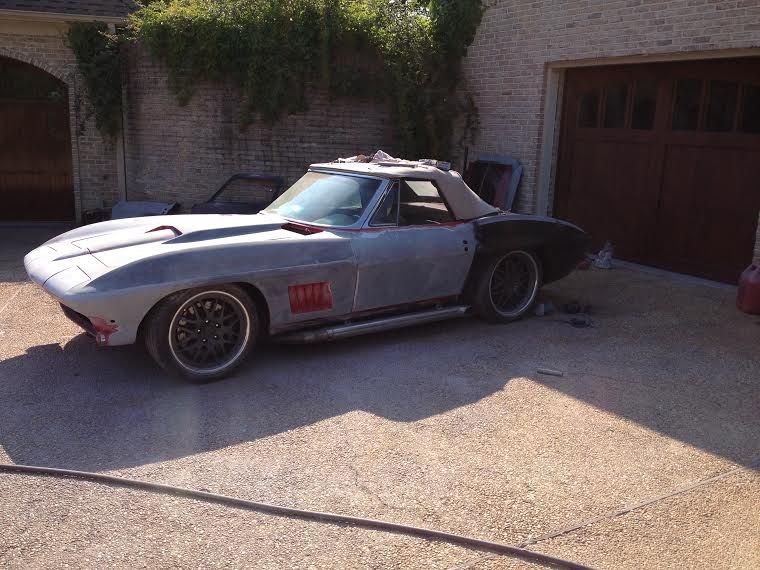
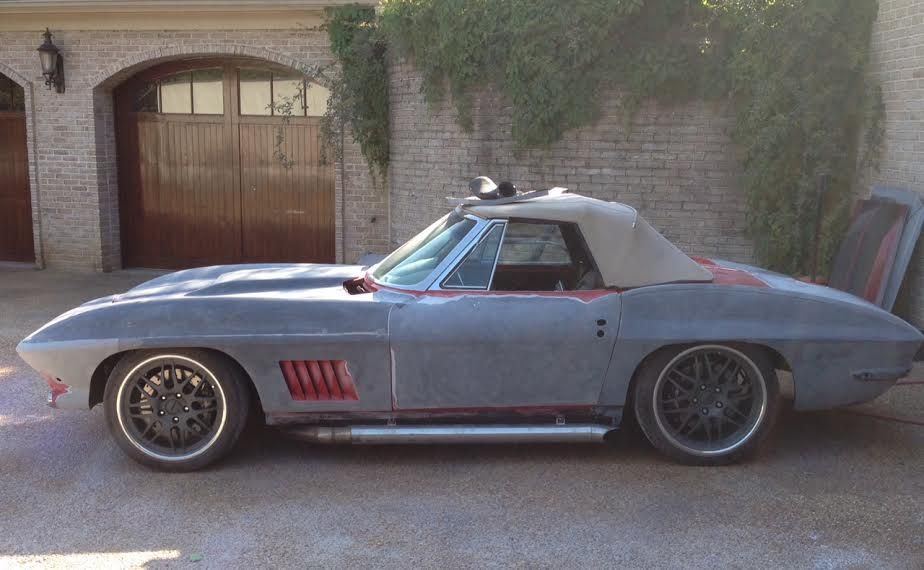
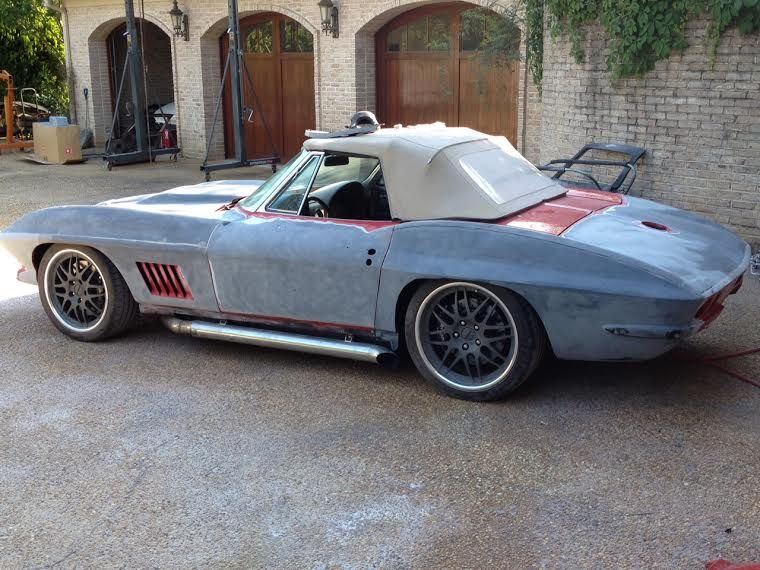
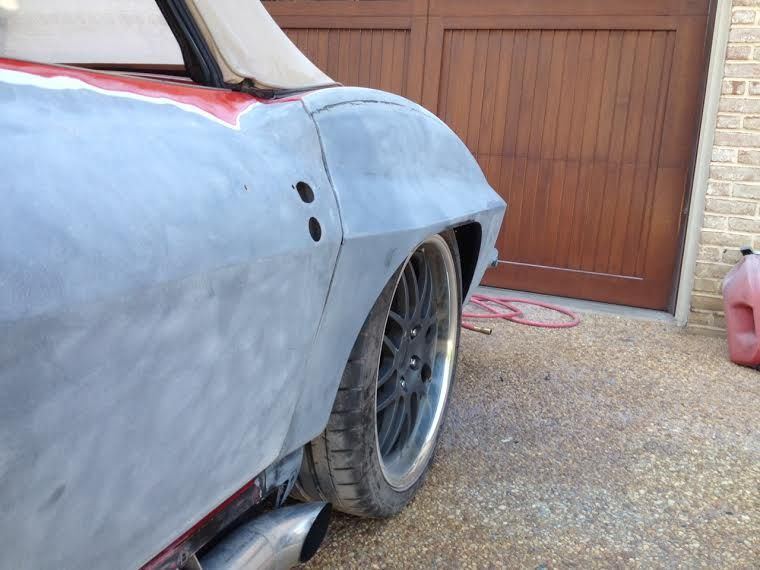
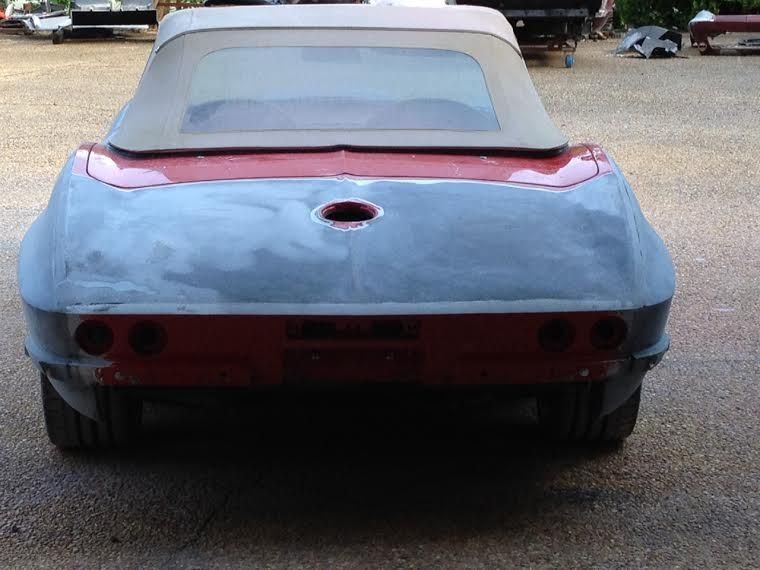
I bought this car last week and I'm going to do a quick rebuild of it...well, as quickly as possible. Most of the work done by roadster shop is good, but cosmetically, it needs a lot of love. The wiring is ok, but they half arsed it in some areas. The paint is pretty bad so it will need to be striped down to bare glass. I have new wider quarters ordered and will be changing the wheels to polished aluminum...rears are only 8.5.
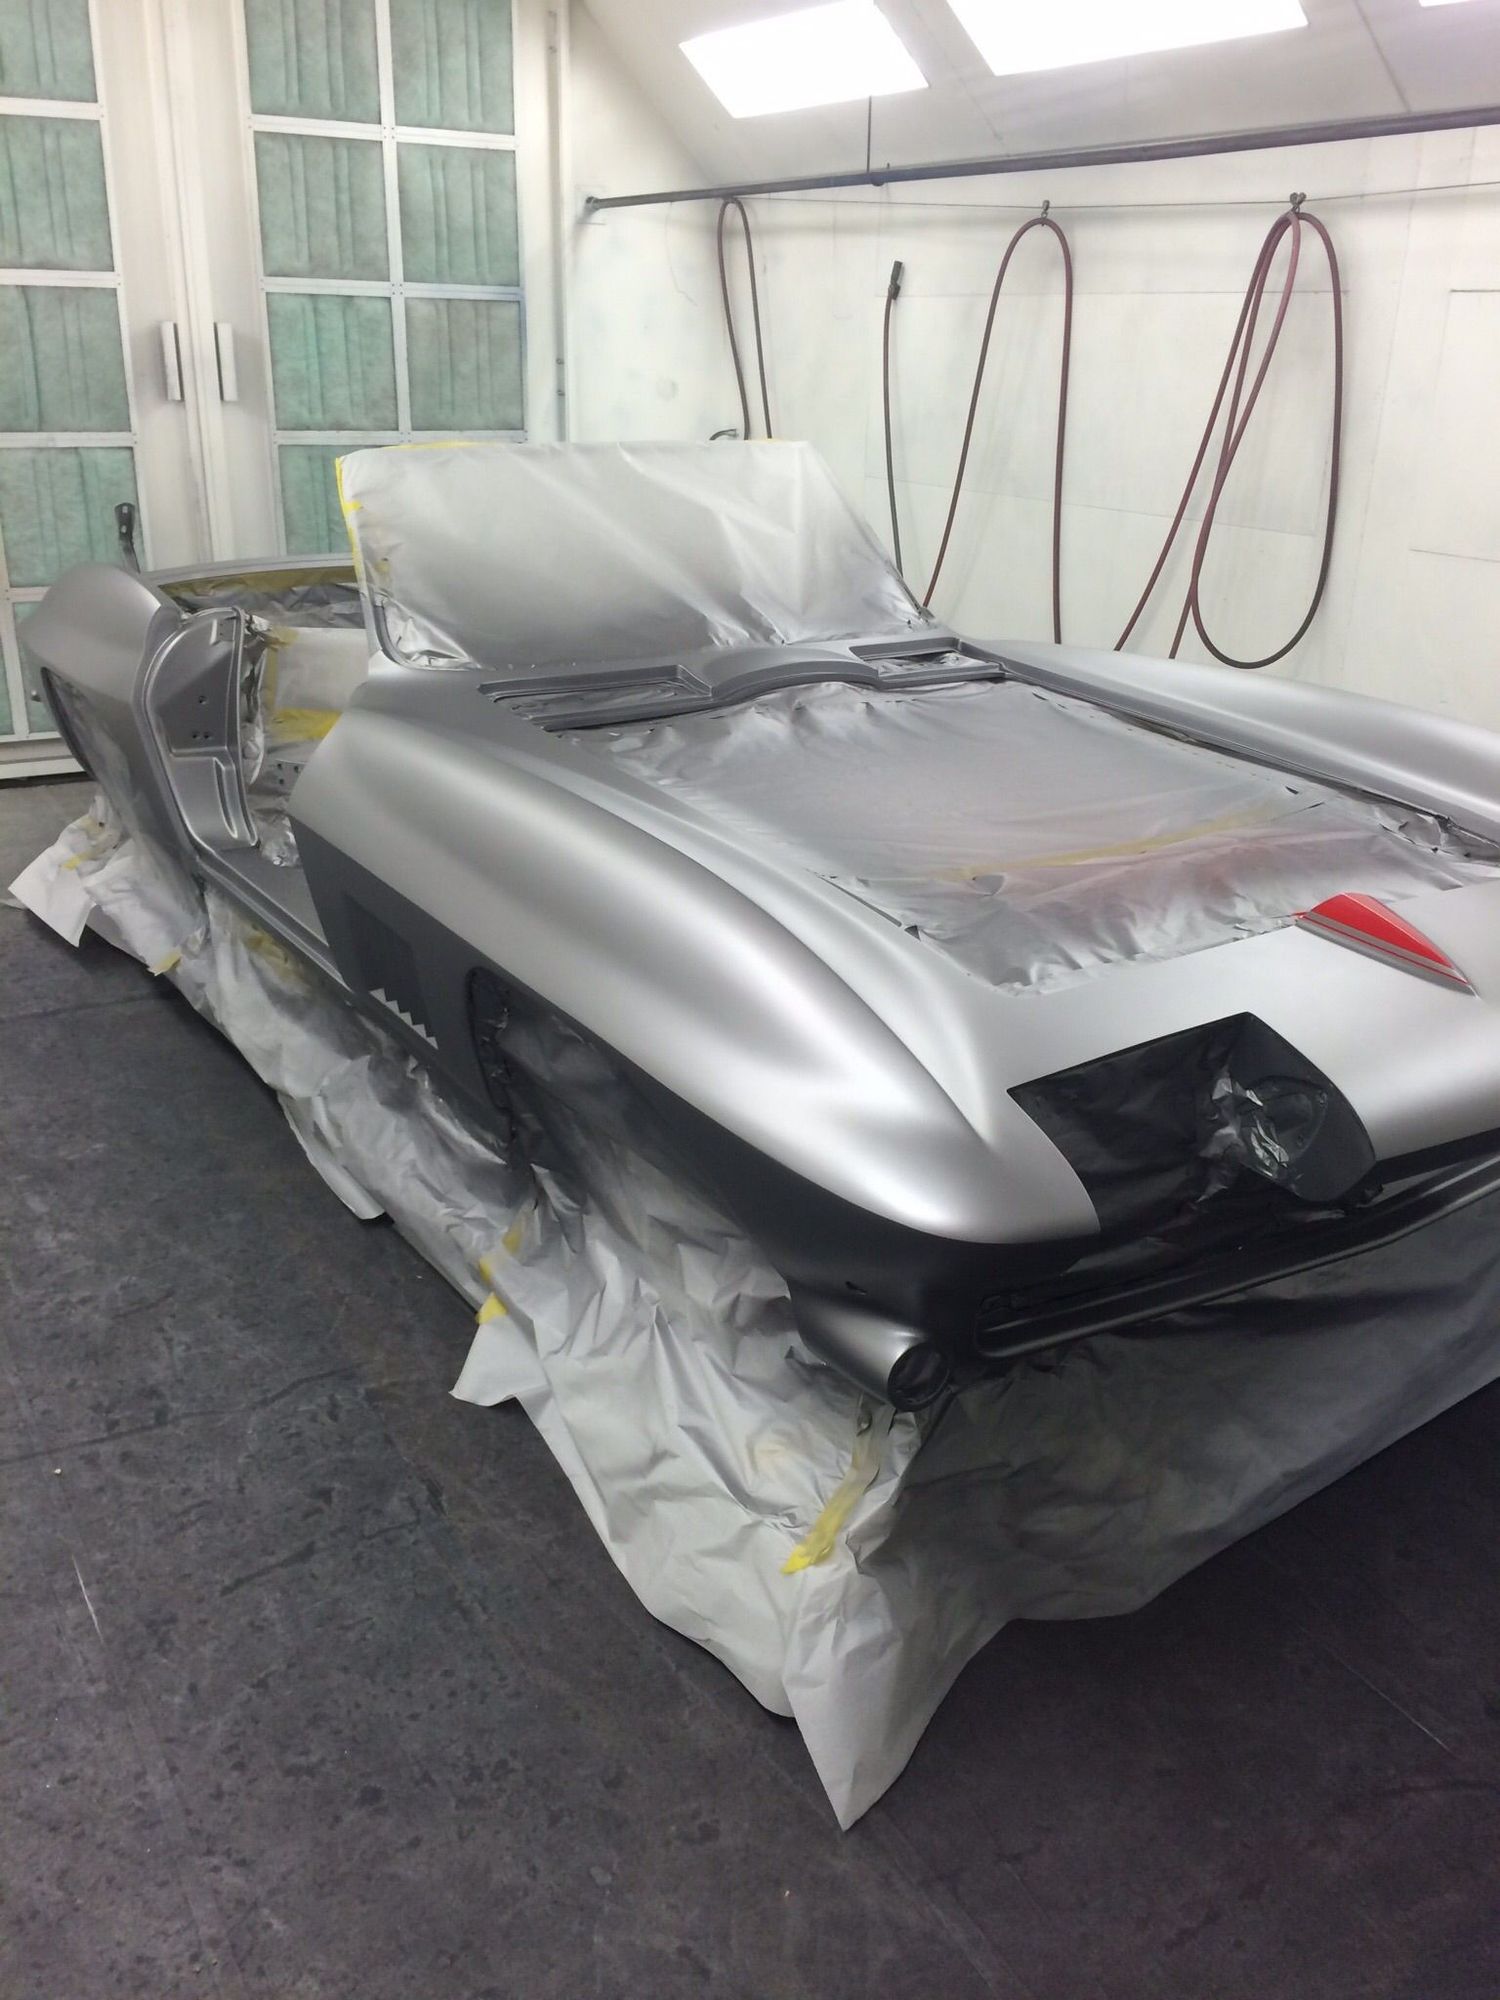
Silver/red is the choice currently.
80-image_f66624d3ce122830f9bc9b2fcebdad59dadc3cdd.jpg


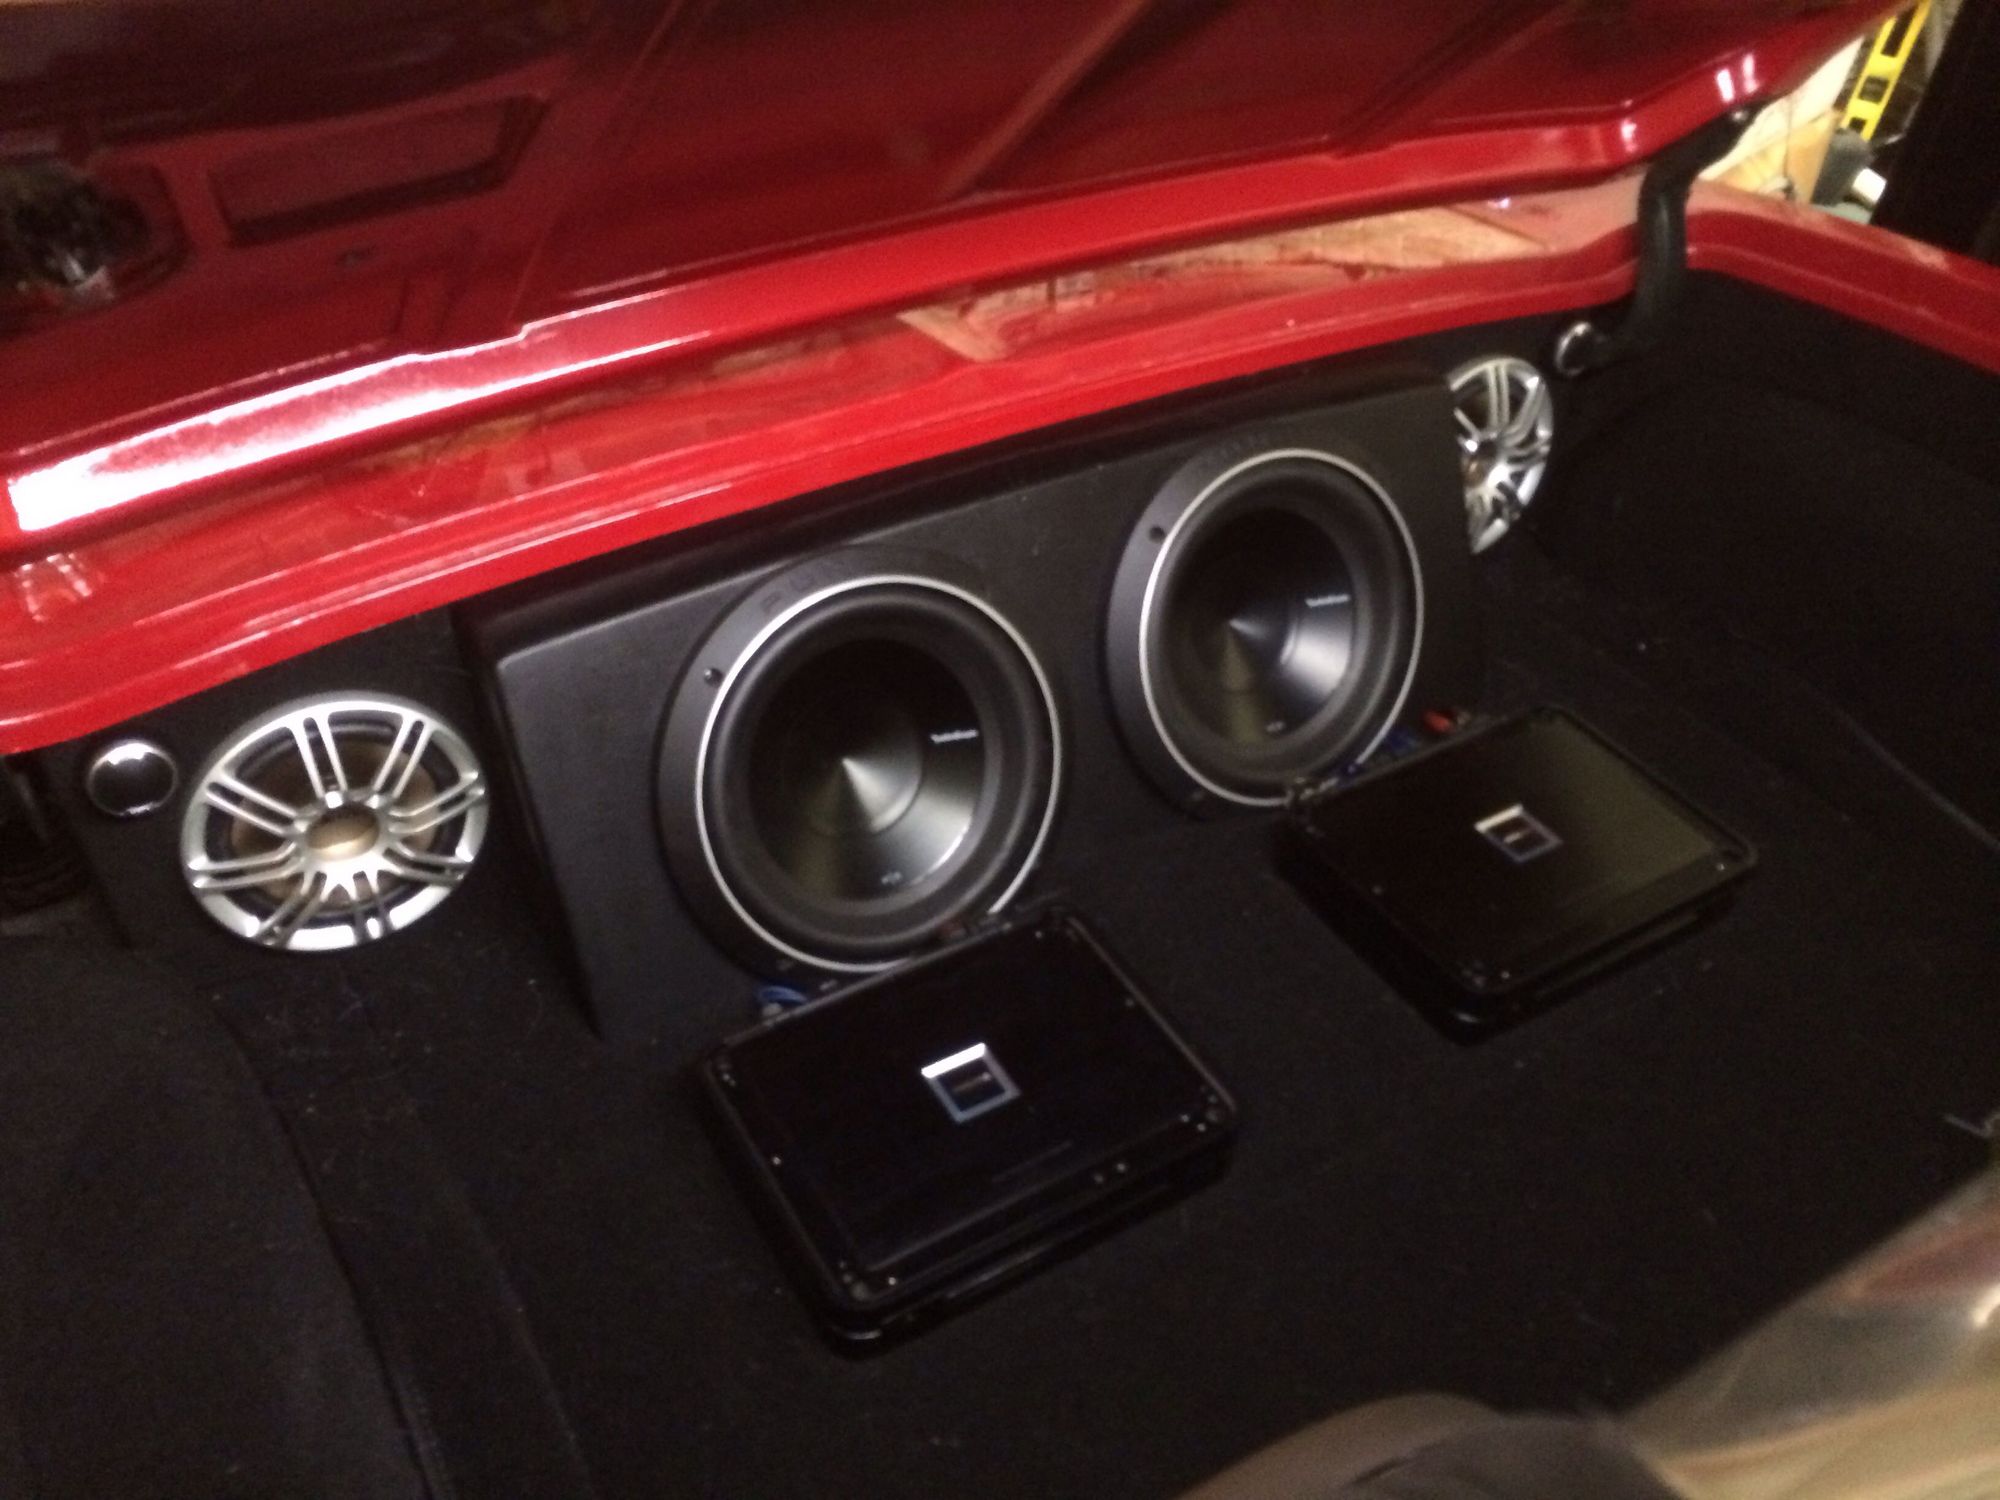
Stereo is beyond excellent minus the head unit in glovebox.


80-image_7baa7084eb730a7d14defbef9276755539cc8ee1.jpg


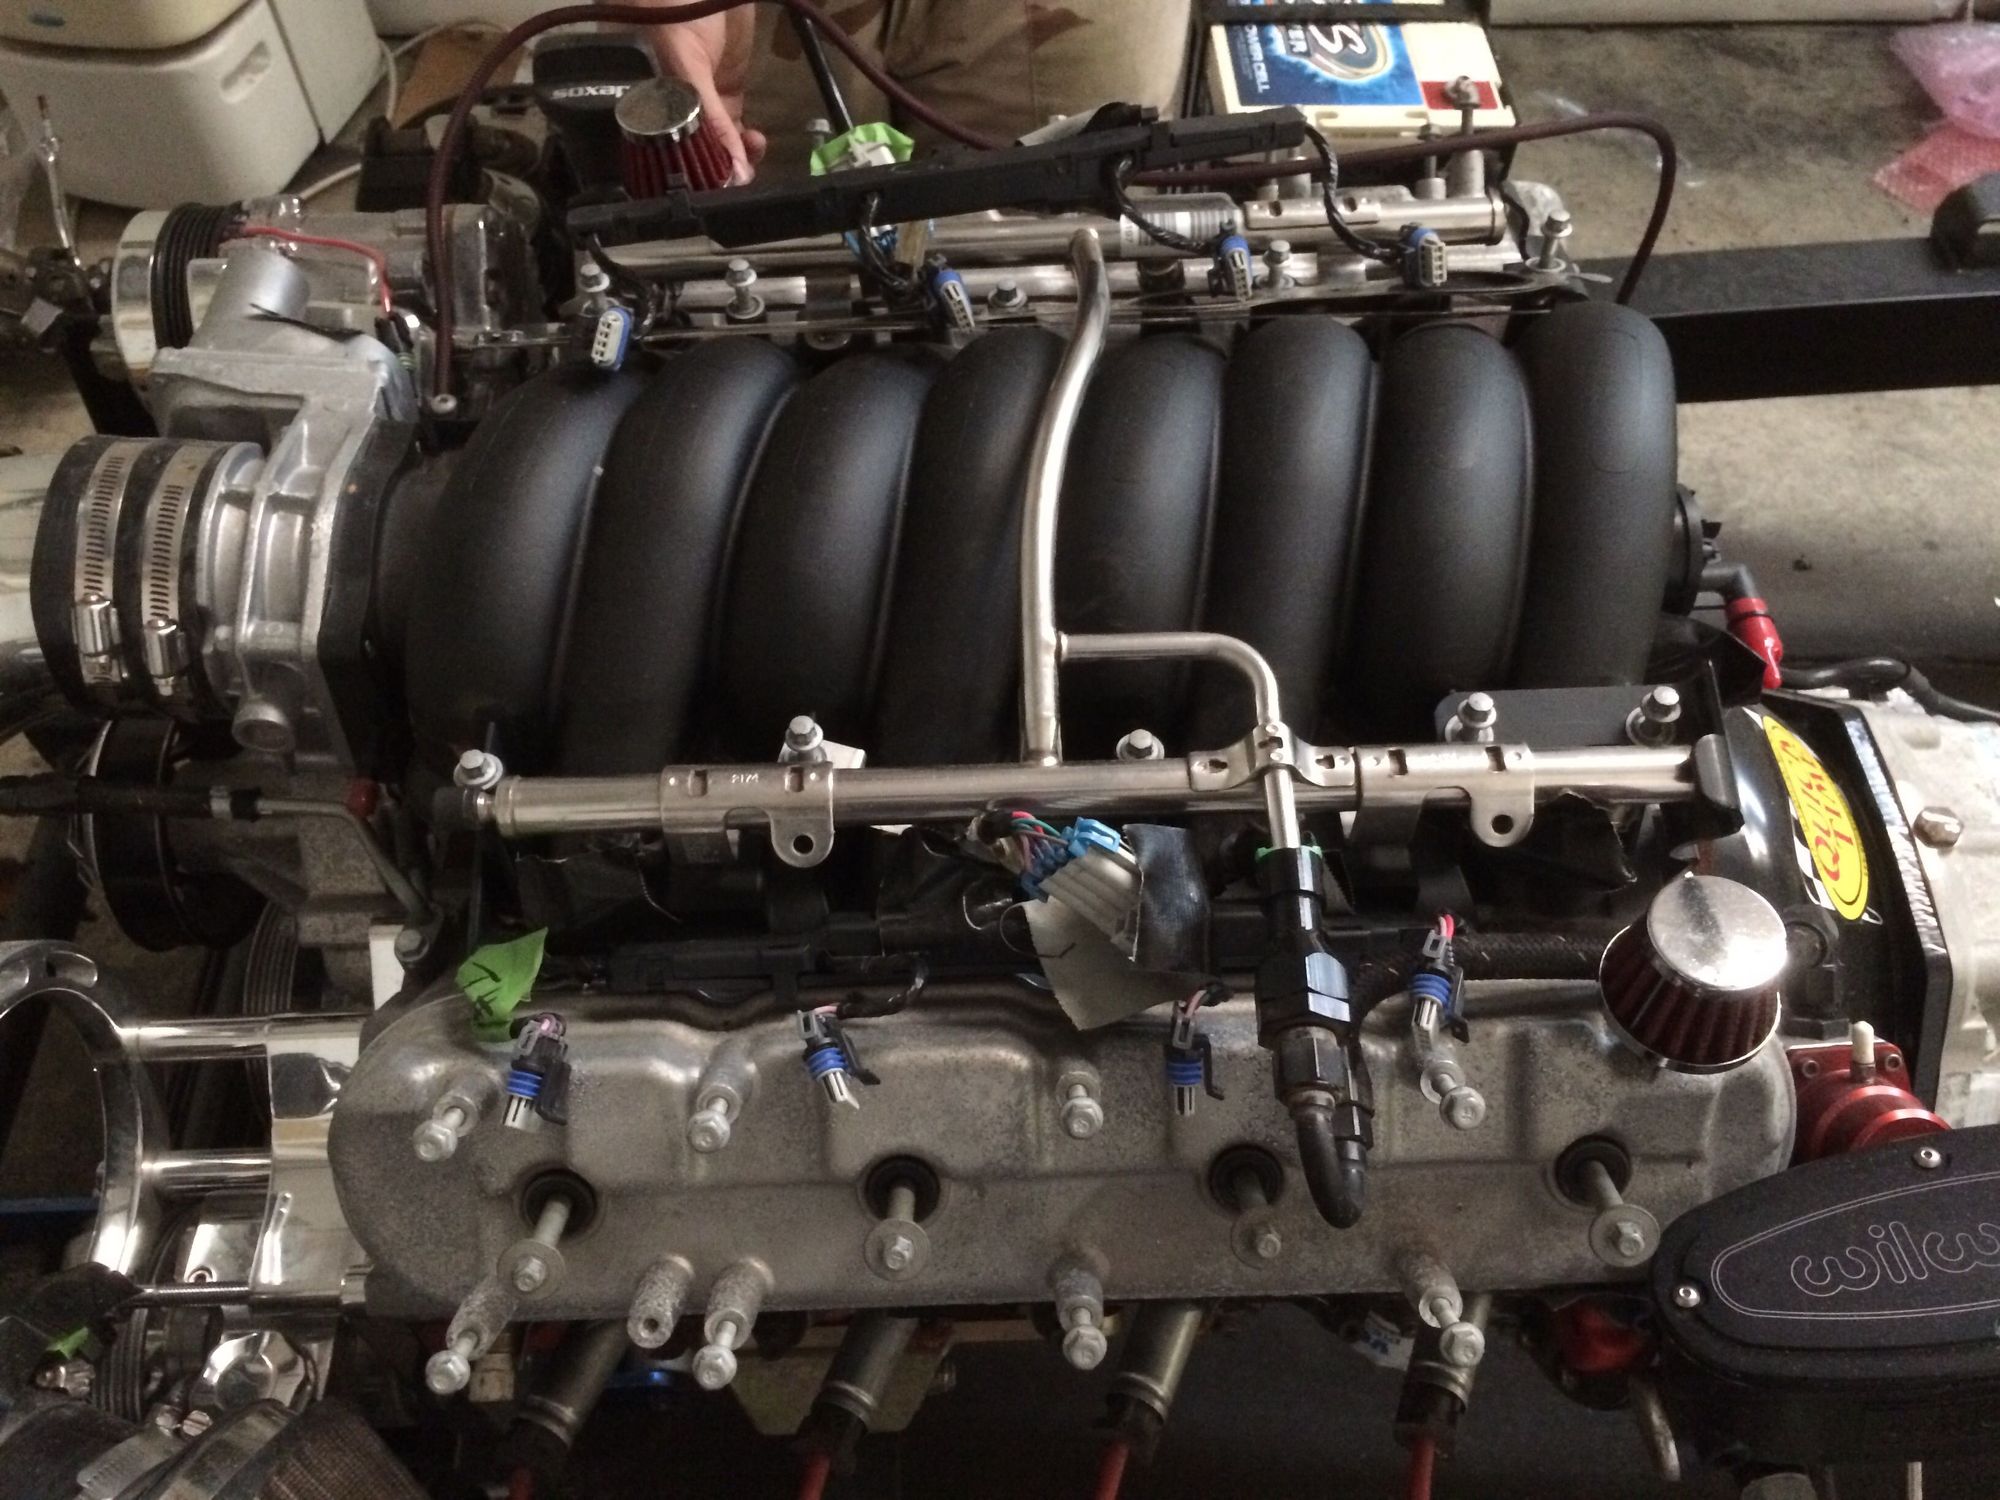
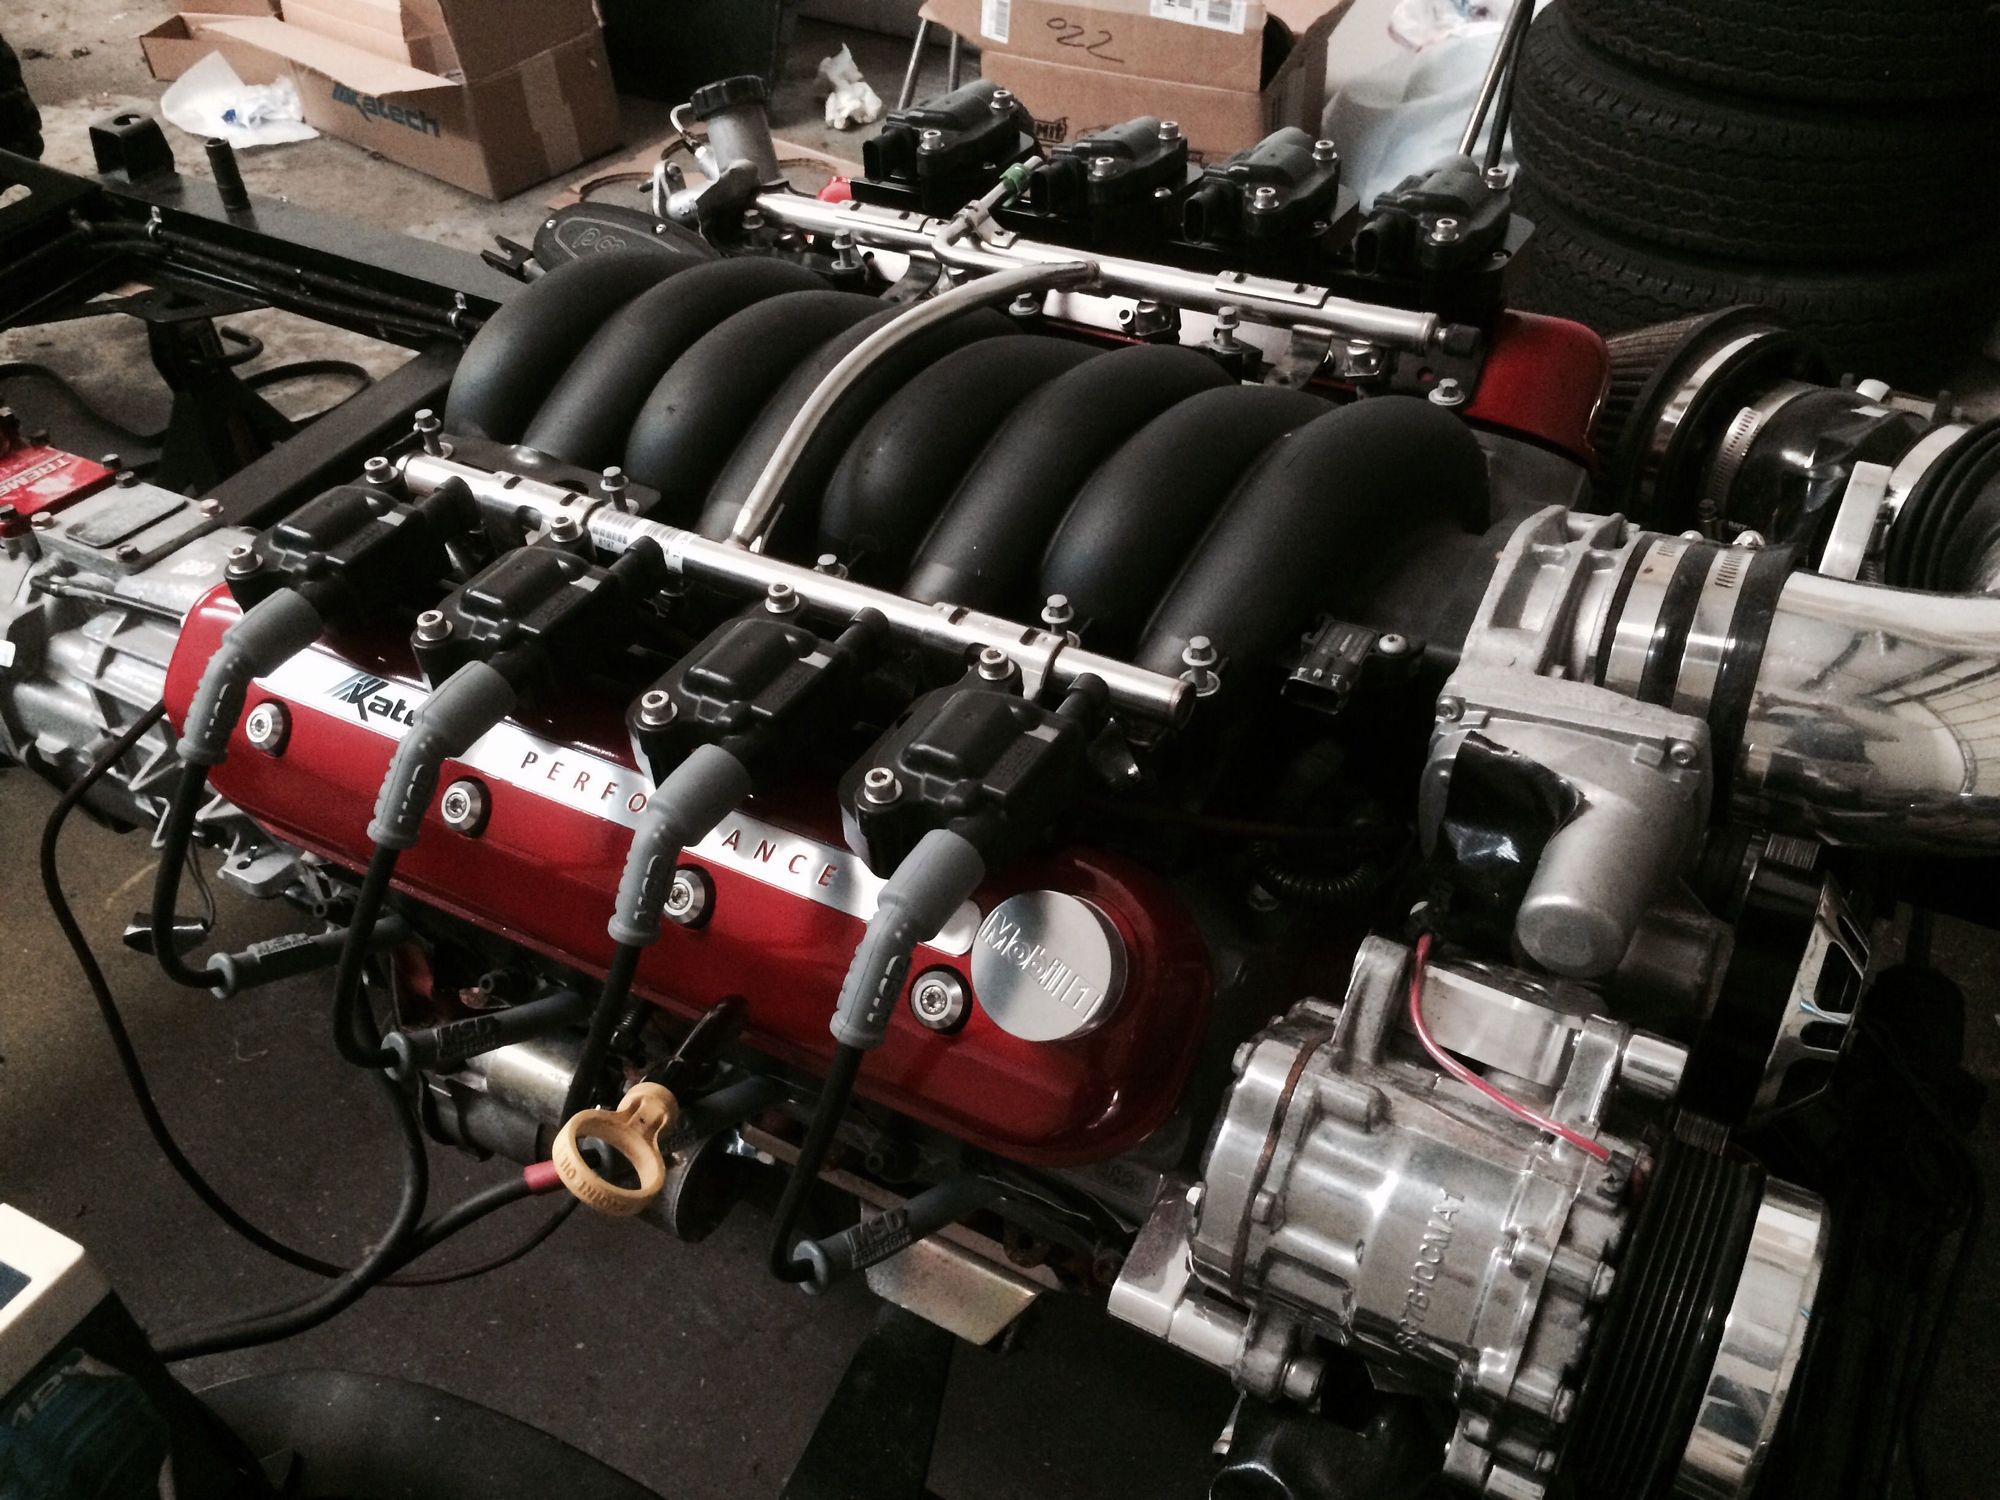
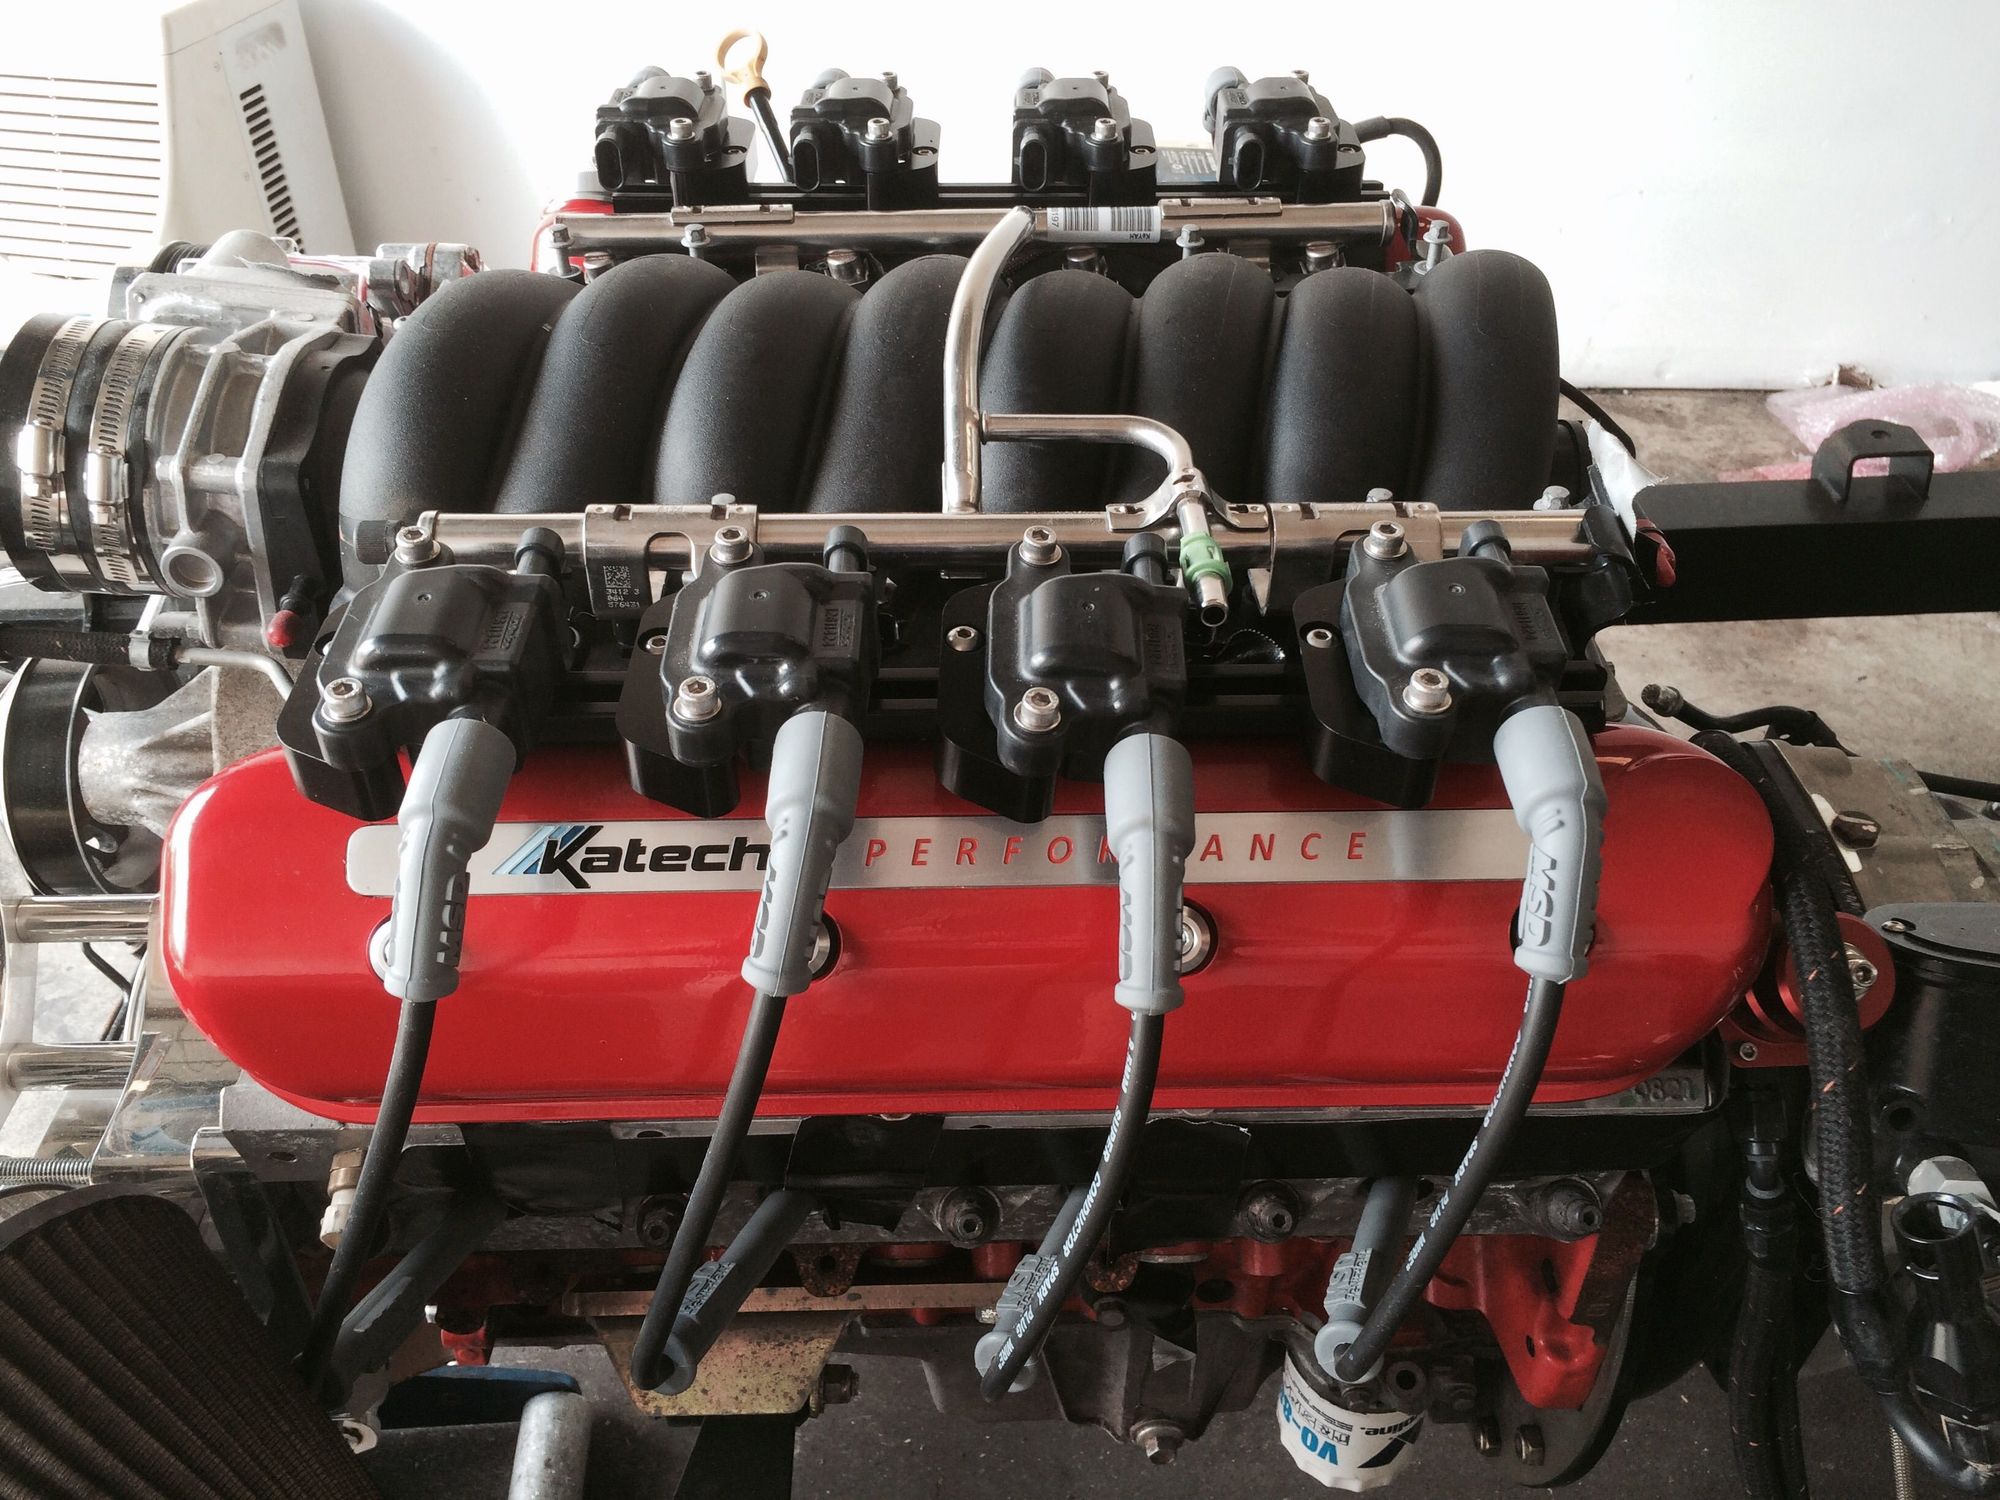
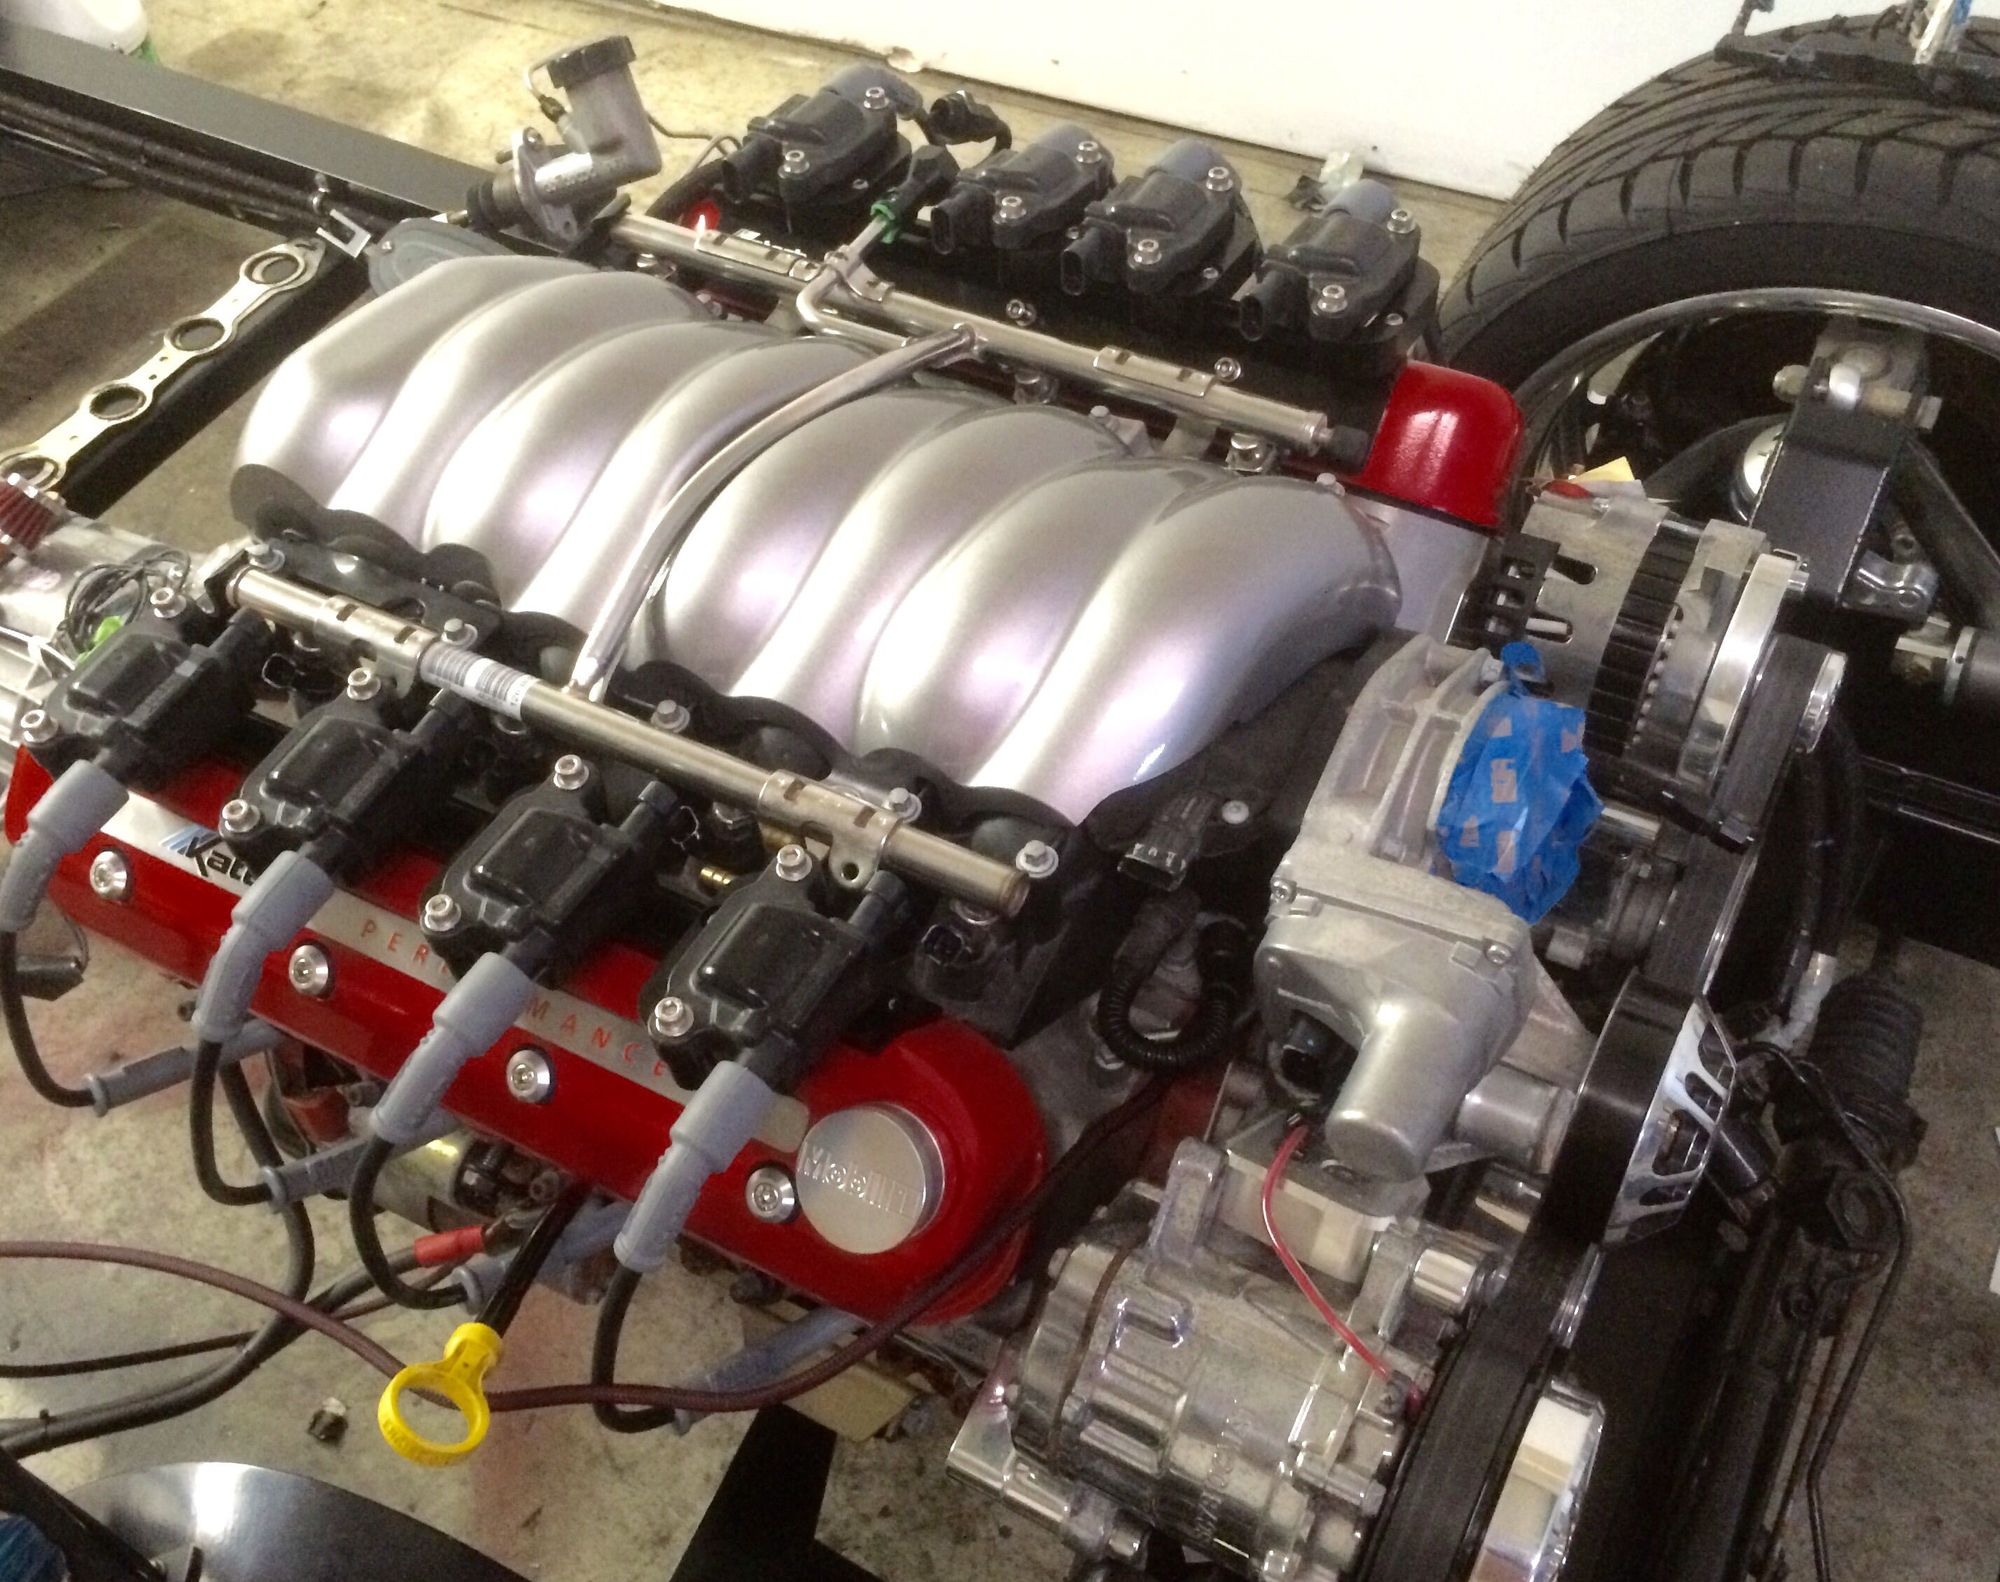
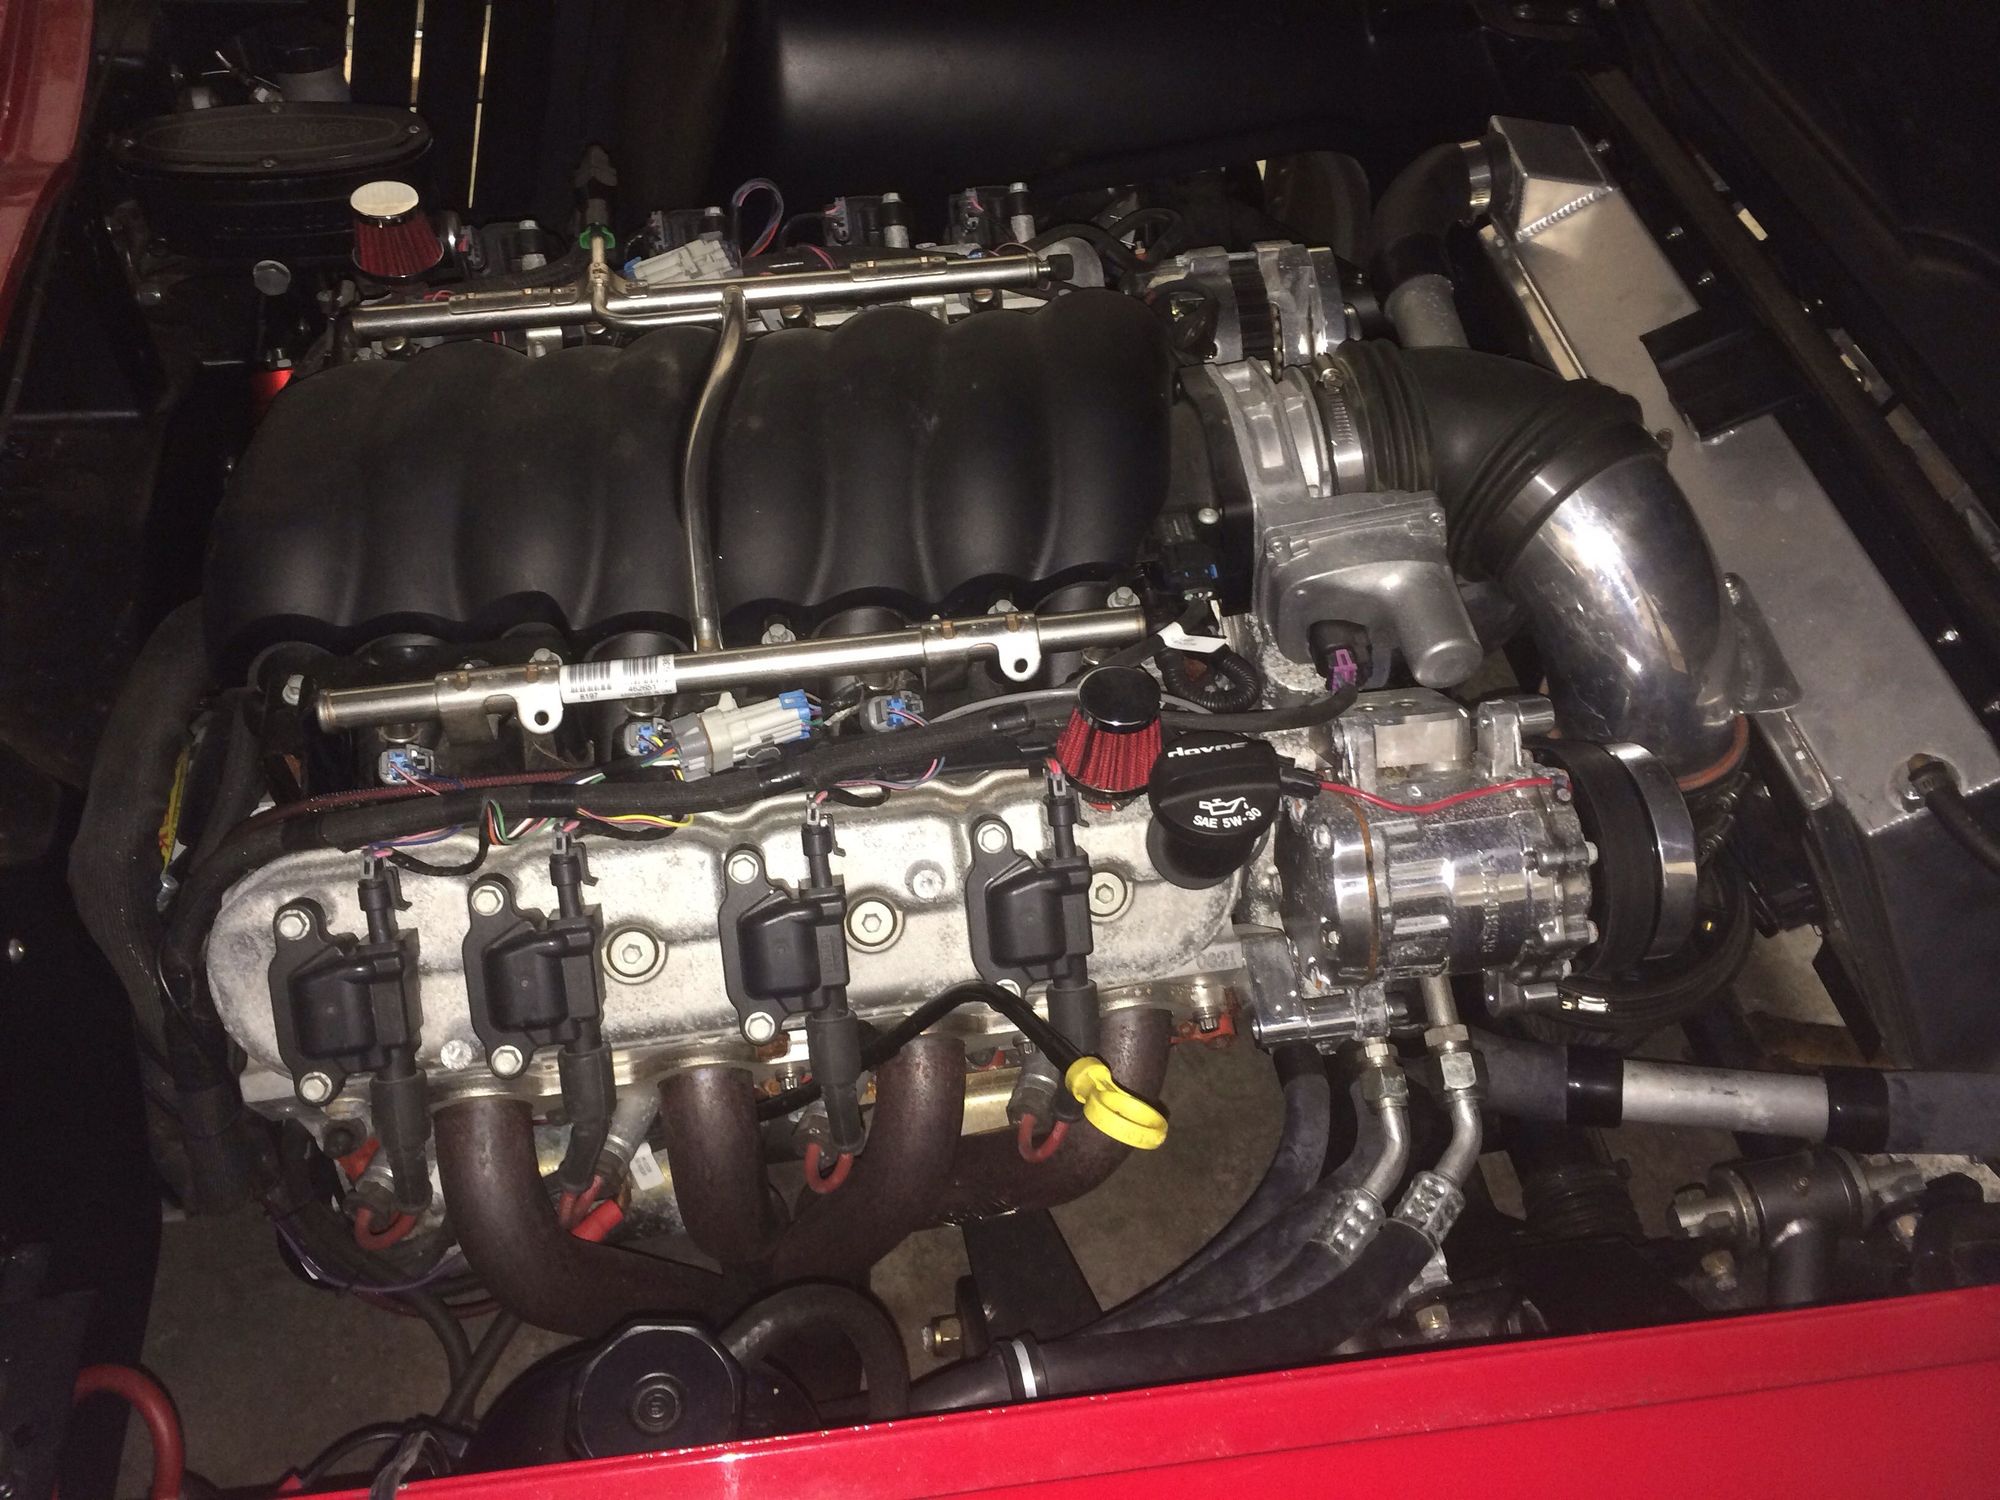
Air intake is limiting proper readings and performance, so I ordered a new Dewitt's radiator with inlets both on passenger side to free up space. Also ordered new valve covers and a coil relocation kit. Overall, car handles and performs great. It just needs a lot of finishing love.
80-image_9e4ab8d1fd2c2806216e1861a3900b826e52f7e9.jpg
 
4/25/2015

I started to strip the paint and make the necessary repairs to the body this week.
1st stop was fixing where the louver panel and parking lamp panel were protruding out too far. I found that someone had left a chunk of old bonding strip in-between the other bonding strip and panels and that the parking lamp panel was bonded on incorrectly which caused the parking lamp panel to be pushed out at the rear where it meets the louver panel.


The end of the louver panel was actually missing and someone had just filled the void with a crap ton of filler.


I am going to let the panel bond cure over the weekend, then I will start putting evercoat 870 in the voids between the panels next week. Unfortunately, the driver's side is off as well, albeit not as bad, but the parking lamp panel will need to be removed from that side as well.


I also started the process of deleting the antenna hole.


When I bought the car I could tell that both fenders had been replaced because the repairs were showing through. Once i sanded the paint off i found out why the repairs were showing. There was nothing in the voids except for filler. I literally peeled it out by hand after the car baked in the sun for a few hours. I started the process of glassing in the areas. I want these areas and the antenna hole to bake in the sun for at least two weeks and then another week once the high strength filler is put on top. If repaired properly, they should never show through again unless the paint has decayed.


Next week I will work on the other parking lamp panel plus remove the old quarters and install the new wider units.
 
4/27/2015

I spent 4 hours today removing the passenger quarter panel.


The new quarter panel is 1.5" wider, 2" if i trim the lip.


5/01/2015
5/01/15


I went through about fifty 80 grit DA discs this week. Fun! Both quarters are officially off, which took about 4 hours a piece slowly working them with a heat gun. After scraping and sanding the paint off of two cars in the last week and removing the quarter panels and parking lamp panel from this car, my hands feel like they are going to fall off! :crazy:


I am not sure what the pink filler is on the hood, but it is not on any other parts of the car. It is about damn near impossible to sand off. However, it must come off because the hood had bubbles and they go all the way down to the fiberglass. Not sure if you can see them in the last photo, but when i sand through all of the paint, primer, and 3 layers of filler on the hood there are bare spots on the hood where the bubbles were showing in the paint. The green filler smells terrible even with a high quality mask on. Smells like cheap wood filler...really odd!


80-67_vert_d6040a2dabdaf0c6f2cf054582d8a260c5130c38.jpg


80-67_vert_2_13676ca0bd8c467fddba705fe7c3bcf996c55b47.jpg


80-67_vert_3_37f3c966a070820726344c7ec8f5d5ea2743c65f.jpg


80-67_vert_4_e01eede48e8ead09040a912dae55fcf16261fa2c.jpg


80-67_vert_5_33ebb642ebb203958909c0a486296189d9defeb8.jpg
 
5/04/2015
I feel like I am finally making some progress on stripping the paint. I hope to have it more or less completely stripped by the end of the week. I found that whoever painted it last sprayed a crap ton of filler primer directly onto the bare fiberglass and filler in order to make short work of the paint job. The heavy sand marks were showing through the paint since the filler primer shrank in the hot South Alabama/North Florida sun.


80-67_vert_5_4_2_266faf87ca621d496d44805977a4618466d7d490.jpg


80-67_vert_5_4_43f6ca0eeaa8e29571f4cf251585ba85be0c630e.jpg


5/08/2015
For only 10 days of work thus far on the car, I have to say that I am really pleased with the progress I have made.


New wide rear quarters are officially installed. These are not GTS quarters, BTW! I will never use their ill fitting 900 garbage quarter panels again. I didn't even need to use clamps on the upper portions of these quarters, just panel tape!


80-67_convertible_restomod_710fb38b218e821a975e8833db3aab520675a241.jpg


80-67_convertible_restomod_2_988acf7371143f92f8dced9ba43279bc60b80ee9.jpg


80-67_convertible_restomod_3_1d1a1dce859e4425e479a3ef4048feafaf036d20.jpg


80-67_convertible_restomod_4_eeb8070268911cabee9df5e76be7f2cf3cacb802.jpg


80-67_convertible_restomod_6_94ade7a55128160323d1c2d17d06819367f19ca2.jpg


Stage 2 of antenna hole delete! I decided to fill in a bit of the void with 3m panel bond. Next I will top coat with evercoat 870. This should ensure that no matter how long it sits in the hot sun, it will never swell under the paint.
80-67_convertible_restomod_5_359440dd266468e616c82210dc3e3e05076502ff.jpg
 
5/27/2015


5 hours today block sanding and starting to fill and rebuild the lines on the front end. Want to know what fenders looks like after someone dogs them out with a DA sander and a low grit paper? Well, here ya go....just a few low spots to fill! I am by no means an expert at bodywork, so this is probably going to take me about 5 times longer than a pro to fix. I guess now I know why the body had so much filler primer!!! :w
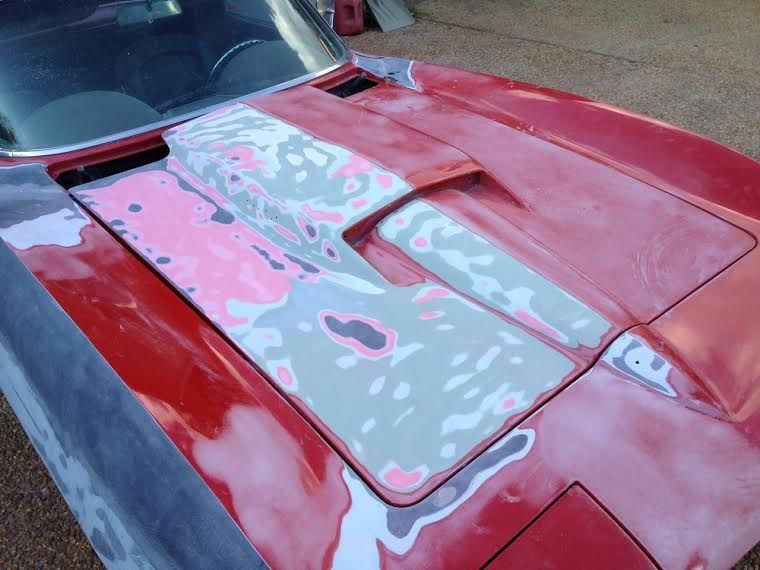
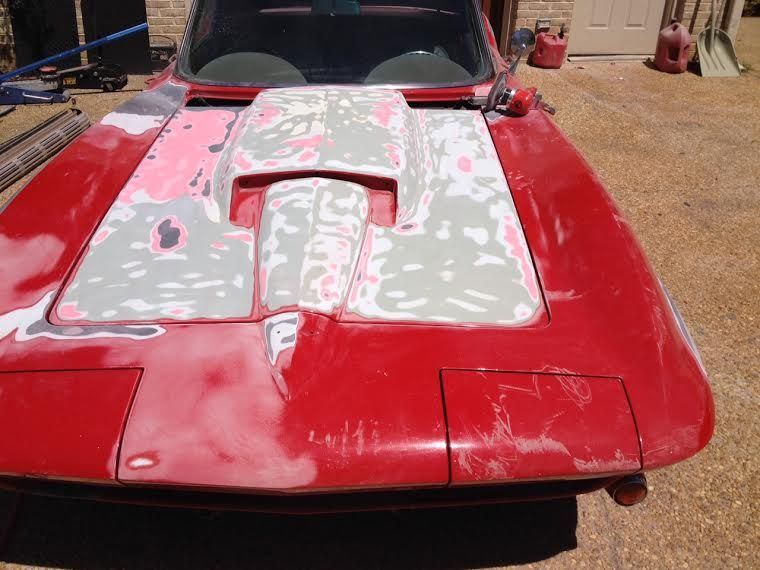
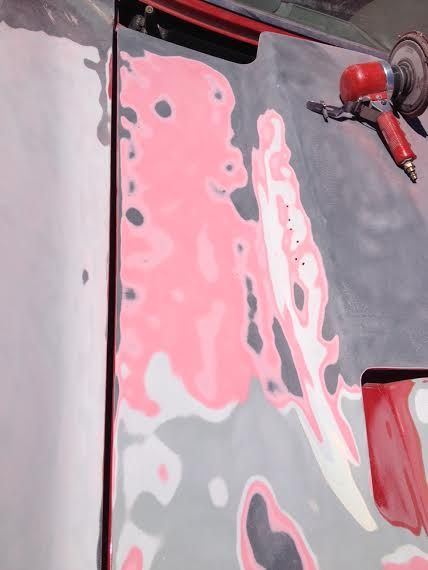
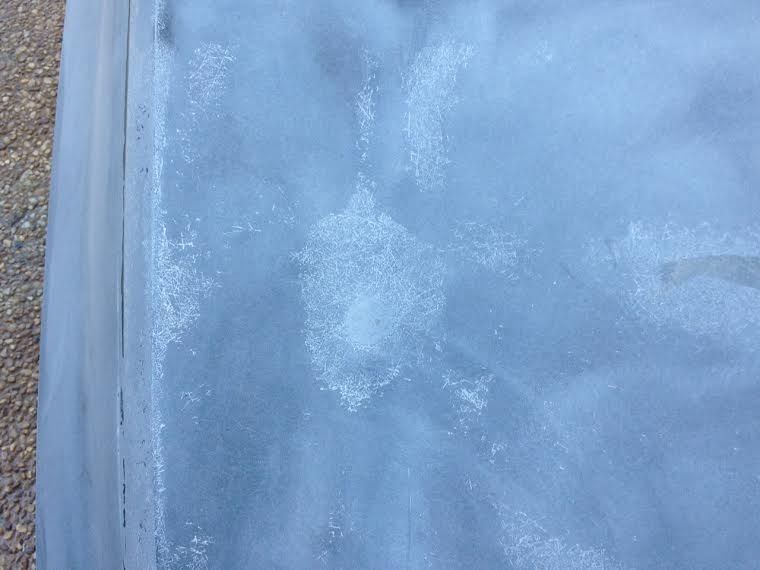
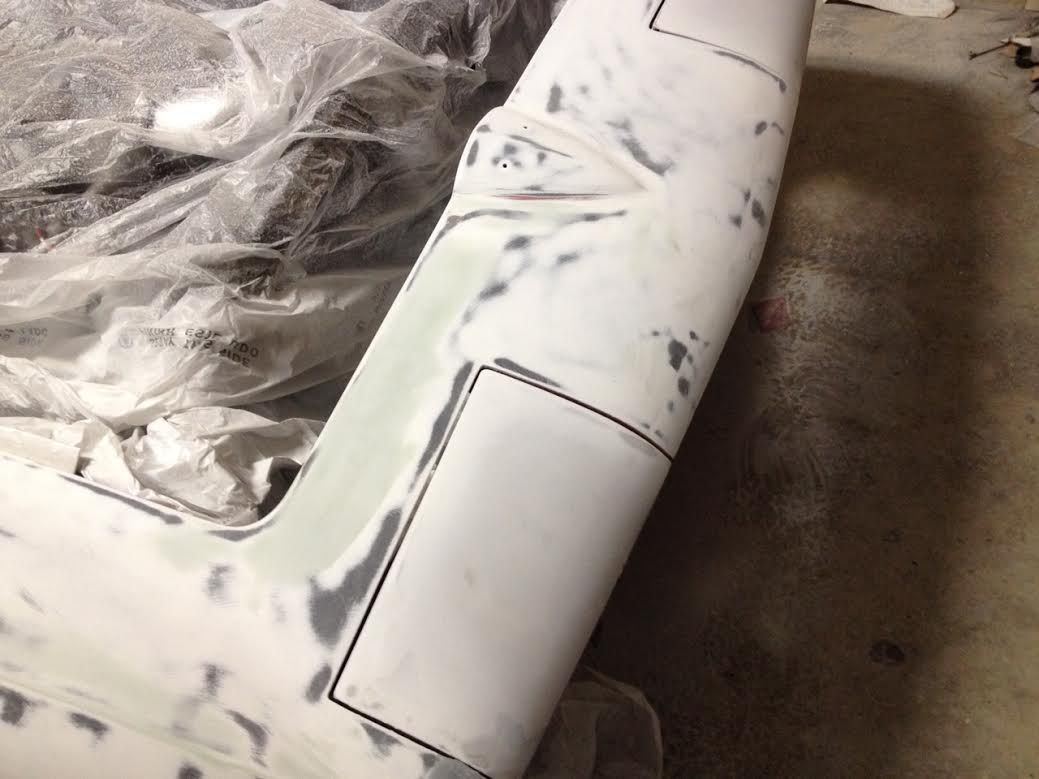
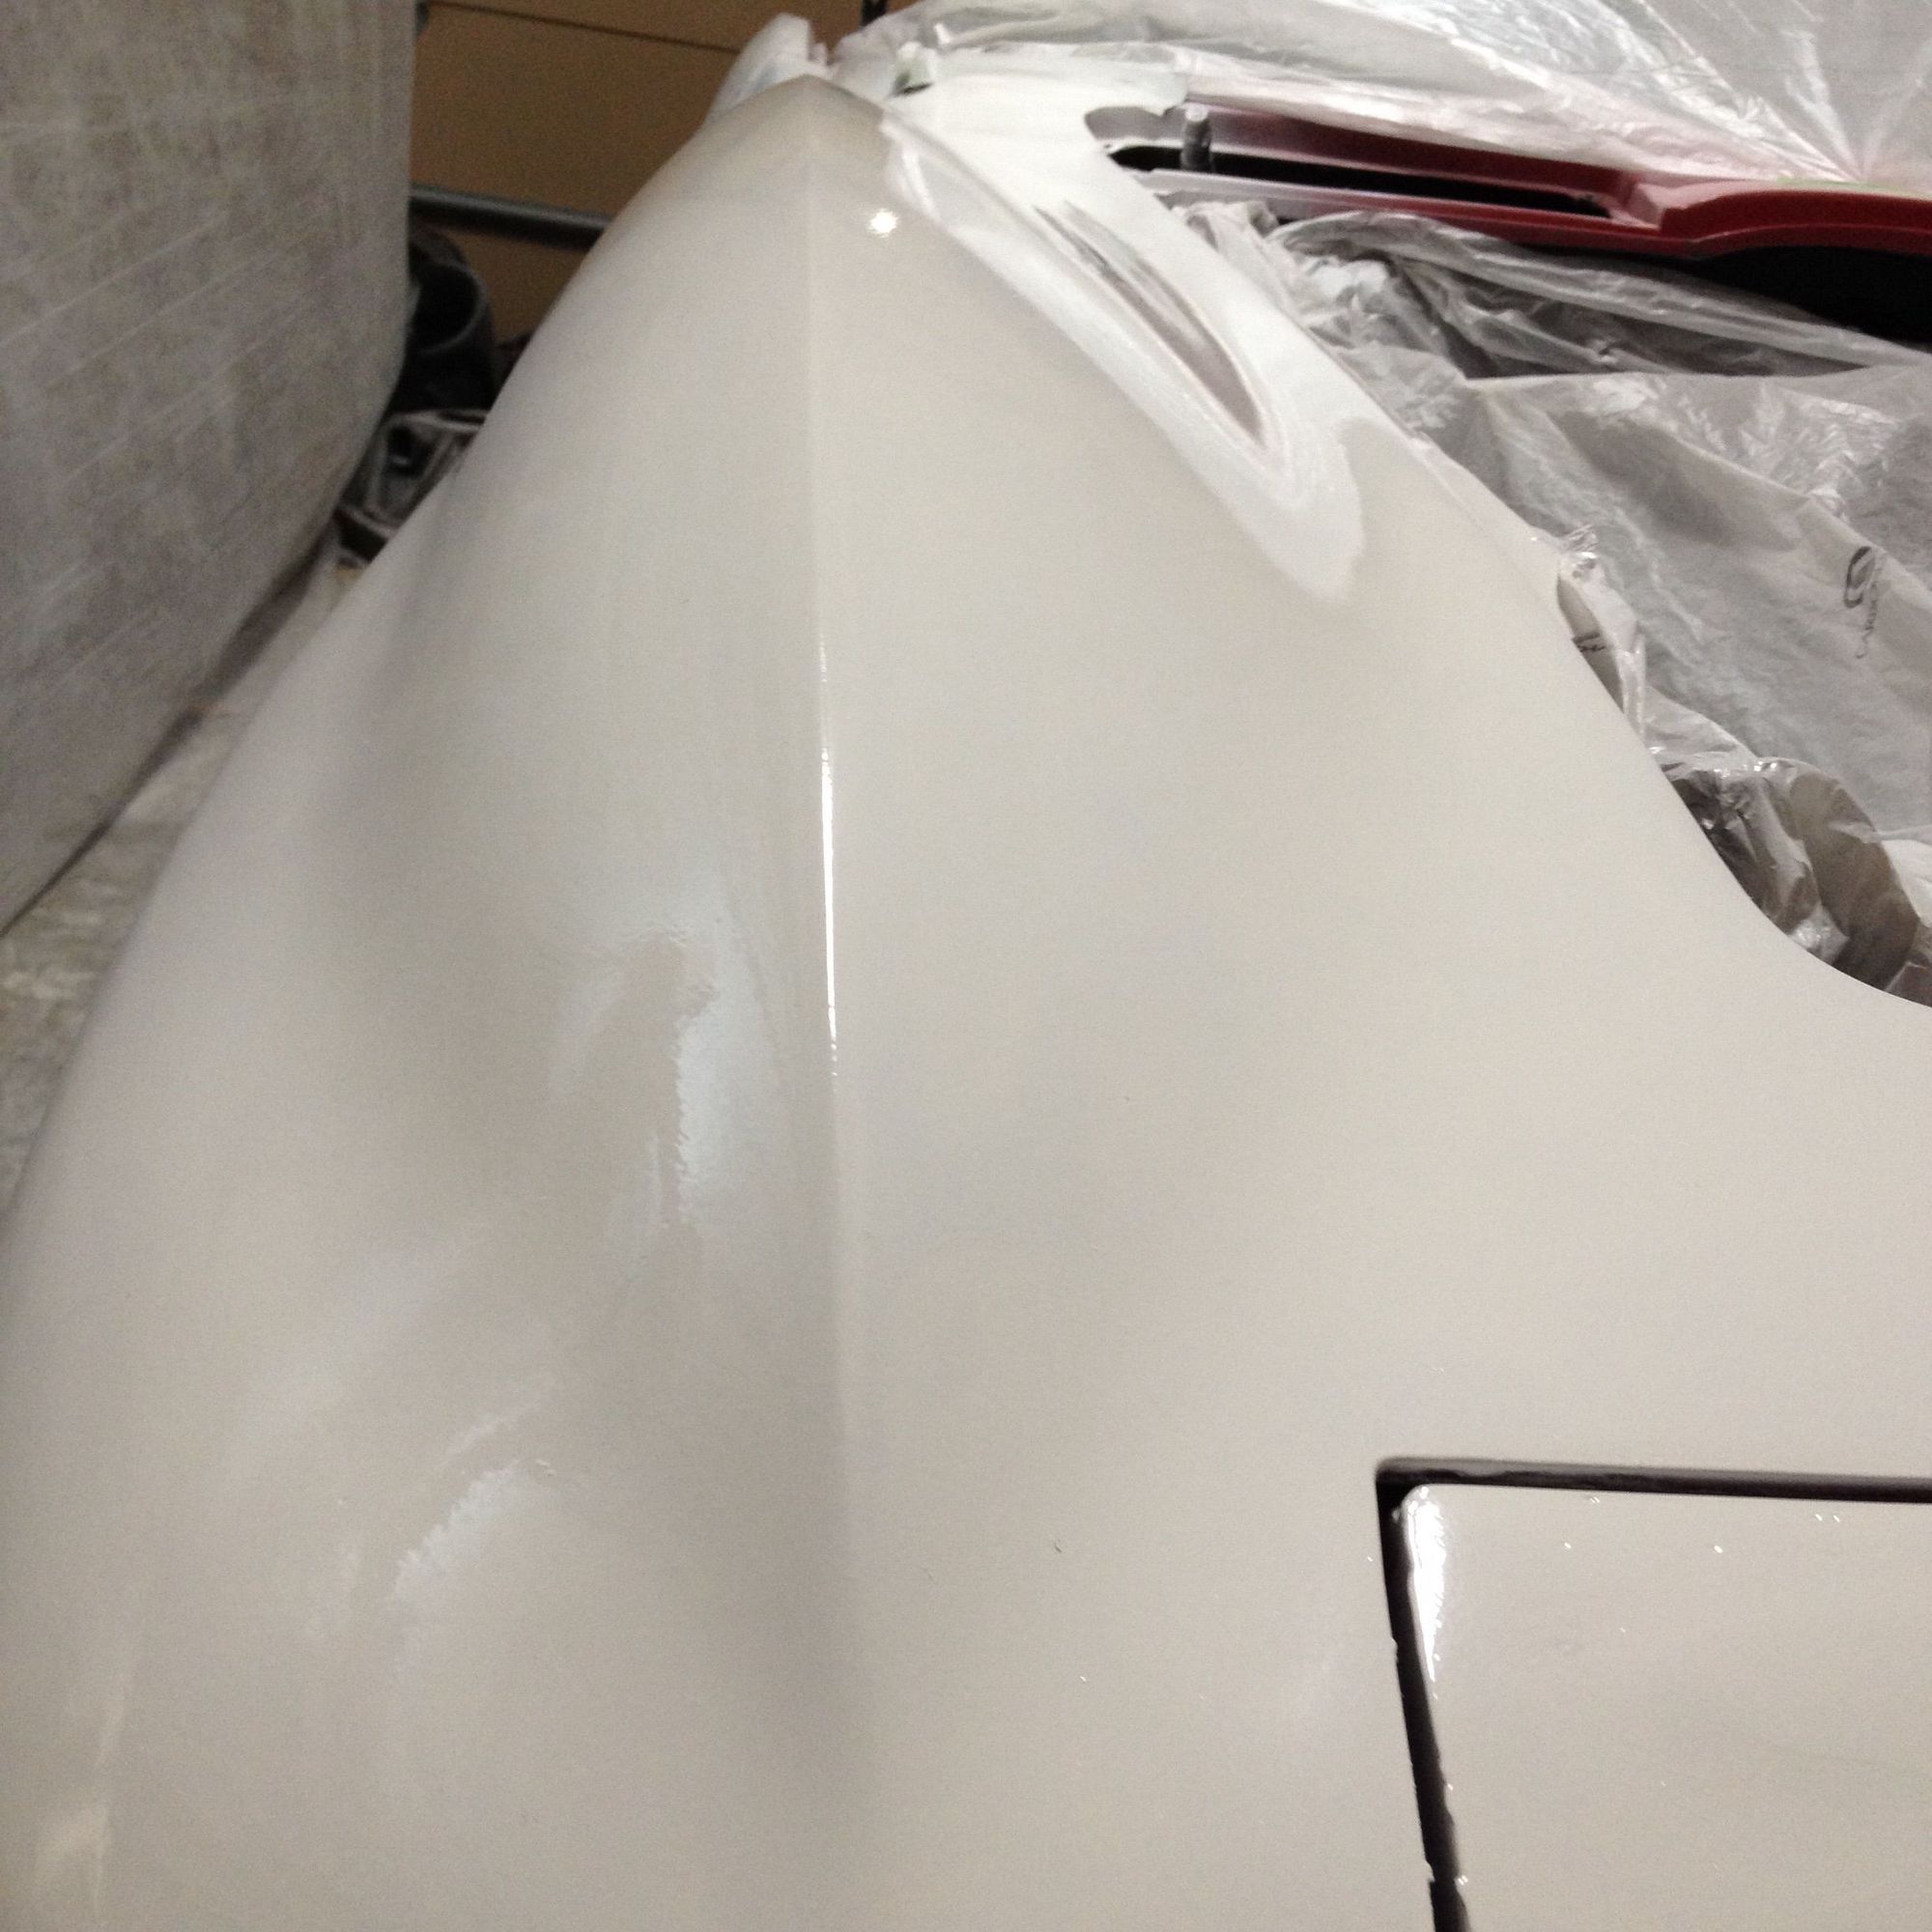
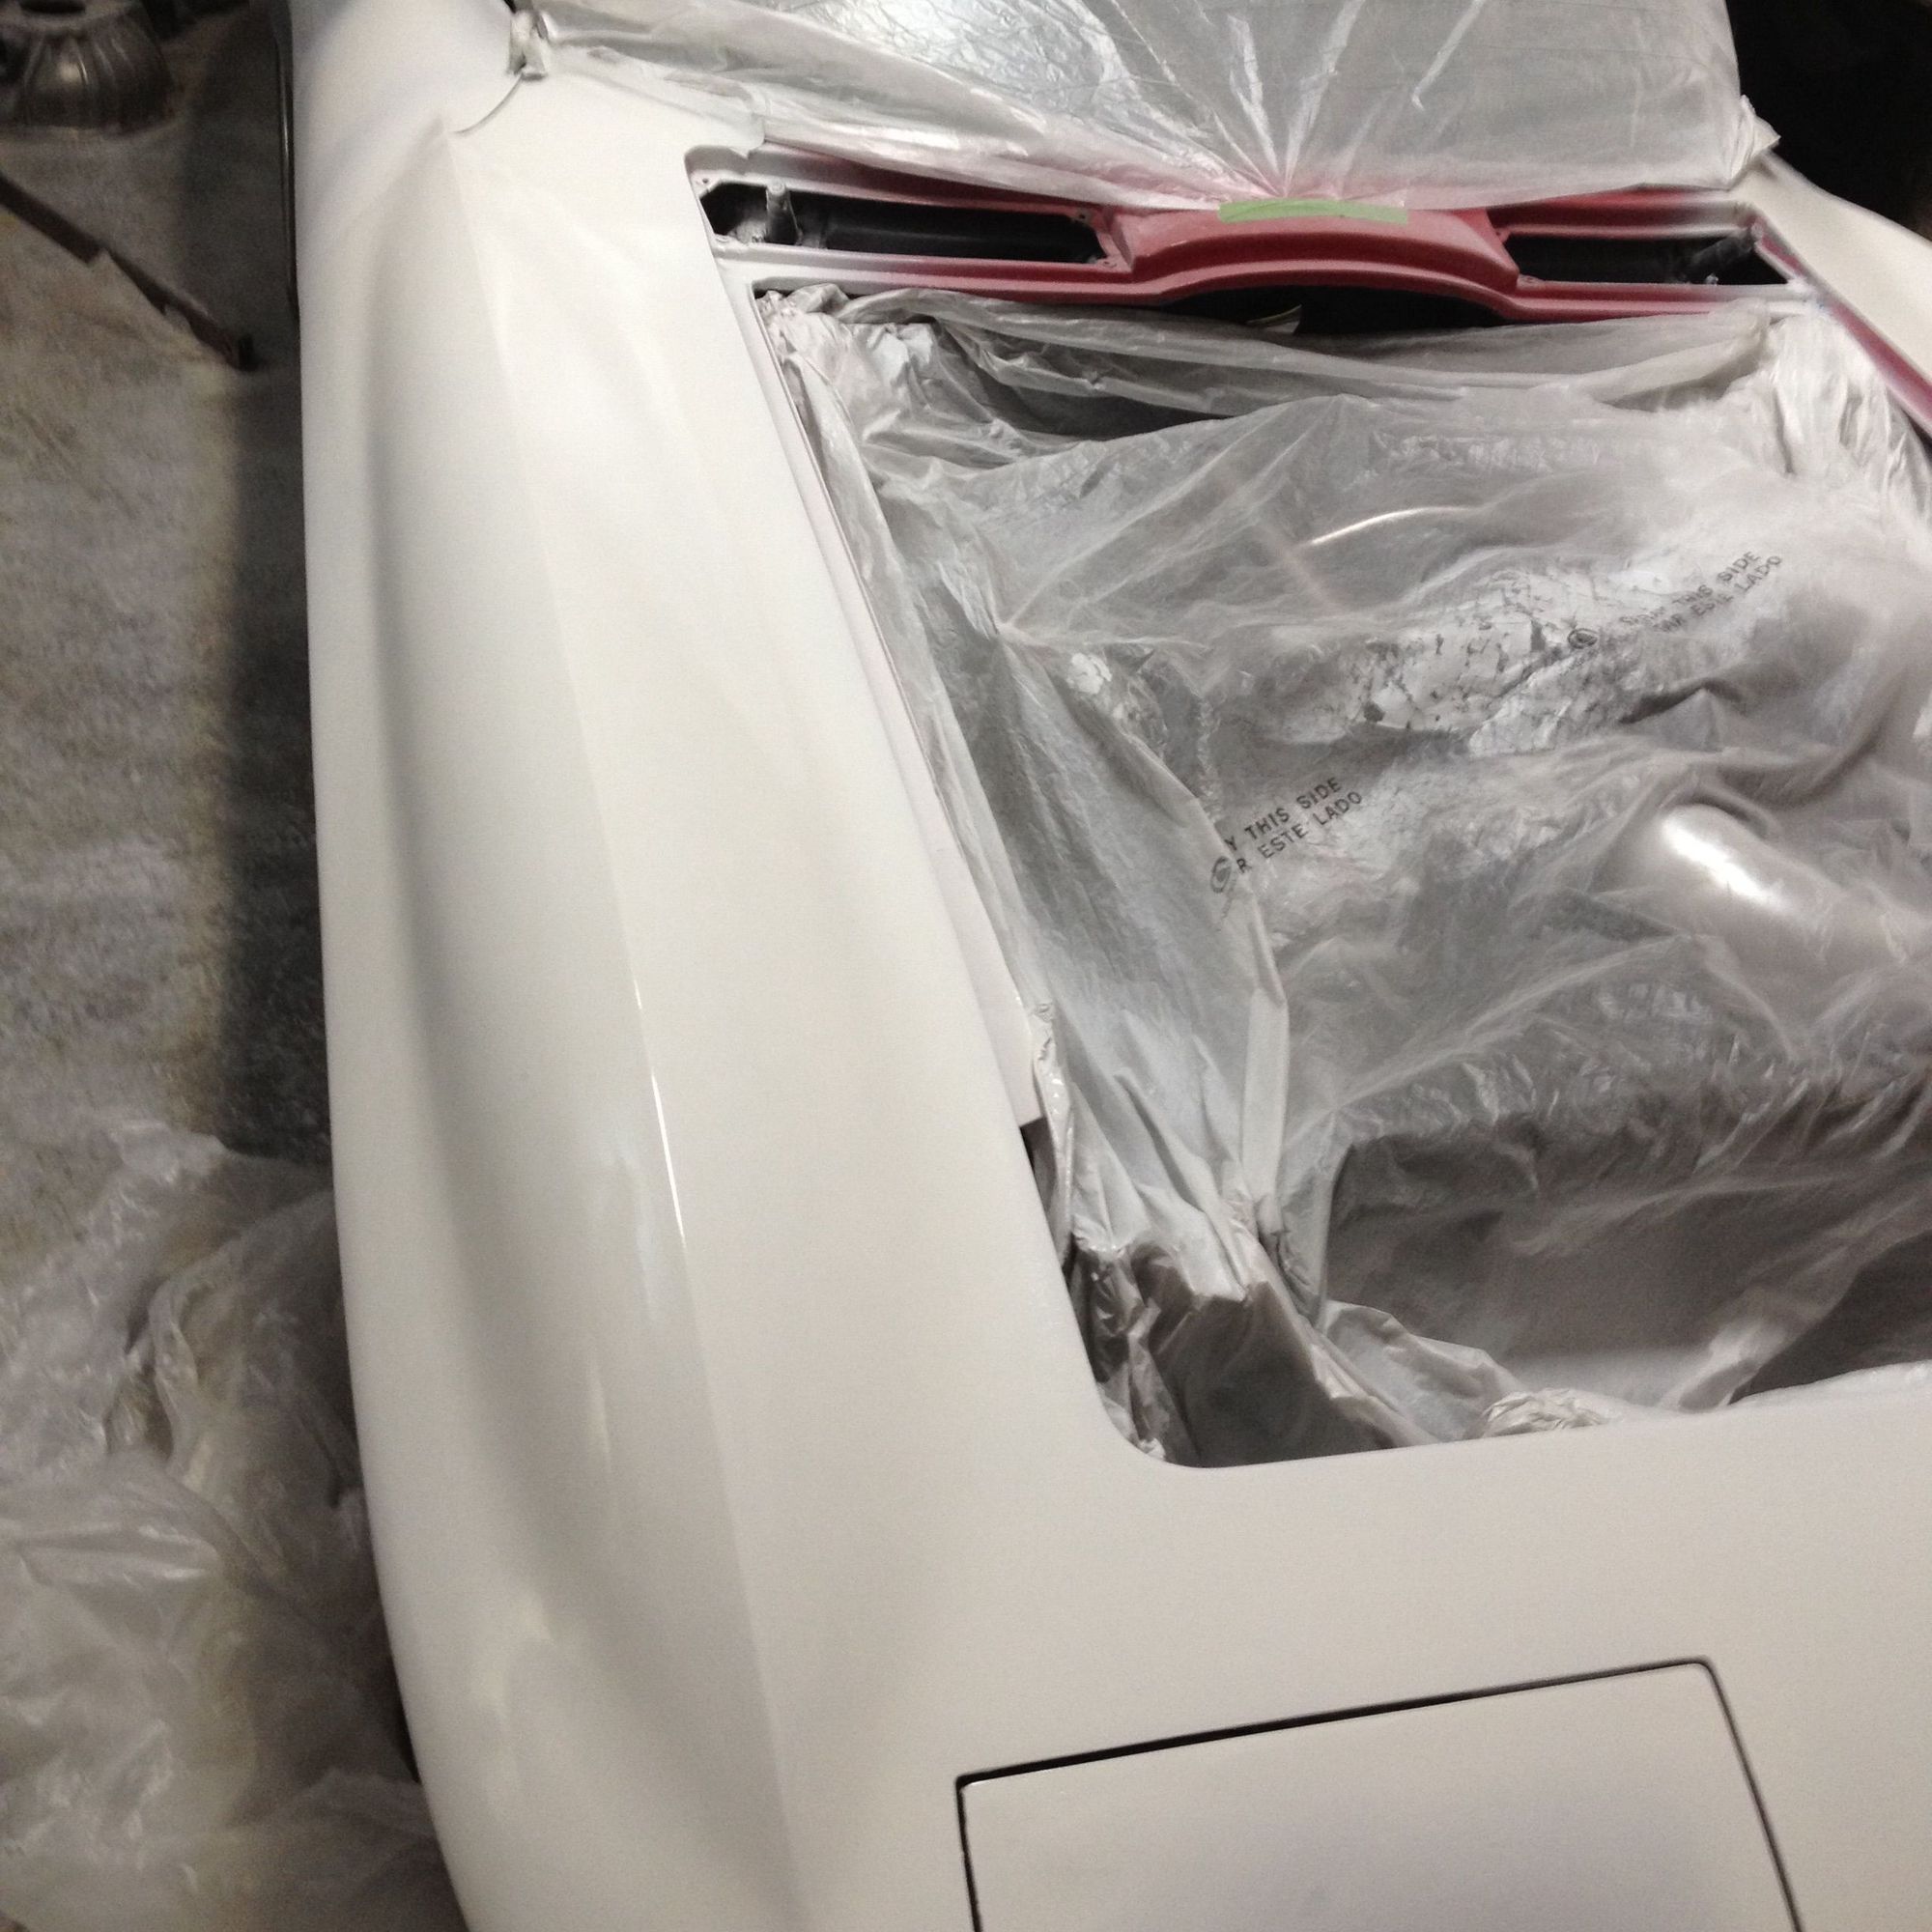
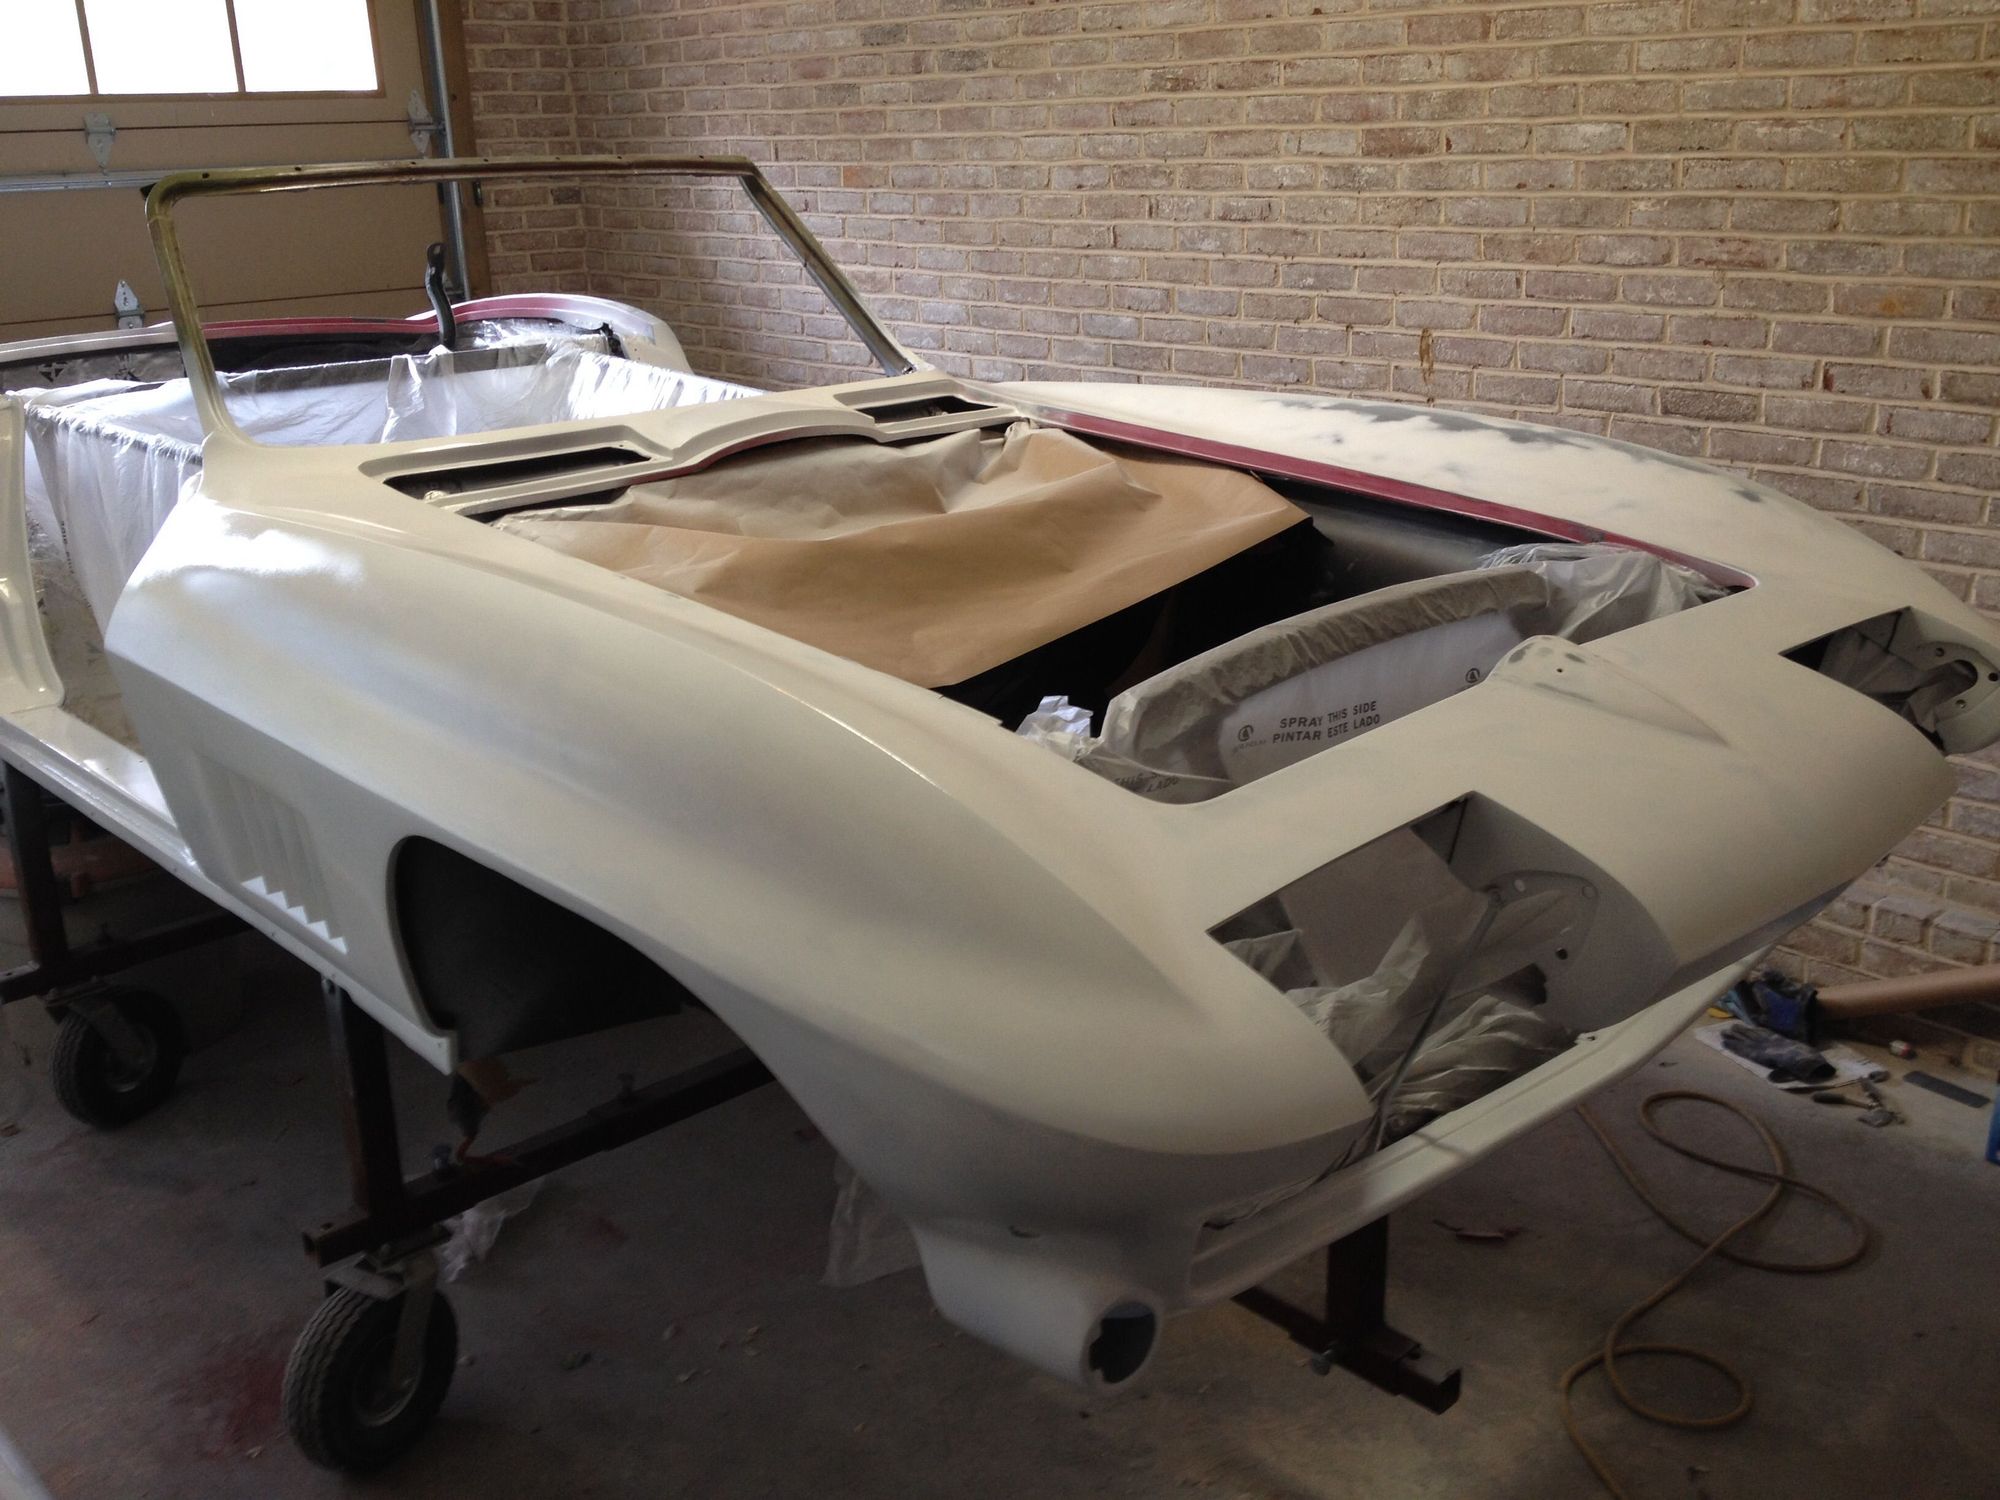
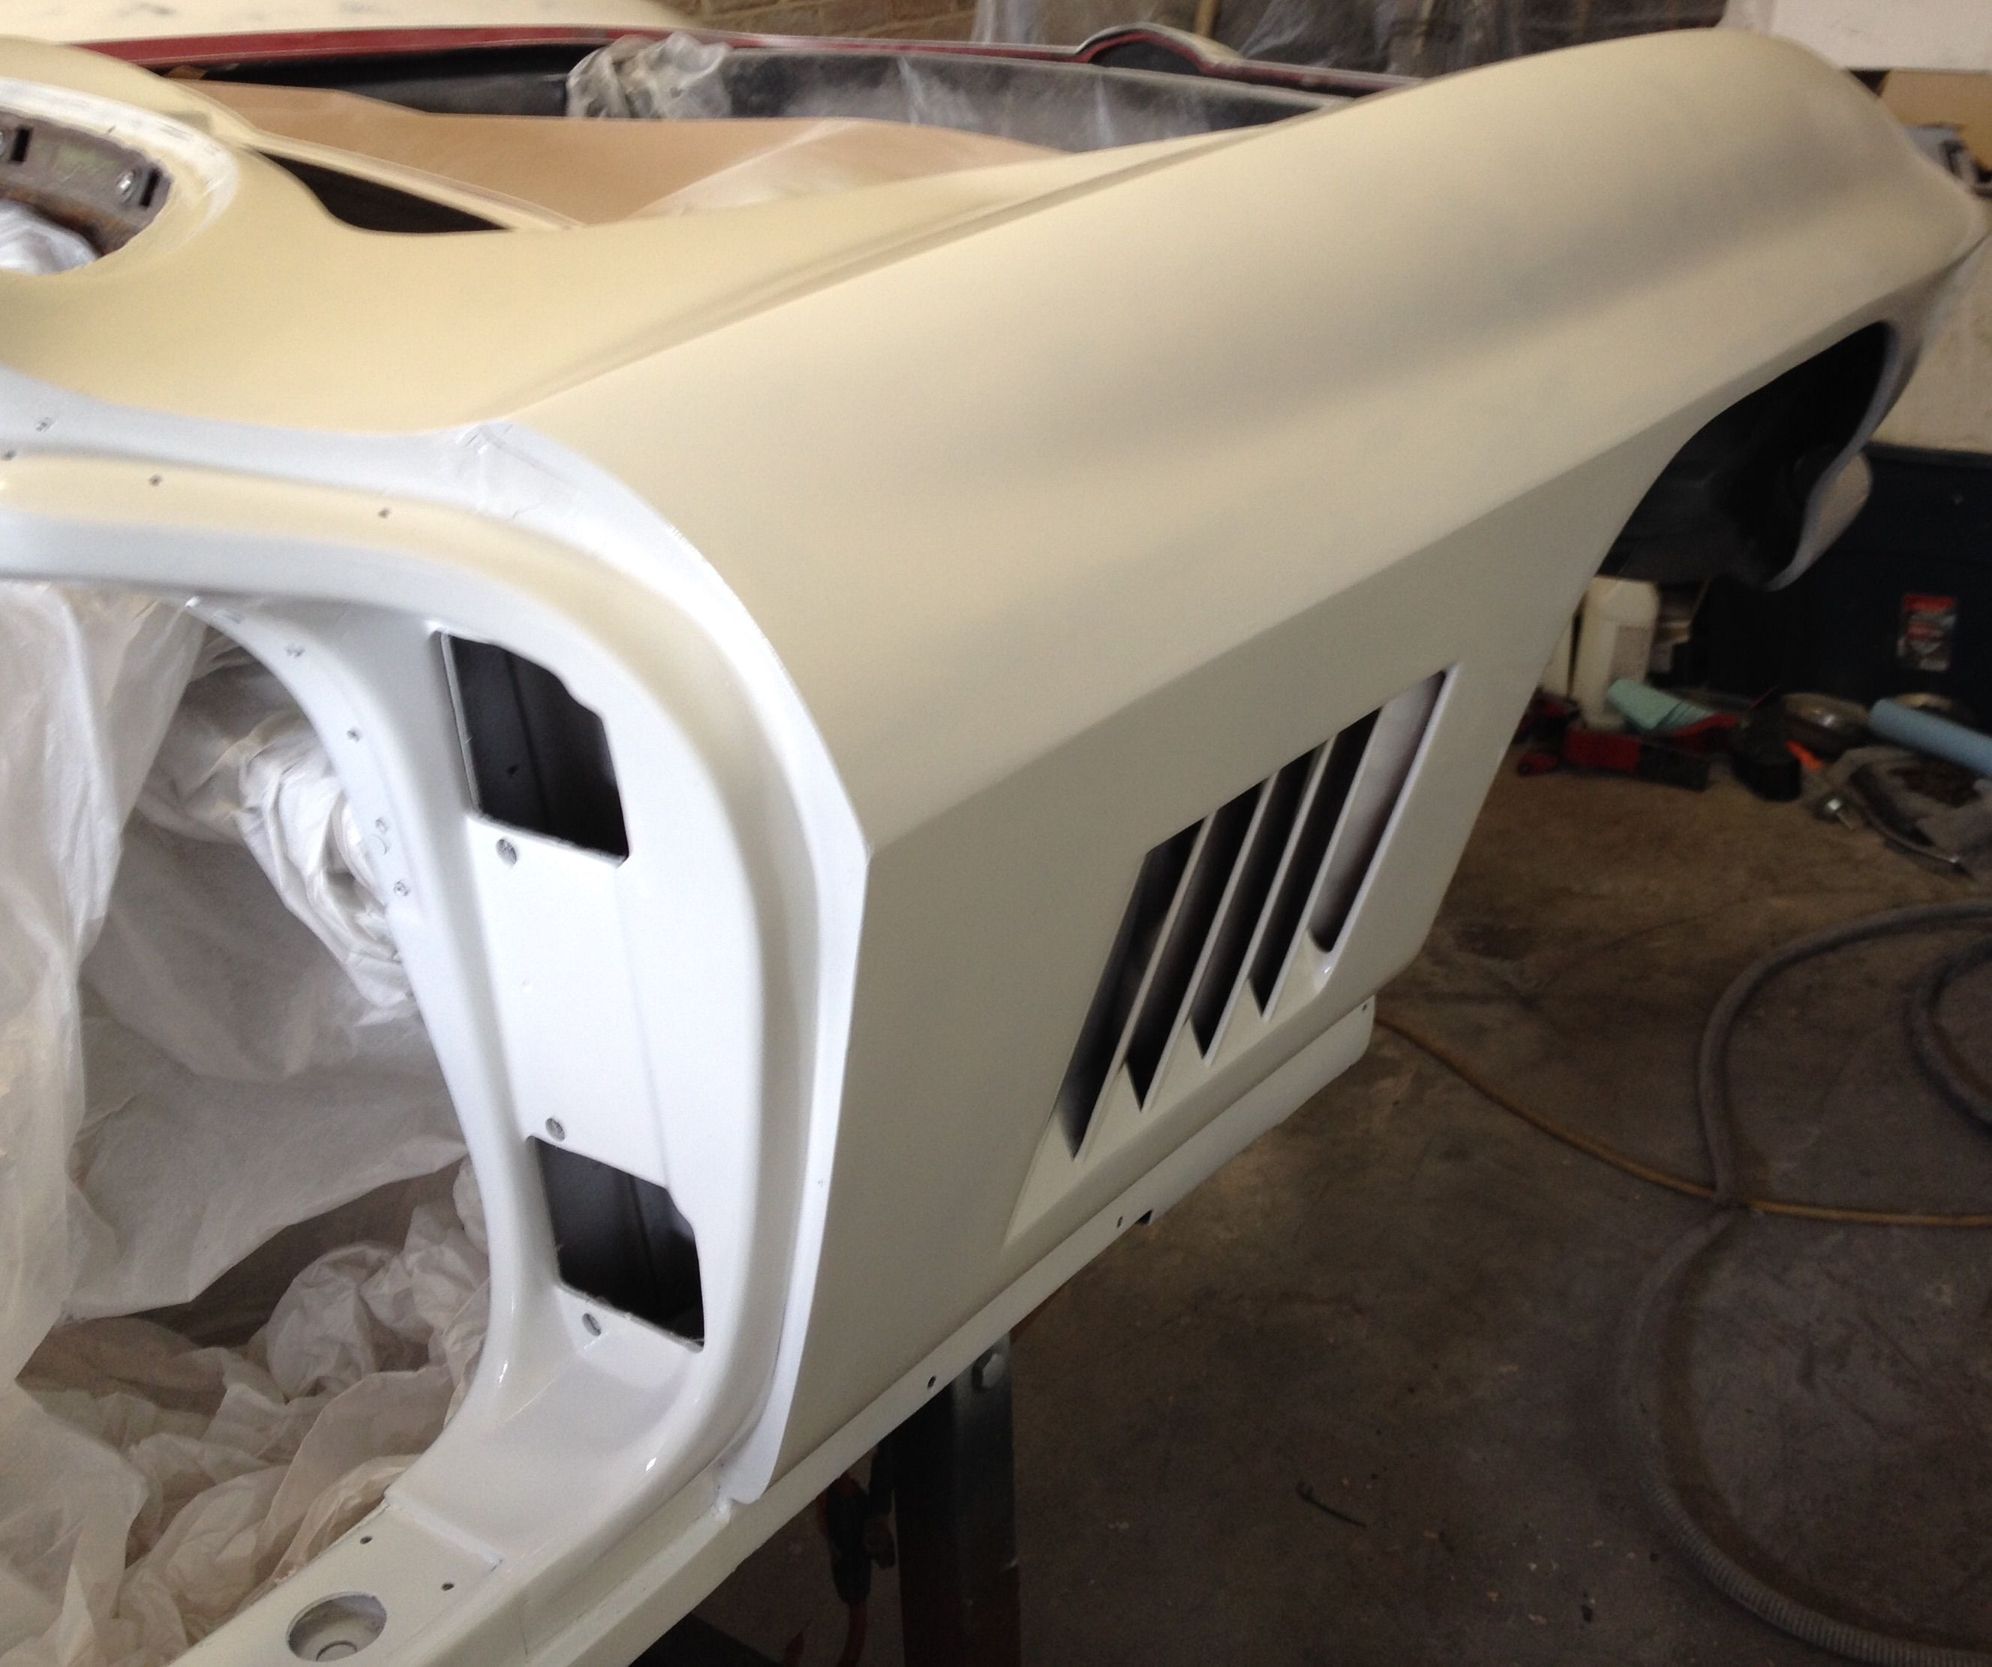
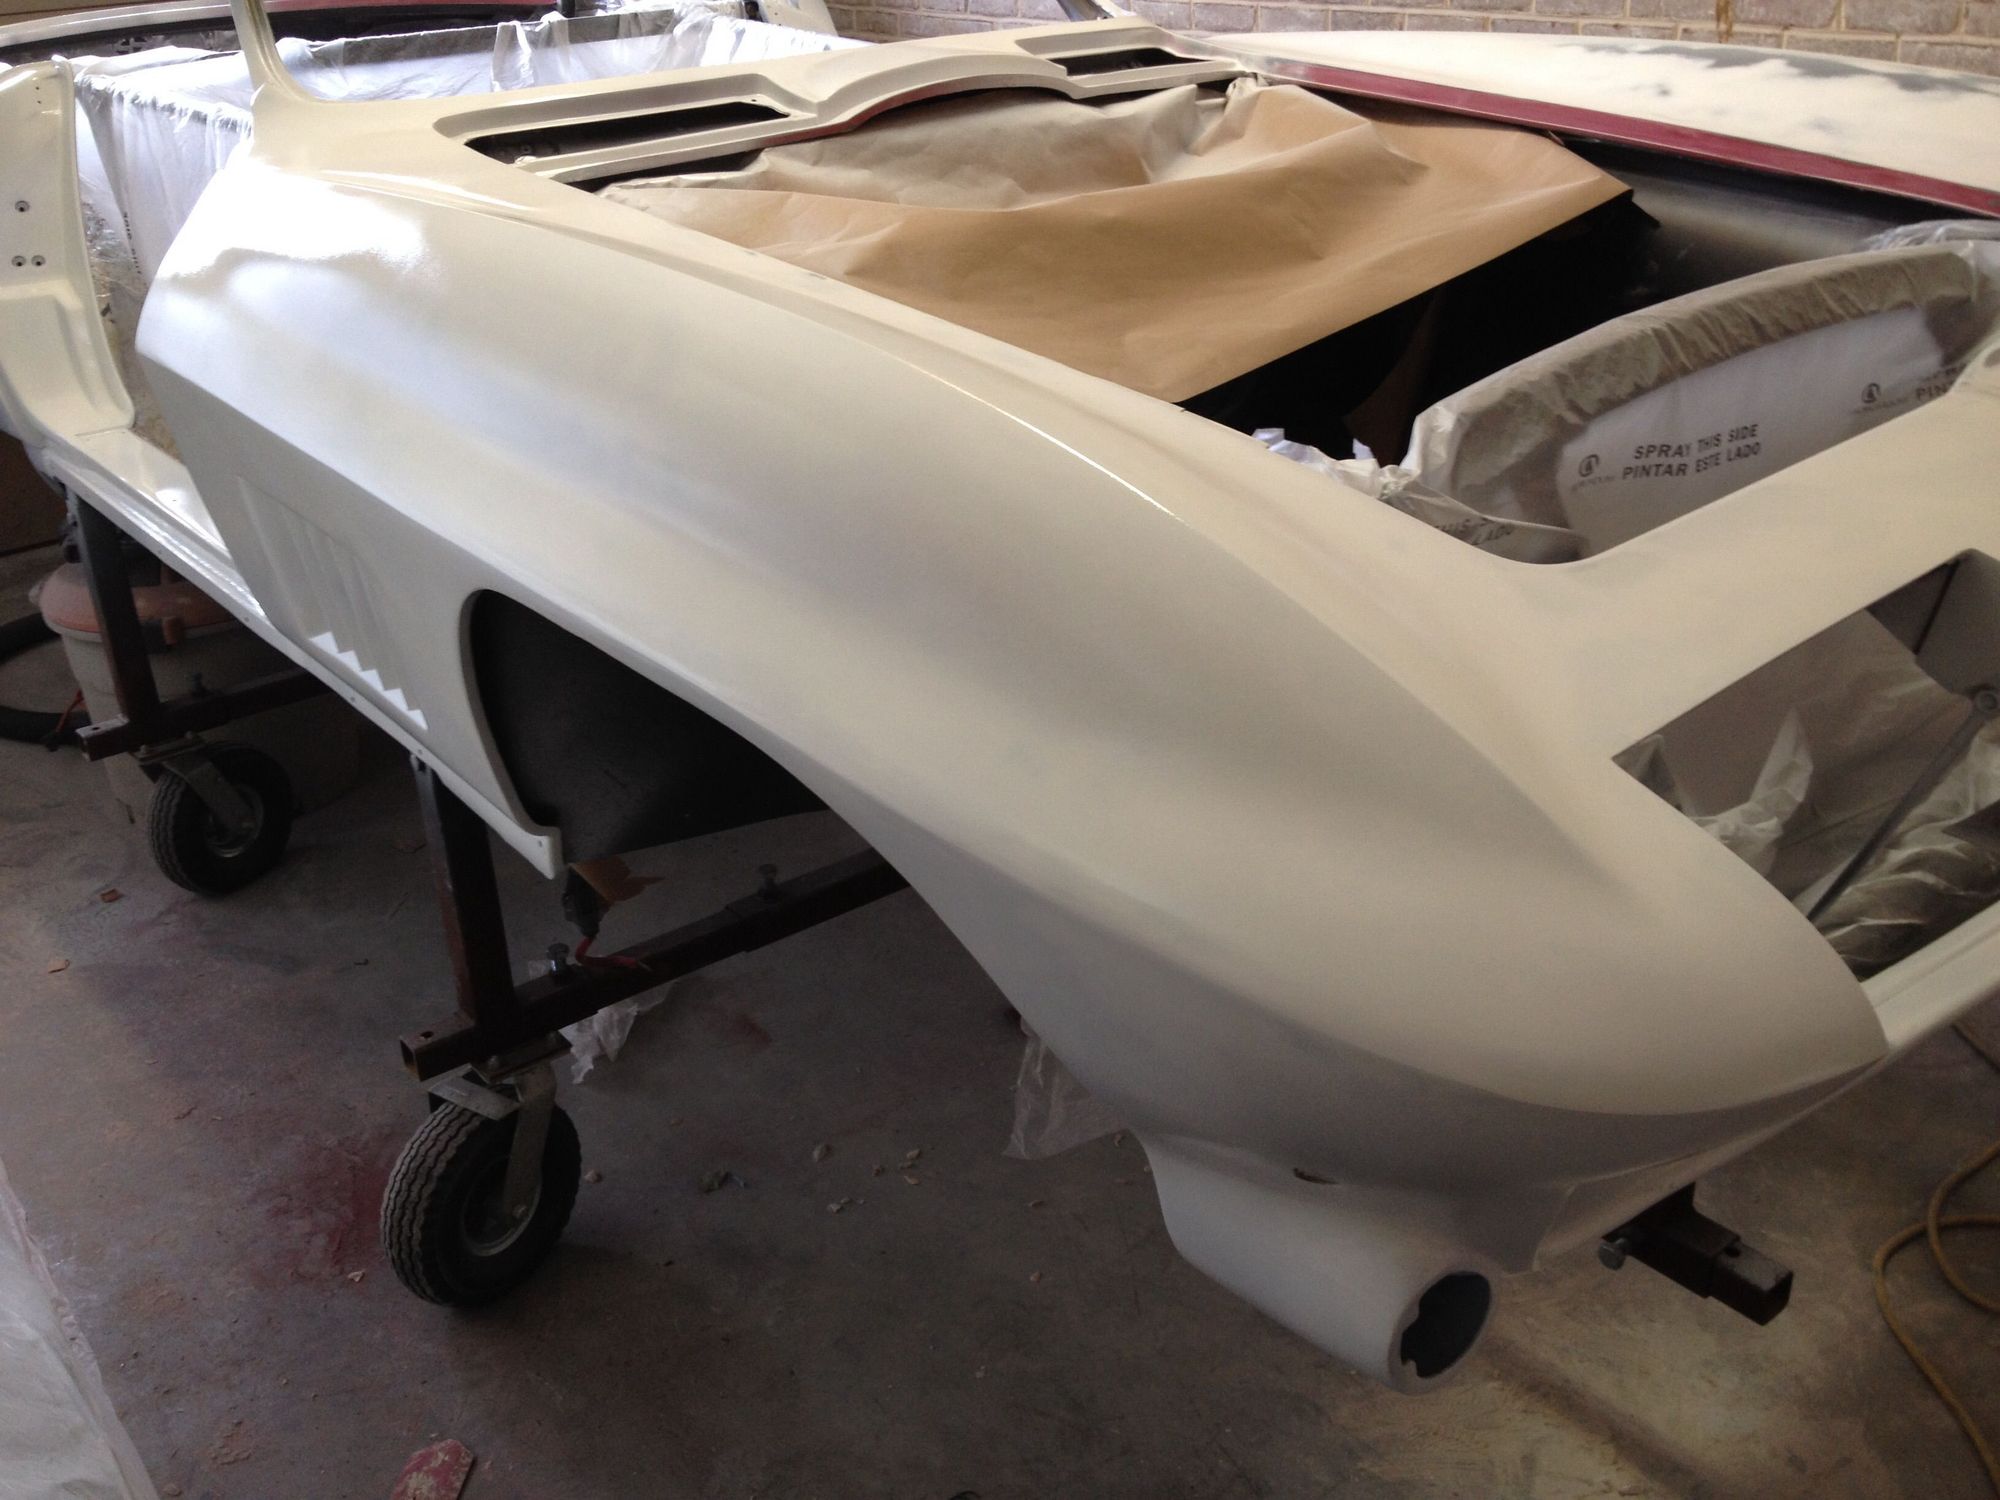
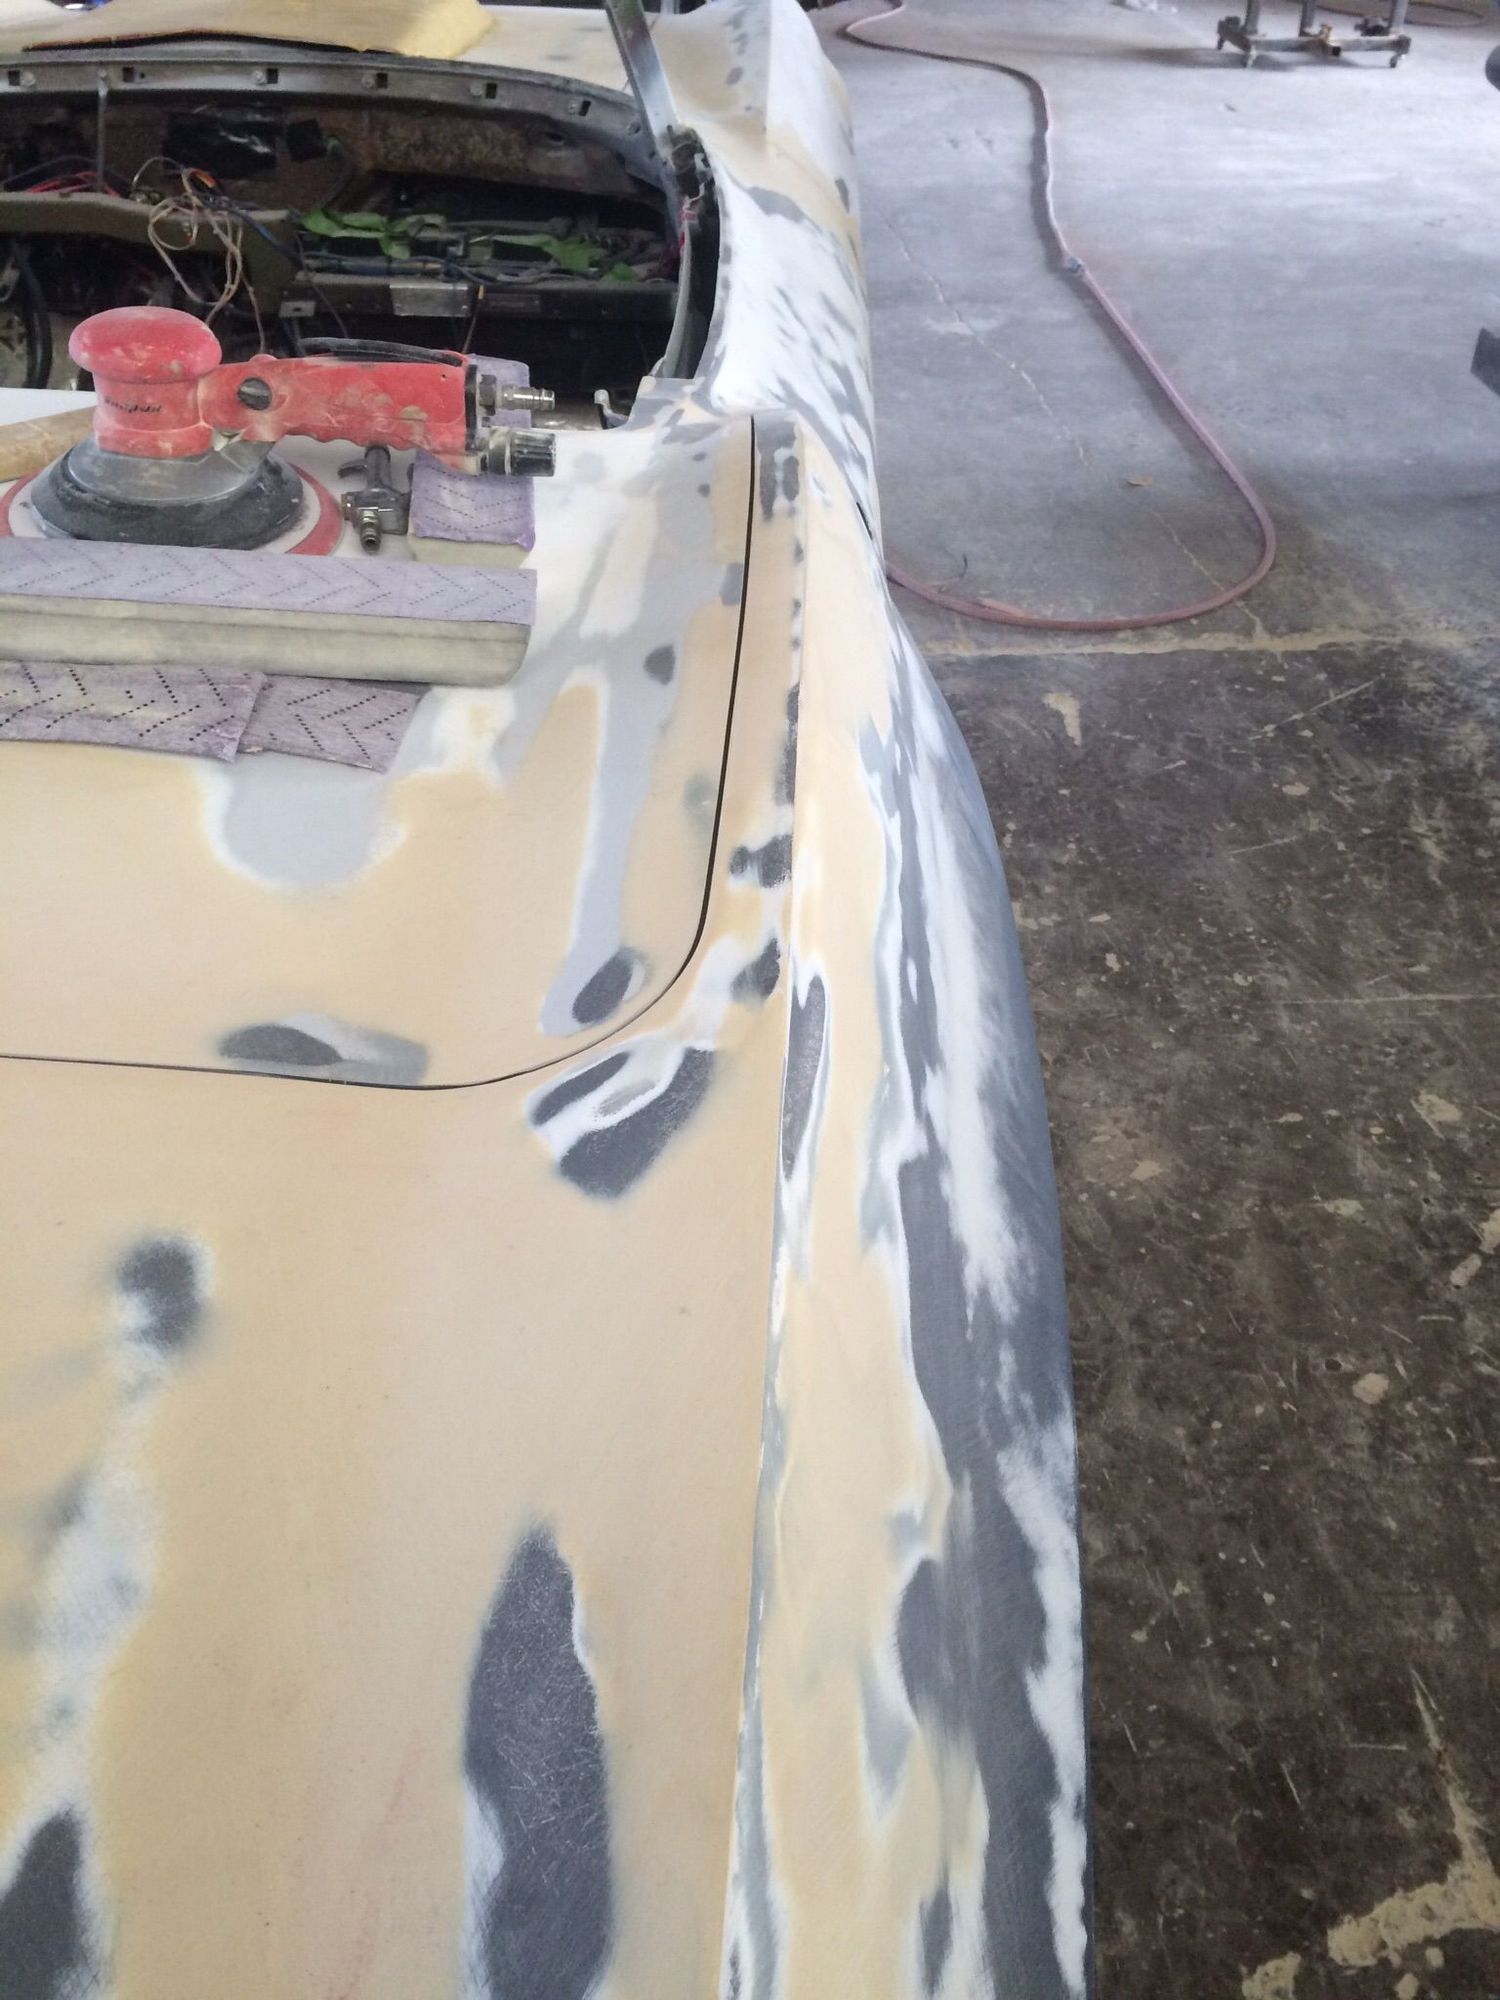
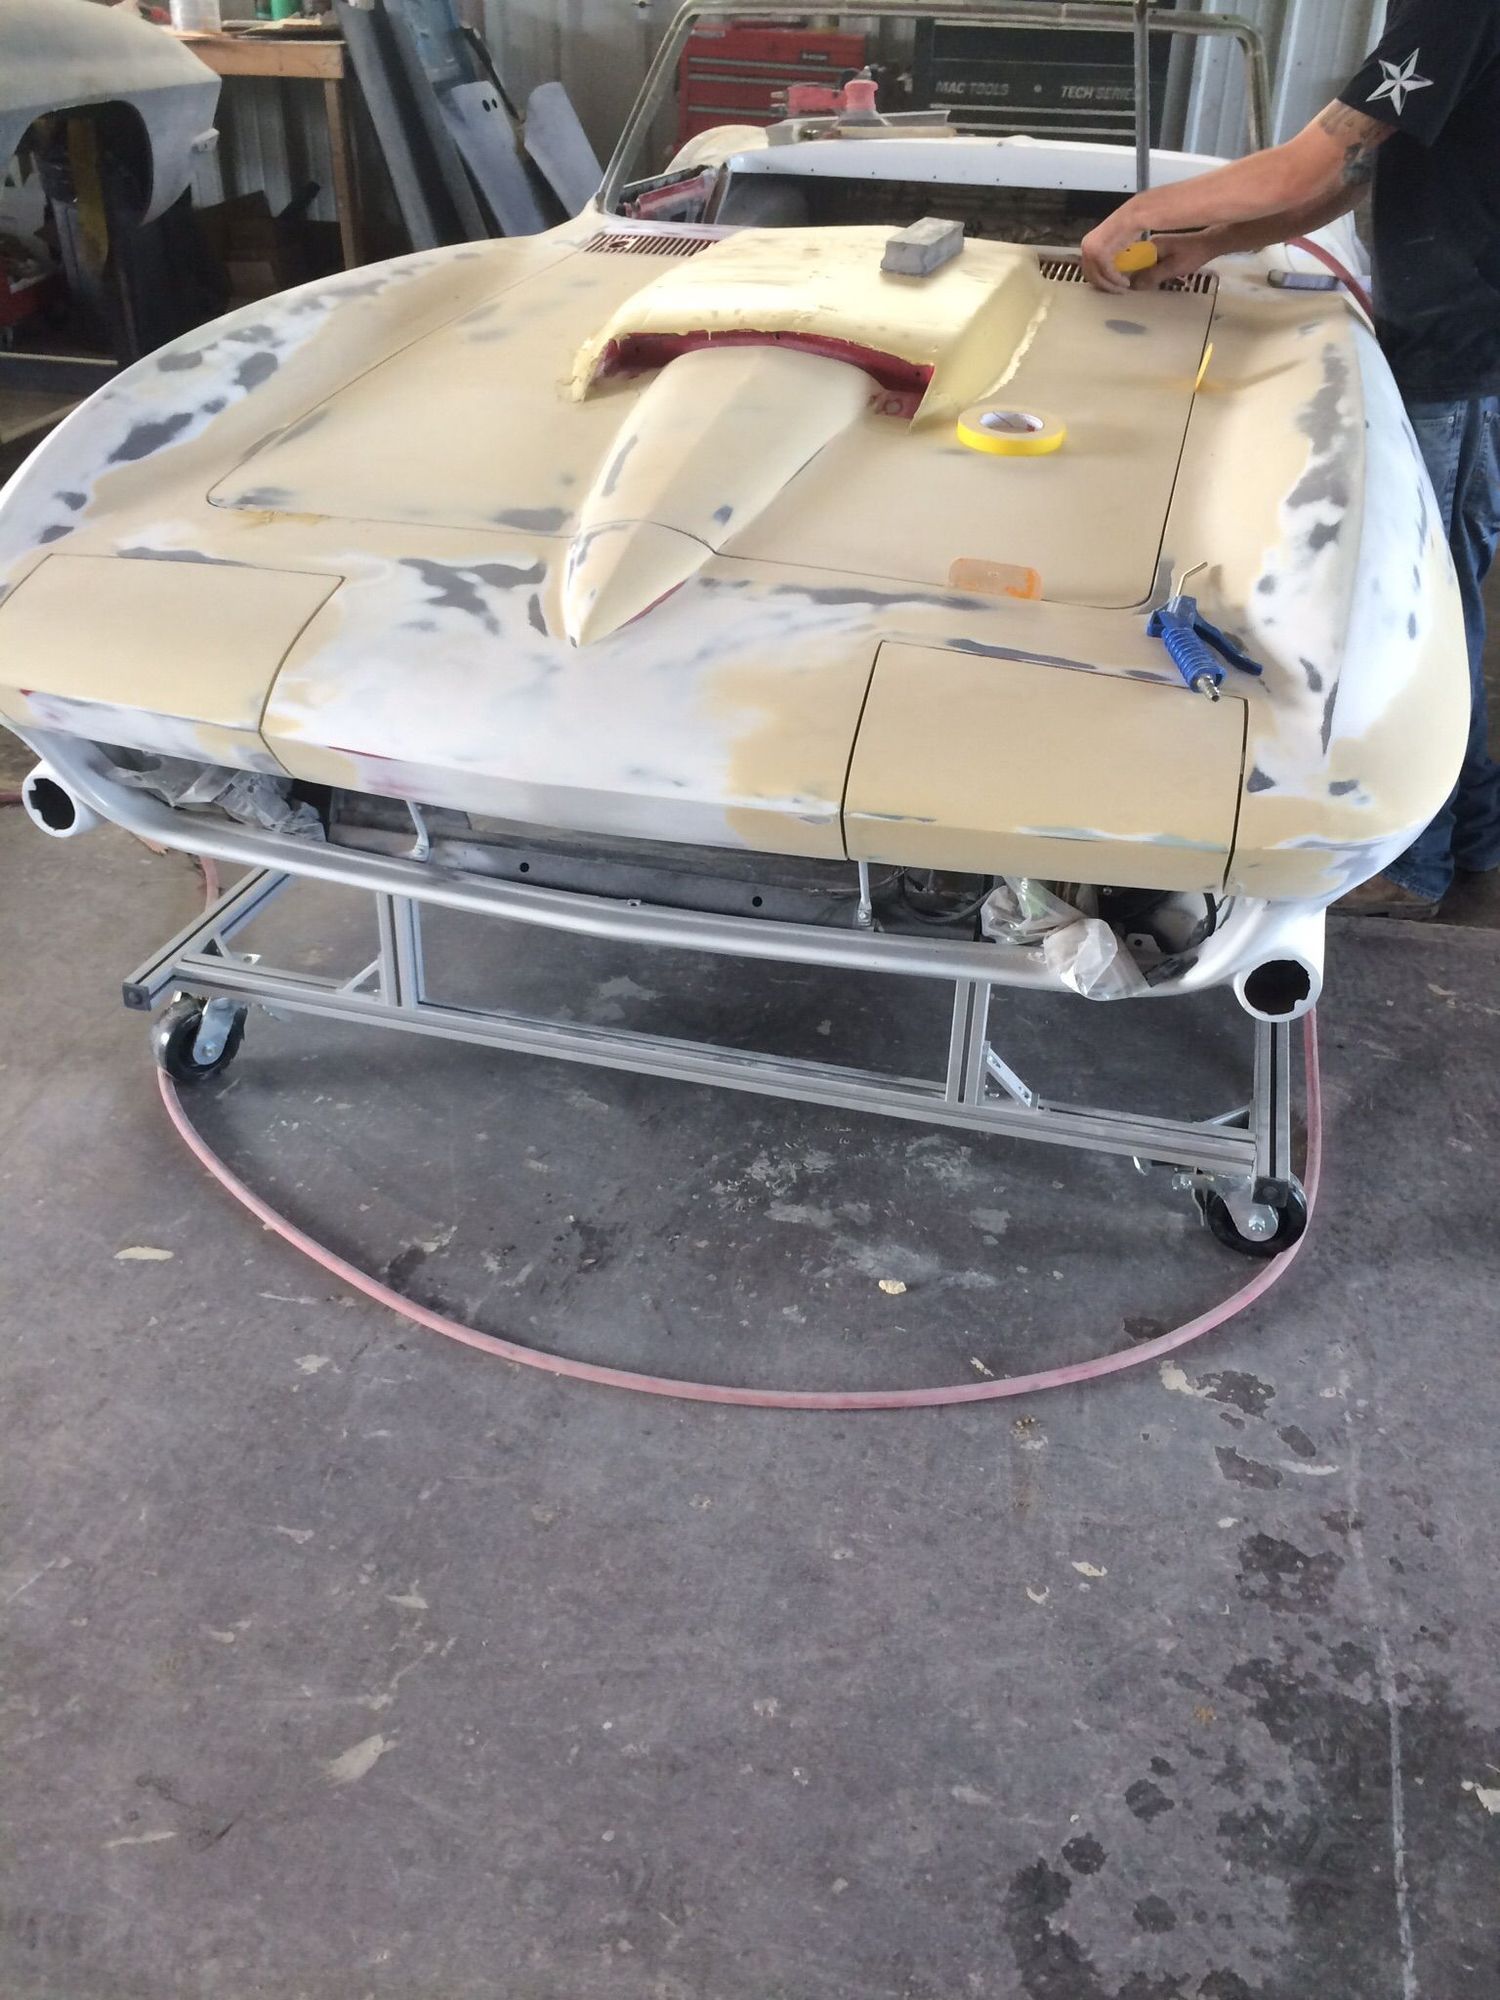
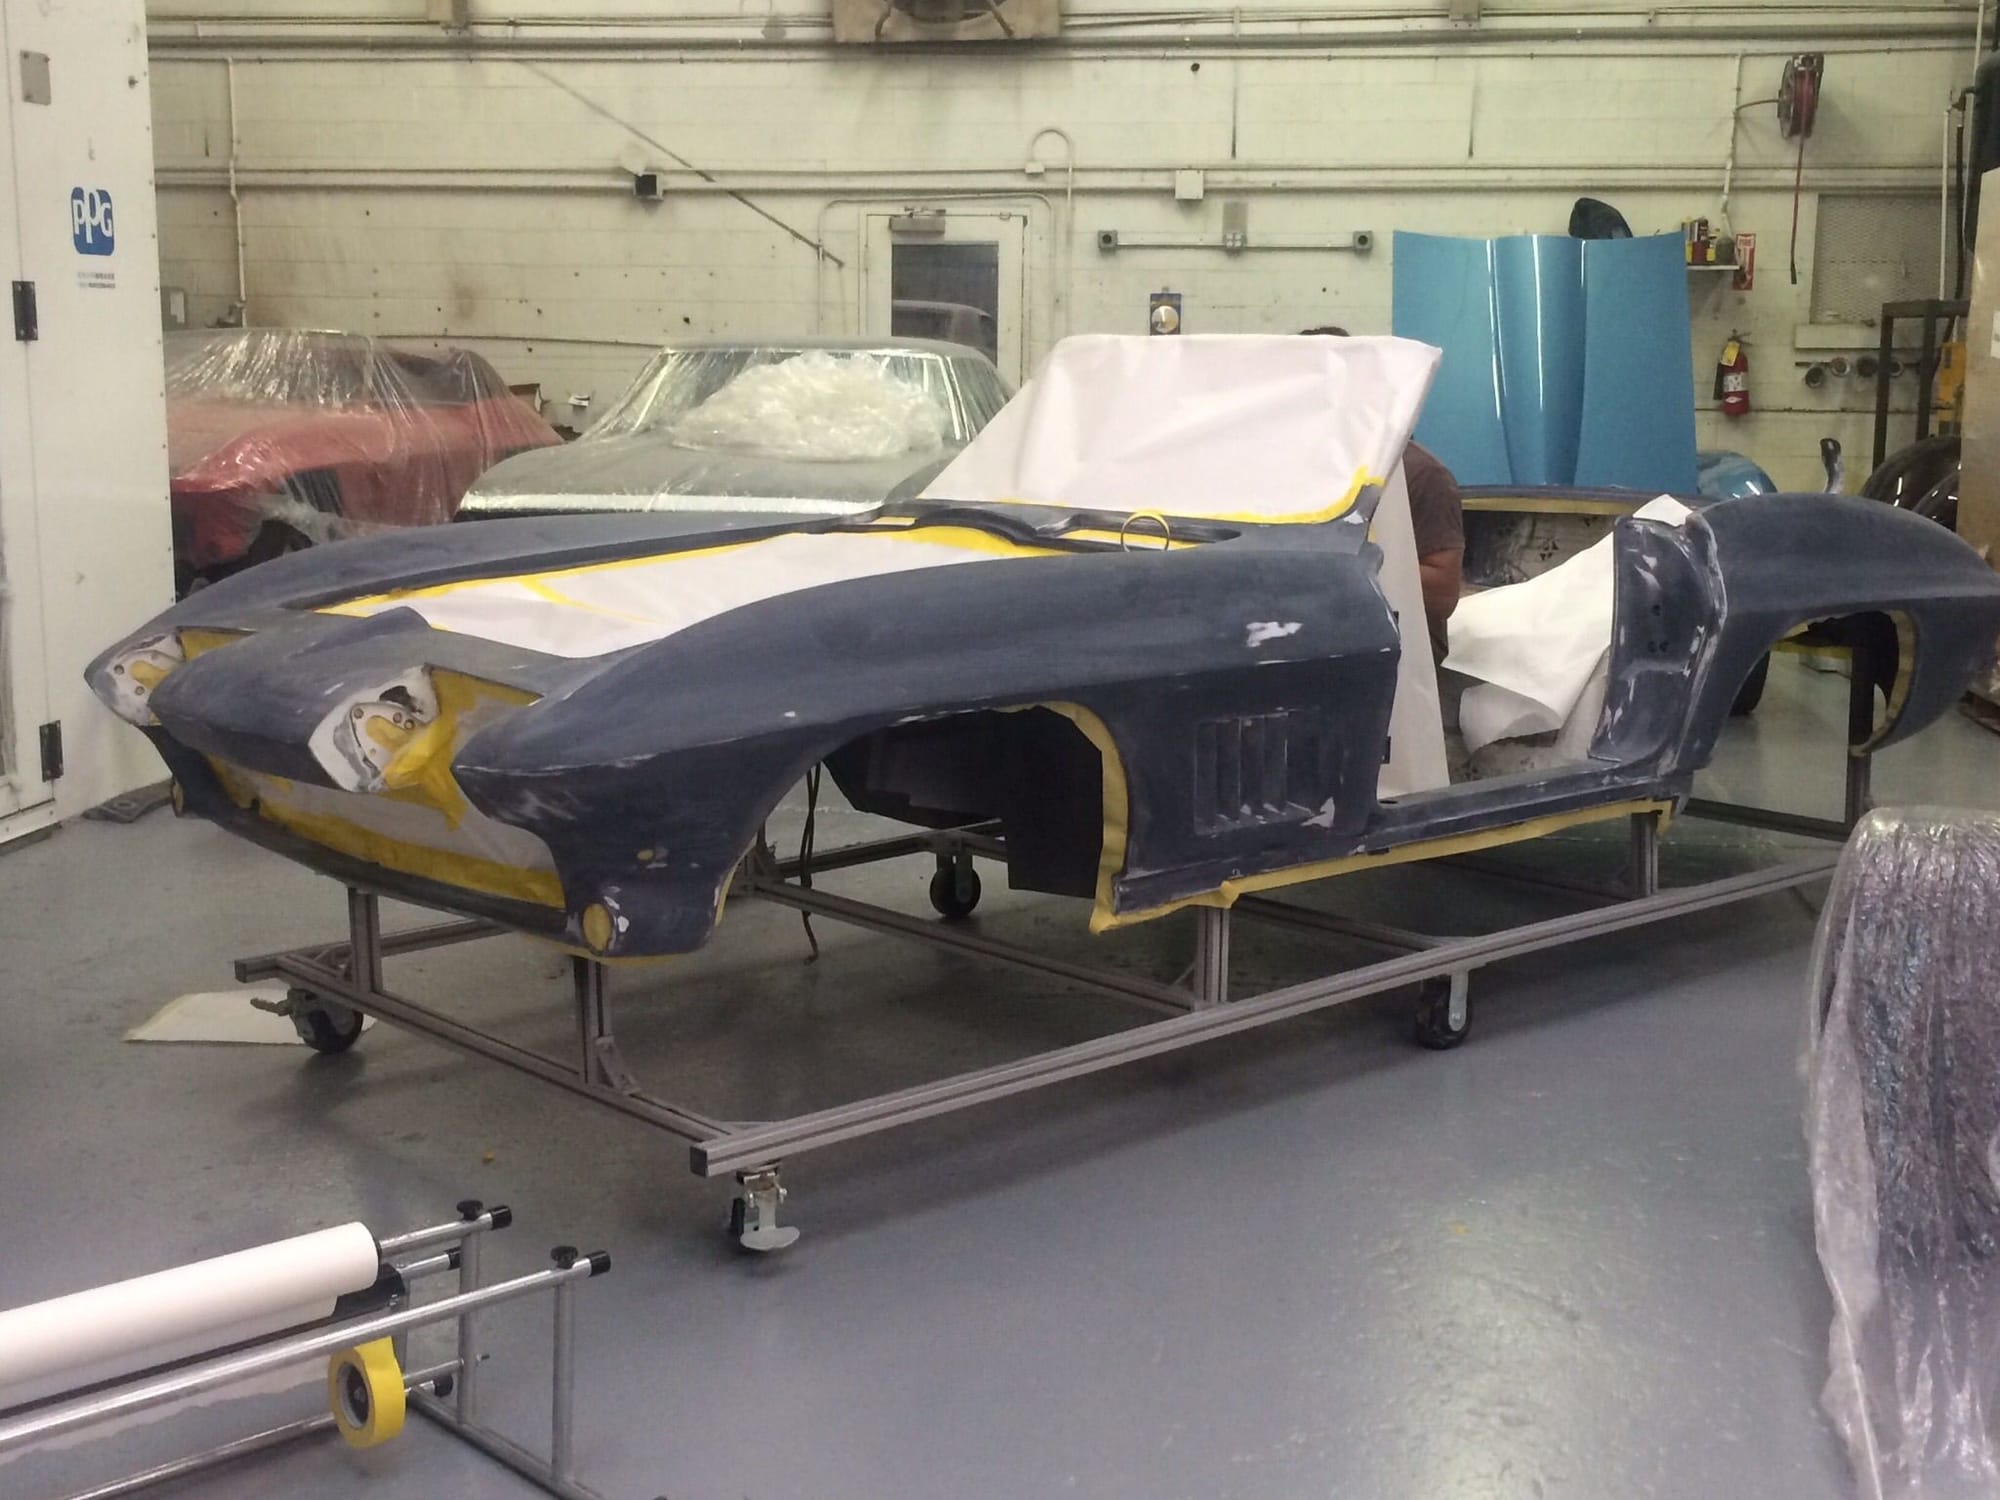
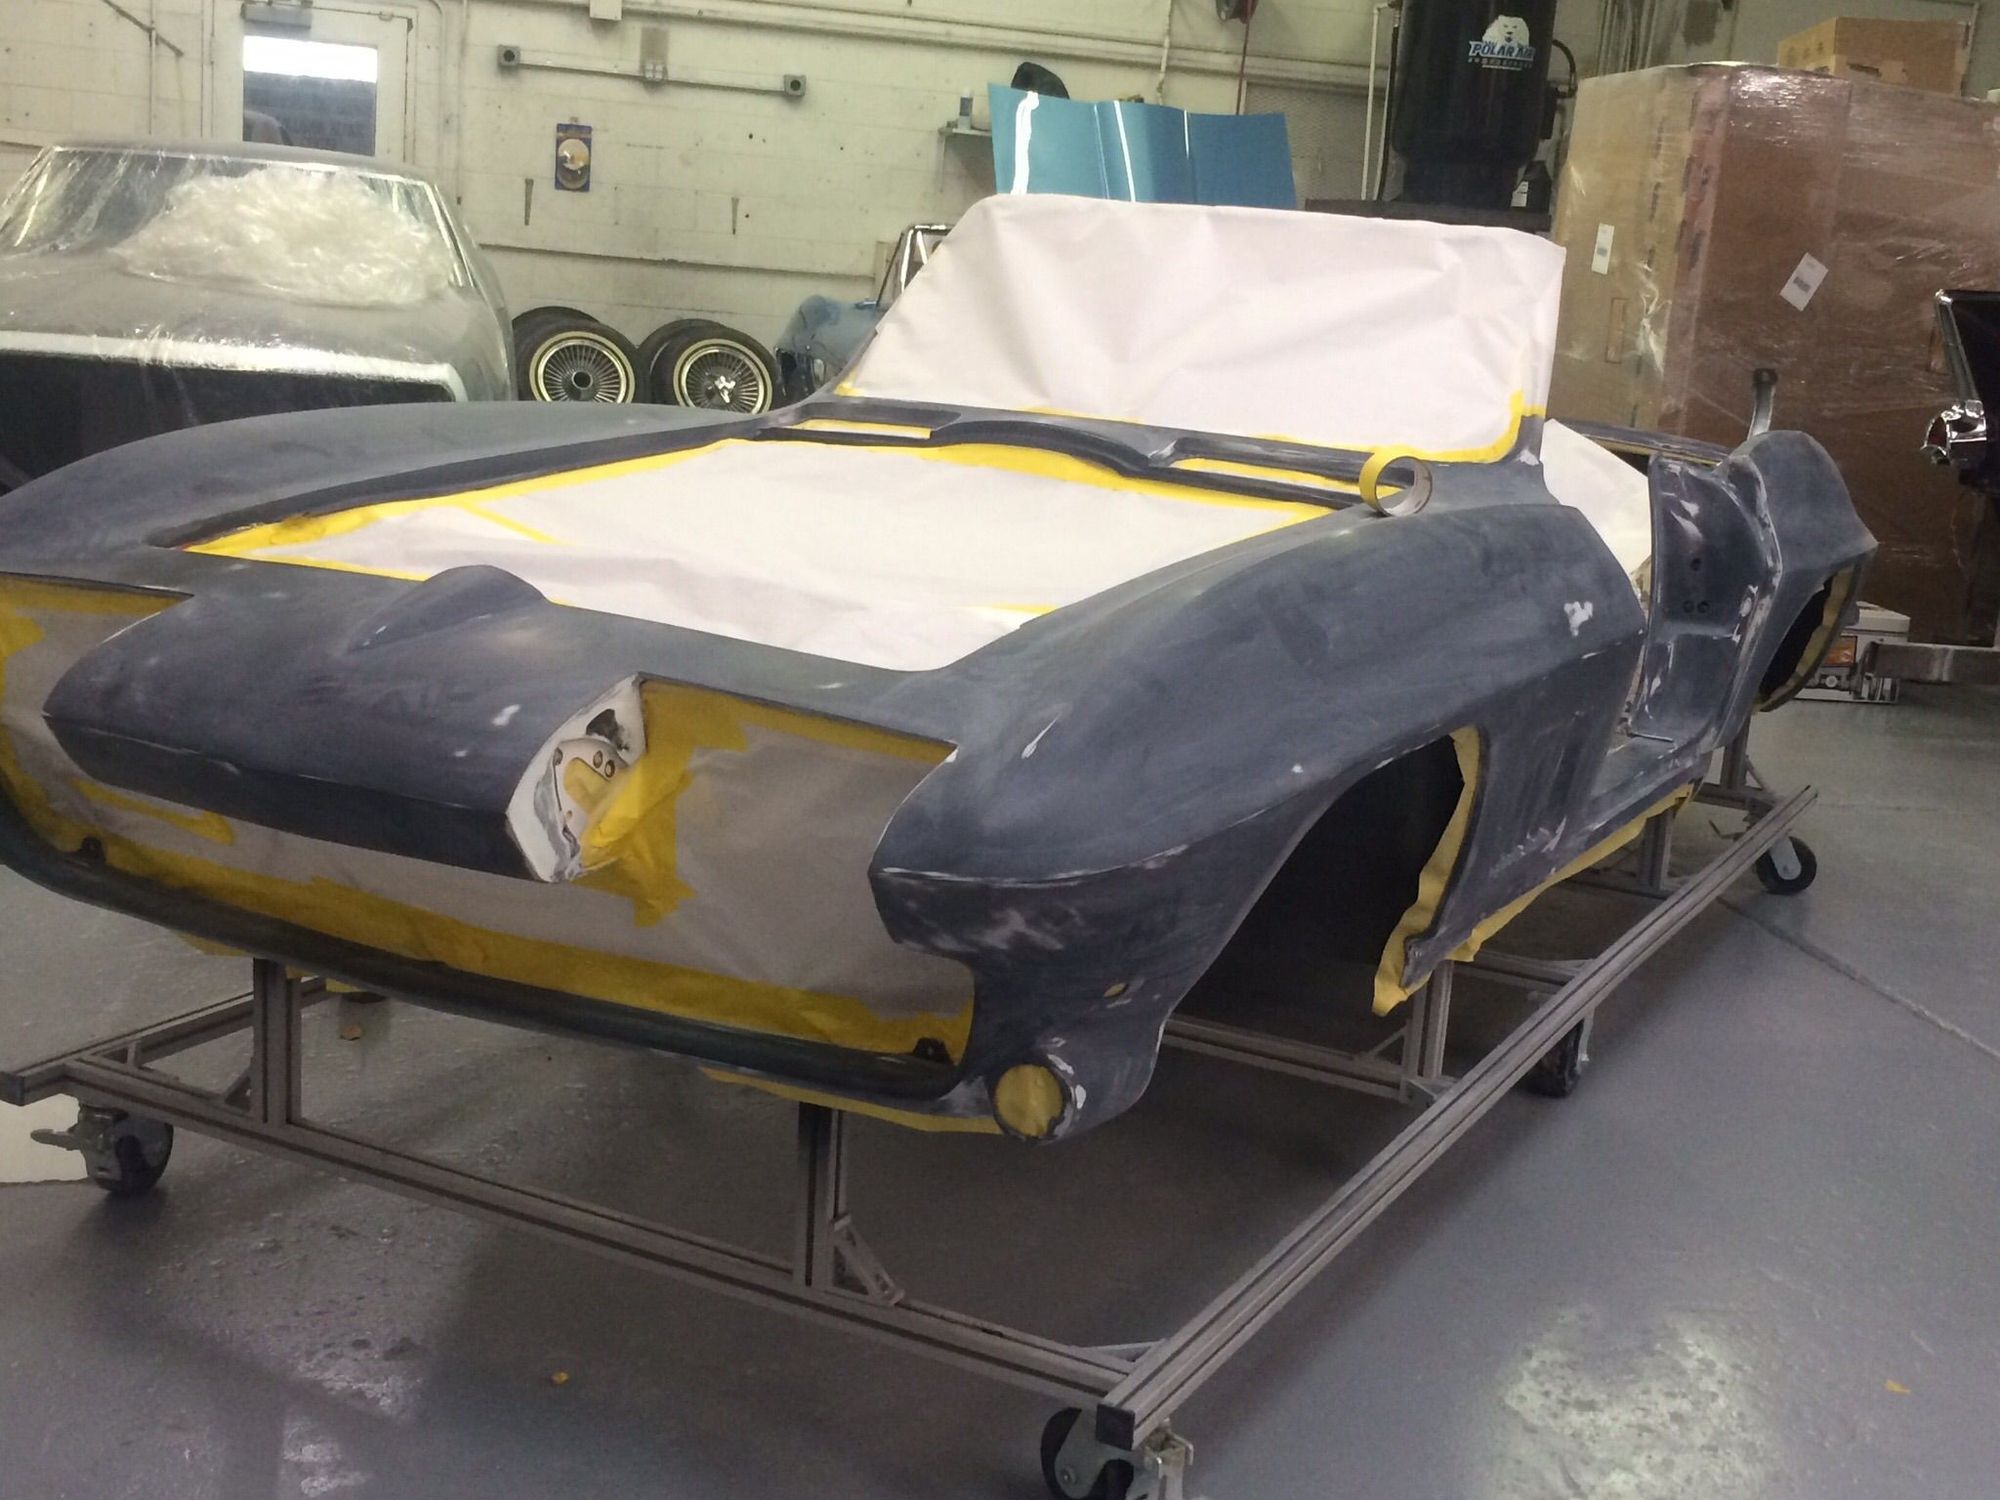
illy: However, I don't think that is the correct fix since sand marks were showing through the paint. I am going to work high quality lightweight filler into the low spots and keep sanding until level. Then, I will coat with more epoxy primer followed by slick sand. I still have to sand the paint off the cowl and hood surround, which i am dreading!


80-67_corvette_restomod_bodywork_2_a811acb83004c1ba6f7be9fdaacd36a31ee48327.jpg


80-67_corvette_restomod_bodywork_8043df4ad50237ddcc298ede033b3b5c94dbbabd.jpg


80-67_restomod_bodywork_3_b6a17270b2b9401f0d86dc4fabe7b4a7be728acd.jpg


80-67_restomod_bodywork_4_156735bc417fcbedf8e102a0058d892c098dac75.jpg


5/29/2015

80-image_69eab3d34718351adaa680a48fd775d9d5adbdb2.jpg


80-image_63e45e555a35a24efb55571102882bf01df9e688.jpg


80-image_18bd1431a28ee199a9b0645a70c7e823a1b836bf.jpg


80-image_e0475769ea414d50c973e96c678dc4a4ad784987.jpg


80-image_88839df2e8b2404955672763a79e29319c329e47.jpg
 
6/05/2015


I separated the body from the chassis today. All went pretty well until i realized I had forgotten to unhook the transmission wires. Nothing like reaching under a dangling body to disconnect a few plugs. :willy:
I'm still waiting on my Nuair body dolly to arrive. It was supposed to have shipped 10 days ago, but it still hasn't shown up. Pretty annoying!
I have the monster truck casters on the current dolly, which is why it is sitting so high off the ground.


80-67_roadster_shop_body_removal_e3e287c2fd39b14362f42eae7150aa0f1f960084.jpg


80-67_roadster_shop_body_removal_2_6753a9eb12f62f7e2694121b535931daf5a0f198.jpg


The chassis was filthy, so I gave it a much needed bath. Once the body is gone to paint, I will start detailing the chassis and dressing up the engine.


80-67_roadster_shop_chassis_91ea43364953a3e35c332778d5c1e9adeede9fb4.jpg


80-67_roadster_shop_chassis_2_8ccce69df9e96dc52361fd7983a09343b59d65ef.jpg


80-67_roadster_shop_chassis_3_fe66884705d834881b640e1ed23fc6d6018d6e71.jpg


6/10/2015
Still a ton of work to do in the jambs and Louver panels, but it's slowly getting better.


80-image_bc3c51f0ec177553400eaedc1456b8ef228acc27.jpg


80-image_8c8d7f6534ba198763af78956033773b9f44b83c.jpg


80-image_356d97d71c9ff0ff5fdd2c155e4406fcbb8093e9.jpg
 
8/04/2015

Progress at the paint and body shop
80-image_c05b14caa6a5d74d359dc8c39733fc19626b26ac.jpg


80-image_14570523c5cca47cf2a943e777e2ee6b01cac8a0.jpg


80-image_56528b960baefa8eba3e677aecd337de42a018cf.jpg


8/12/2015

Body work is complete and car is in filler primer at Luckys restorations.
80-image_0ff17caf045ae2ca36240de01cb389936a954871.jpg


80-image_80dcc2869805d490250f45135e695c290ced5e59.jpg


80-image_4c22e5f07cabb6fe52bef21f928e3eac433a6f2a.jpg


80-image_95d5d74882ed2419cd1a7f91f198df28c812996f.jpg


80-image_b480d684b0e7634362d98da181f03aecf95a31ac.jpg


80-image_e6d5de3864381a1a27e4c8618a15a8ba2345c2c3.jpg


80-image_5a0e937e523768c3bbfa179078d5d29f9bae857f.jpg
 
March 2016

I had a local fabricator make upper and lower radiator tubes as well as a new air intake.


Last edited:
And here is the current progress. I have been going full time on the car for the last 10 days and I am finally entering the home stretch of the build.

The car already had a custom stereo, so I decided to leave it in place. Hopefully the future buyer will enjoy a lot of bass!


Someone had done a rather sloppy job of installing a stereo head unit into the original felt glove box and it looked terrible. I had a custom glovebox insert made out of metal to hold the new Clarion head unit, which has blue tooth and can be controlled by the remote unit which is now mounted in the stock stereo location. Originally, my plan was to use an upgraded original style radio with blue tooth, but due to the raised transmission tunnel, that was not an option.


Re: 1967 Corvette Coupe Restomod Build Thread

I used the original seats because I just really don't care for the look of aftermarket seats in a convertible, especially when they stick up above the deck lid. All new leather, foam,etc. and I also added seat heaters for those colder fall or winter days when you still want to go for a cruise.


New Gauges


My painter forgot to make the cut outs for the power windows and I made a mess of the paint while cutting out the fiberglass, so i had to go back and sand, prime, and paint the door jambs. I bought the power window conversion kit from Auto City Classic and it works great. The conduit was not bent correctly, but that is an easy fix as long as you have a vice.


I also installed all new Smoke Gray tinted glass from Auto City Classic.

 
It's looking amazing... and that's an understatement!!

Mac
 
Very nice fabricating job on the center radio cluster.
Keep on posting the build. :w
 

Corvette Forums

Not a member of the Corvette Action Center?  Join now!  It's free!

Help support the Corvette Action Center!

Supporting Vendors

Dealers:

MacMulkin Chevrolet - The Second Largest Corvette Dealer in the Country!

Advertise with the Corvette Action Center!

Double Your Chances!

Our Partners

Back
Top Bottom