firstgear
Well-known member
- Joined
- Oct 11, 2003
- Messages
- 1,895
- Location
- Norwalk, Ohio
- Corvette
- 15 Z06, 01 Vert, 63 SWC & 60 ALL RED
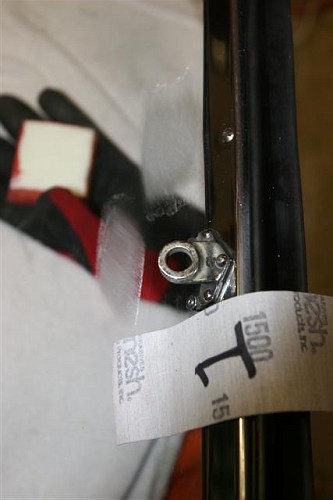
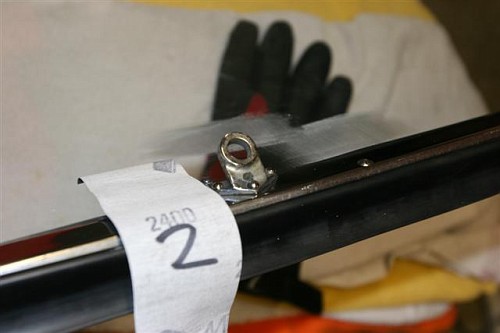
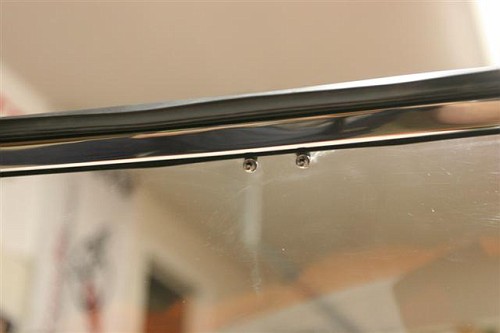
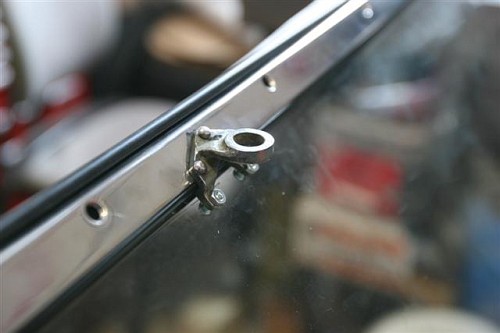
well, I thought it was a '60, some of the characteristics of the hardtop were correct, but key one which I missed until I went to put the roof back together was the roof hold down brackets. And that is when I found out that my hardtop was really a 56-58 (or something like that) and not a '59/'60.
But I was too far into the refurb to turn back, it isn't like my car is correct. Live and learn.....
I wanted to lash it down before I went any further with the back window and the rest of the trim. There have been a few times I have had to go backwards on the build but that was ok. There was a time I had to grind back off a couple of rivets that I had already set and that was ok.
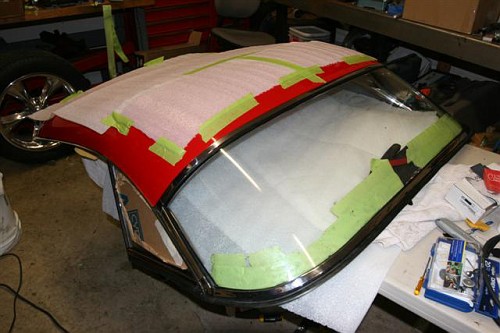
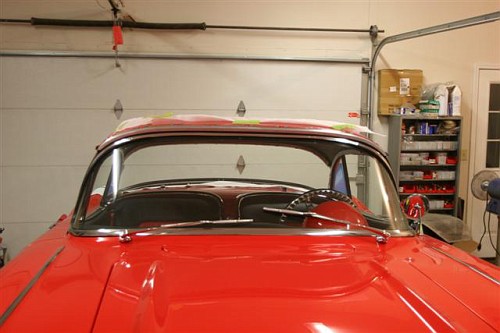
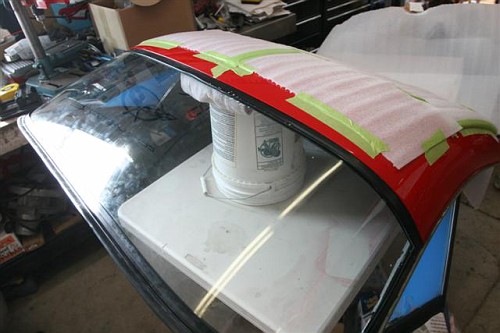
I think that the roof is a bit crooked, but then I am guessing that most of these roofs are a bit off like the rest of the car. I can get everything to line up with some muscle and the latches to latch. So I will let it sit over night and then tomorrow after work pull it back off the car and continue on with the refurb. So far there have been a few things that have been a bit tricky but not impossible to do. Right now if anyone asked would I do it again, yes. Lets hold that question until it is completely done.
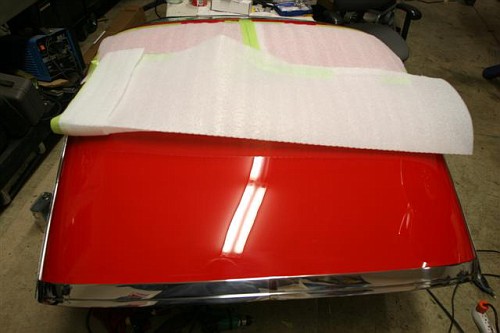
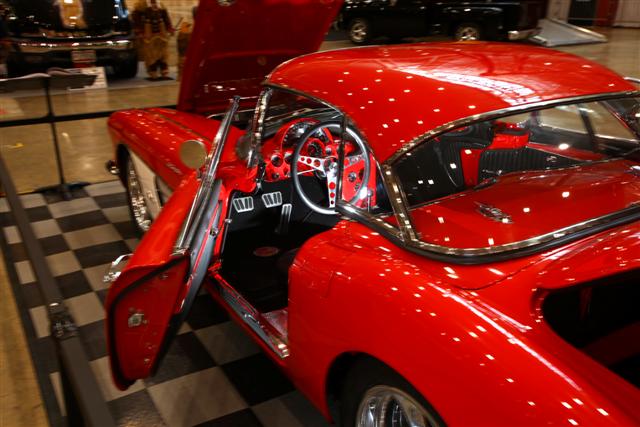
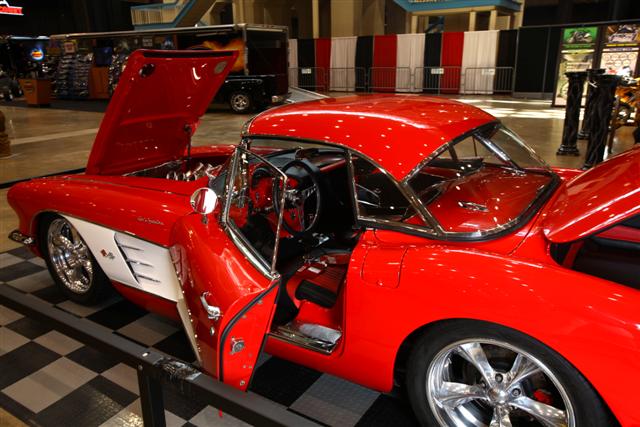
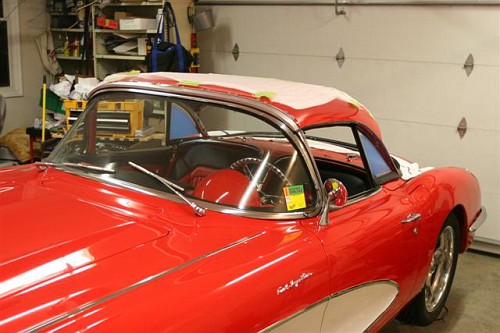
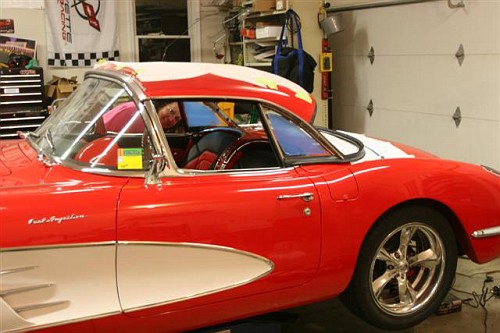
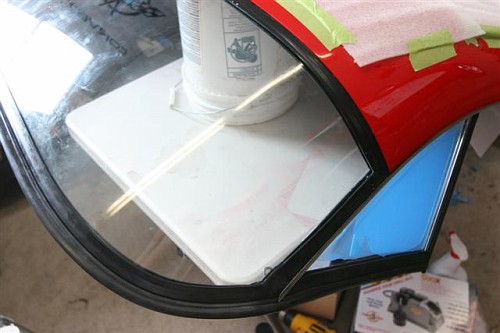
Here are photos of the top sitting on the car lashed down....
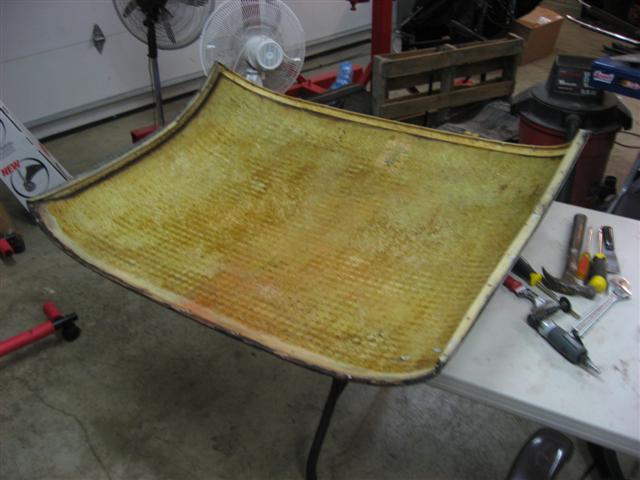
beginning...
all stripped down
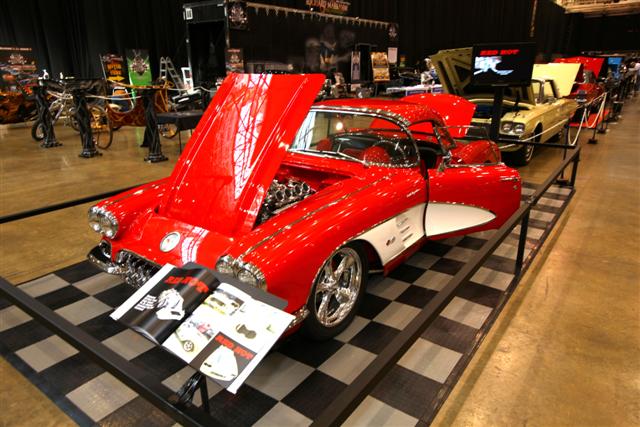
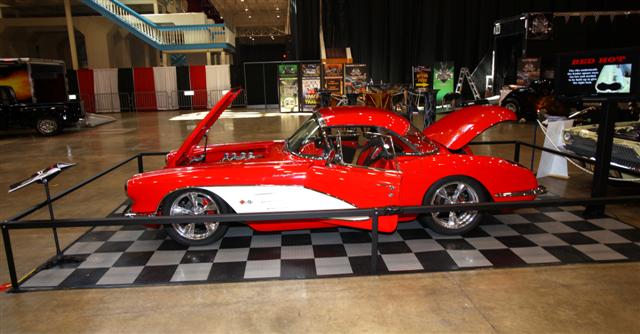
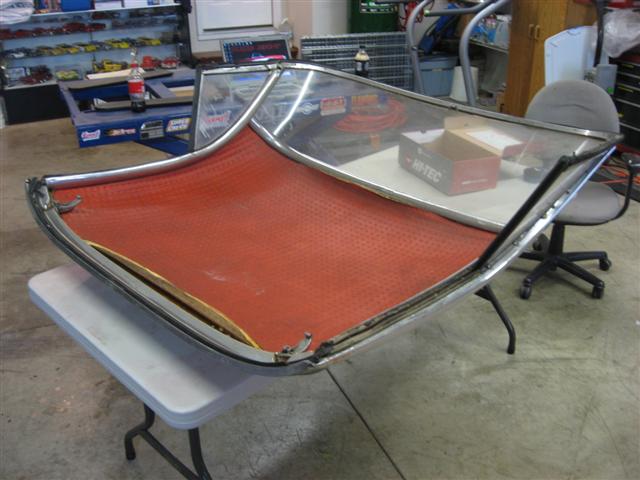
and now...
stay tuned......final product yet to come....
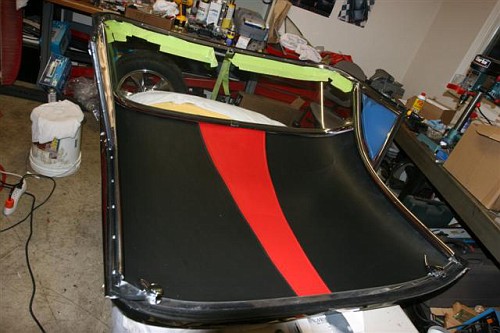
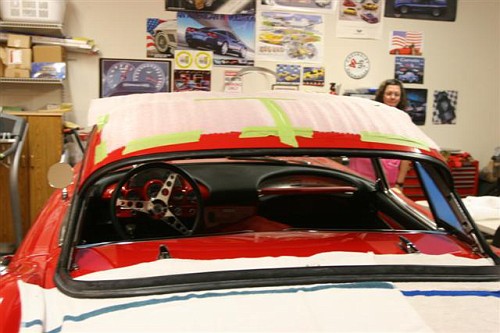
ps...I will have to post later the photos of the headliner. I bought from Paragon just the ABS headliner with nothing on it. Cost about $100 but it is the right contour to the roof. I had the upholstery guy put the leather right on the ABS. He said it was a great way to do it. Then I put some contact cement just in the middle of the roof (per Glassworks) to make sure that in the hot sun that the headliner doesn't sag or whatever). The headliner is black and red....red expanding center strip with black on the sides....about 5 inches wide in the front expanding to about 12 inches wide in the back.
But I was too far into the refurb to turn back, it isn't like my car is correct. Live and learn.....
I wanted to lash it down before I went any further with the back window and the rest of the trim. There have been a few times I have had to go backwards on the build but that was ok. There was a time I had to grind back off a couple of rivets that I had already set and that was ok.
I think that the roof is a bit crooked, but then I am guessing that most of these roofs are a bit off like the rest of the car. I can get everything to line up with some muscle and the latches to latch. So I will let it sit over night and then tomorrow after work pull it back off the car and continue on with the refurb. So far there have been a few things that have been a bit tricky but not impossible to do. Right now if anyone asked would I do it again, yes. Lets hold that question until it is completely done.
Here are photos of the top sitting on the car lashed down....
beginning...
all stripped down
and now...
stay tuned......final product yet to come....
ps...I will have to post later the photos of the headliner. I bought from Paragon just the ABS headliner with nothing on it. Cost about $100 but it is the right contour to the roof. I had the upholstery guy put the leather right on the ABS. He said it was a great way to do it. Then I put some contact cement just in the middle of the roof (per Glassworks) to make sure that in the hot sun that the headliner doesn't sag or whatever). The headliner is black and red....red expanding center strip with black on the sides....about 5 inches wide in the front expanding to about 12 inches wide in the back.
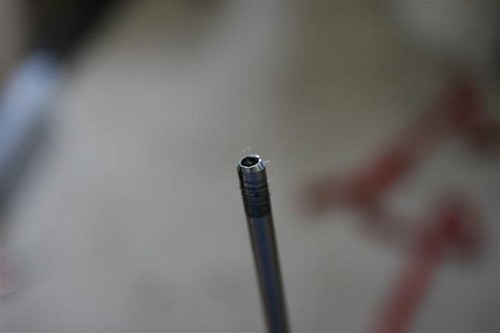
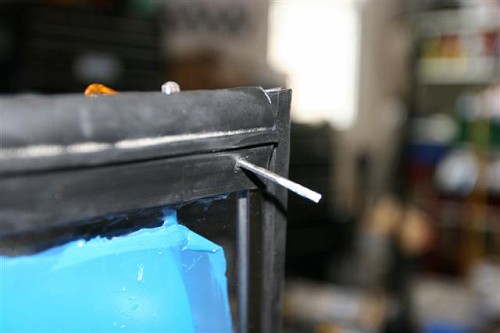
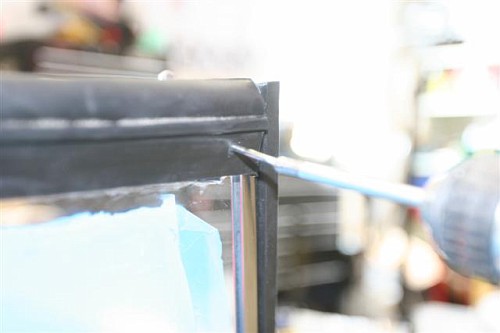
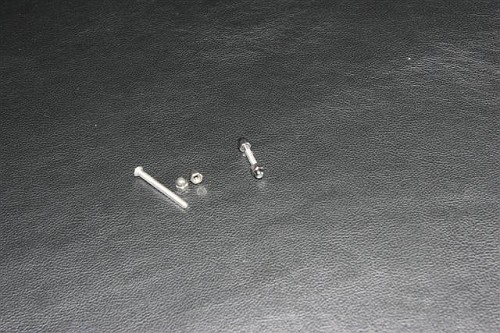
 all you need is a die grinder and with that you can take it apart....oh yeah you need a phillips and flat blade screwdriver.....but they come apart. the die grinder is needed for the rivets. I put a small disc on the grinder that way I don't get any flutter as opposed to a new wheel which will want to flutter......
 otfl
otfl


 )
)