Welcome to the Corvette Forums at the Corvette Action Center!

Question: Dash letter emblem inserts, sill inserts ?

Joined
Feb 8, 2004
Messages
1,102
Location
Southeast, PA
Corvette
2003 50th Annversary Red coupe, beautiful !
Has anyone ever done this interior upgrade? If so how did it turn out and what did you do to prep the dash, steering wheel and sills? I'm on the fence about doing this upgrade. Just want to know about how it turned out for all of you who have done it already !
 
I did the steering wheel insert and the airbag cover inserts 2 years ago. I think it was Cyberdyne or Cyber..somthing...

Worked out fine. I cleaned the surfacers with the alcohol pads included with the inserts. You need to make sure there are no chemicals on the surfaces. Still on now...
 
I was thinking of putting the steering wheel decal on but, I have never seen one. I was wondering if they would kind of cheap. Other concern I had was if they could be removed and leave no residue.
 
I've seen 2 styles. 1 is crossed flags without the circle, and that's what was on my car when I bought it. I liked the look of it, but it finally came off and refused to stick anymore. I hunted around for a duplicate but couldn't find one like it, so I went with the type that comes in about 9 pieces. 1 red piece fills in the right flag on the steering wheel, and 8 or 9 little pieces fit into the "squares" on the left hand flag. It looks fine to me, but those small white pieces can be a pain to install. Once they're on.......THEY'RE ON! Make darn sure that you have them exactly like you want them before you press them down to "seat" them. I used the prep wipe that came with the decals, and they've been on there for two years and counting. I like these better because the one piece one that was on there when I bought it was "puffy" and stuck up from the wheel. Everything got caught on it and I think that's why it eventually failed. The new one actually goes down into the recesses on the wheel, and doesn't interfeer with anything. Put the decals on the door sills as well, and those go right on top of the logo that's already there. The fit on those was surprisingly good as well.
Andy
 
I bought a set of sill, steering wheel and the dash airbag letters. I got from ebay and these are really quite nice and aren't a flat decal, but is a slightly raised emblem. They are designed to fit into the exact same logo's site and the dash letters fit down into the indentations. My fear is that 1. I don't clean the surface enough or 2. my hands aren't that steady and I wind up not getting them properly seated exactly where they go.

The other problem is that I don't want to use anything that will do any damage to the dash material plastic, and lastly, the weather. The instructions state they need to be installed when the temperature is between 60 and 80 degrees, and the humidity is betwwen 40% and 60%. Living here in the mid-Atlantic states is cutting it close. Those conditions only are about a month or two long. Not being in too great of health, I'd have to be feeling OK and having the weather cooperate likewise. I'm just looking for ;help
 
The 3D decals made by Cyberdine are the best. You can get them from a variety of places including that auction site. I have the airbag, steering wheel, sills and rear bumper lettering and they look and hold great. Just clean the area with rubbing alcohol prior to placing them, and use tweezers.

fun03.jpg
fun03.jpg
fun03.jpg
fun03s.jpg

fun03.jpg
 
I put the Cyberdine 3D decals on my steering wheel, air bags, door sills. front filler plate and rear facia lettering. As long as you follow the instructions they'll stay on until you want them off. They're very high quality and fit great. They look like something GM should have put on the car at the factory! Very nice upgrade.
 
I put the Cyberdine 3D decals on my steering wheel, air bags, door sills. front filler plate and rear facia lettering. As long as you follow the instructions they'll stay on until you want them off. They're very high quality and fit great. They look like something GM should have put on the car at the factory! Very nice upgrade.

Oh most definitely these are really nice with the very tiny letters in the background and the nice smooth raised emblem above. I'll clean like all heck and hope my hands are steady enough to position them correctly. :eek:hnoes
 
If they don't stick very well or happen to come off later you can use clear silicon and a tooth pick to put a small dab under emblem.
 
I used tweezers for the install.

The use of tweezers is a MUST ! Being my age 60, and knowing that each raised emblem (They were from Cyberdinegraphics.com) Which makes an EXCELLANT product, but you have to be very careful with the 50th emblems as they are acually two pieces. But another MUST is to use BONDPREP #4298 Pen because if someone ever used any kind of product like armoral or any gloss enhancing or protective plastic product no amount of wash, scrubing or the use of alcohol is going to allow these raised leter and emblems to stick.

I spent the whole morning washing and cleaning with denatured alcohol and it didn't prevent the adhesive on the emblems to stick. But once you use the BONDPRO 4298 Pen and let it dry for about a minute, the emblems adhesive stick great. Which brings me to this advice, 1. Clean with soap and water and use a old toothbrush.
2. wipe the area down with denatured alcohol and use a lot of q-tips to get down deep in the letter indentations.

3. put on a pair of latex gloves, and use a nice pair of tweezers, and gentally life one edge of the emblem, position it exactly at one corner and slowly apply the emblem as you slide the plastic backing out from under it.

4. Take your time, don't rush or it'll show up and look like crap. Don't touch the adhesive side of the emblems with a bare finger as the oil in your skin will ruin the adhesive.

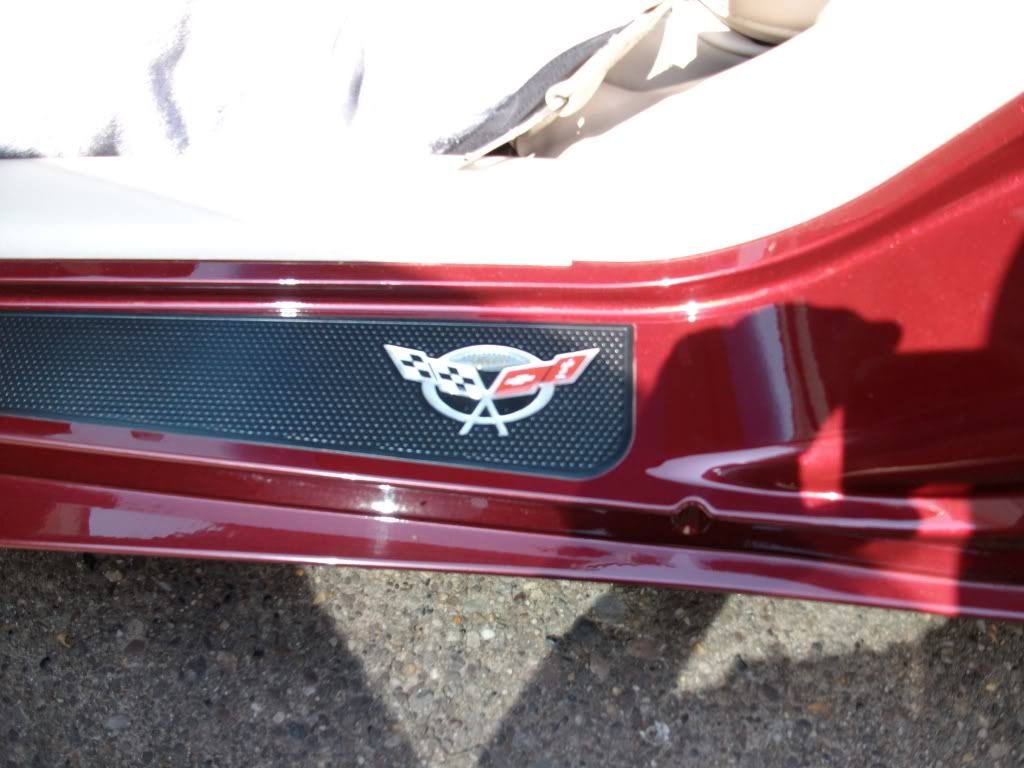
Mine came out just about perfect, except I got a little flat spot on one of the door sill emblems and it lifted the emblem a little to get it out, but there is still not a perfect oval to that side of the emblem. But I'm a very fussy person, so I see it. But anyone else I don't think they even notice it ? But I'm kind of anal retentive which brings me to these point, once the emblem is down, don't mes with it as you'll really mess up the silver and the letters themselves ! Once down and it looks OK, just rub it with one end of the tweezers to push the letters down into the indentations. You'll see right away as the color will change a tiny bit as the adhesive starts to set.

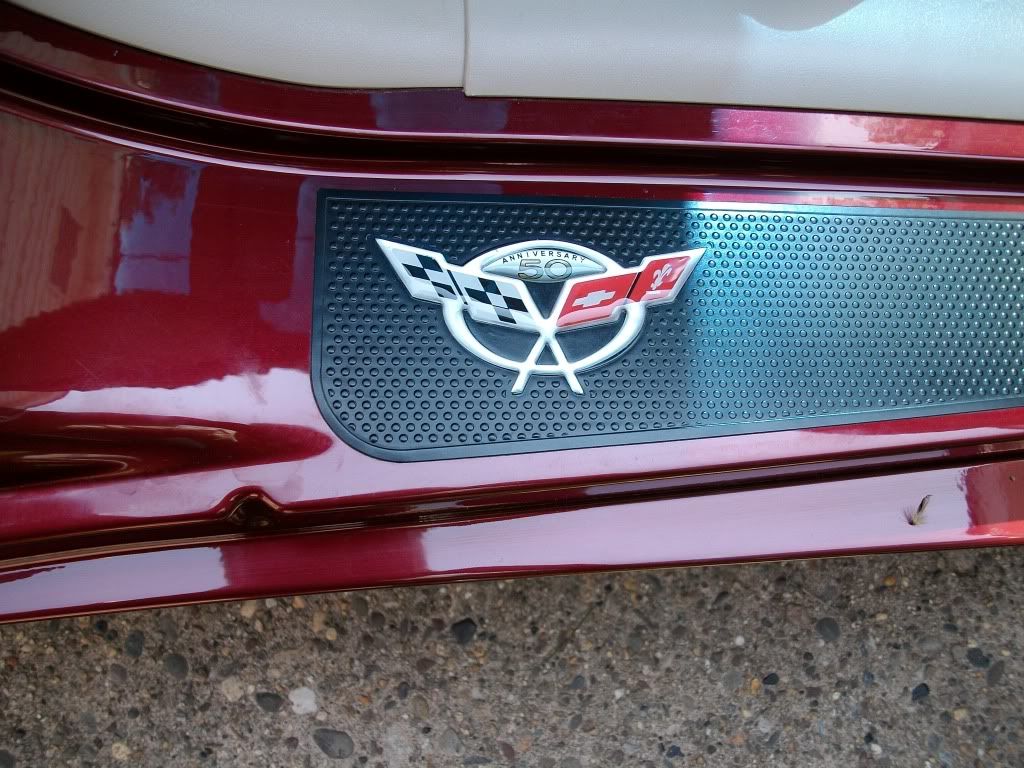
I have a 2003 50th Anniversary edition and the emblems are a little tricker than nomal as I have that section that says '50th Anniversary' and I didn't realize that those decals/emblems were two piece's till I was appling them. So don't try to yank them around caues you'll just ruin them.

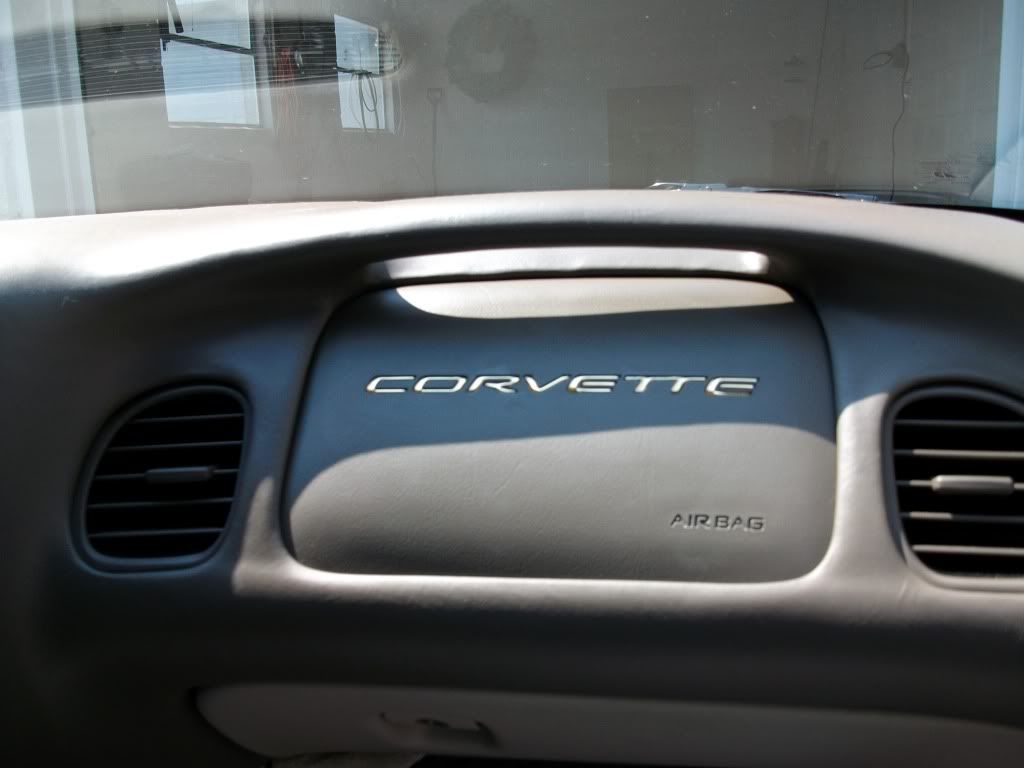
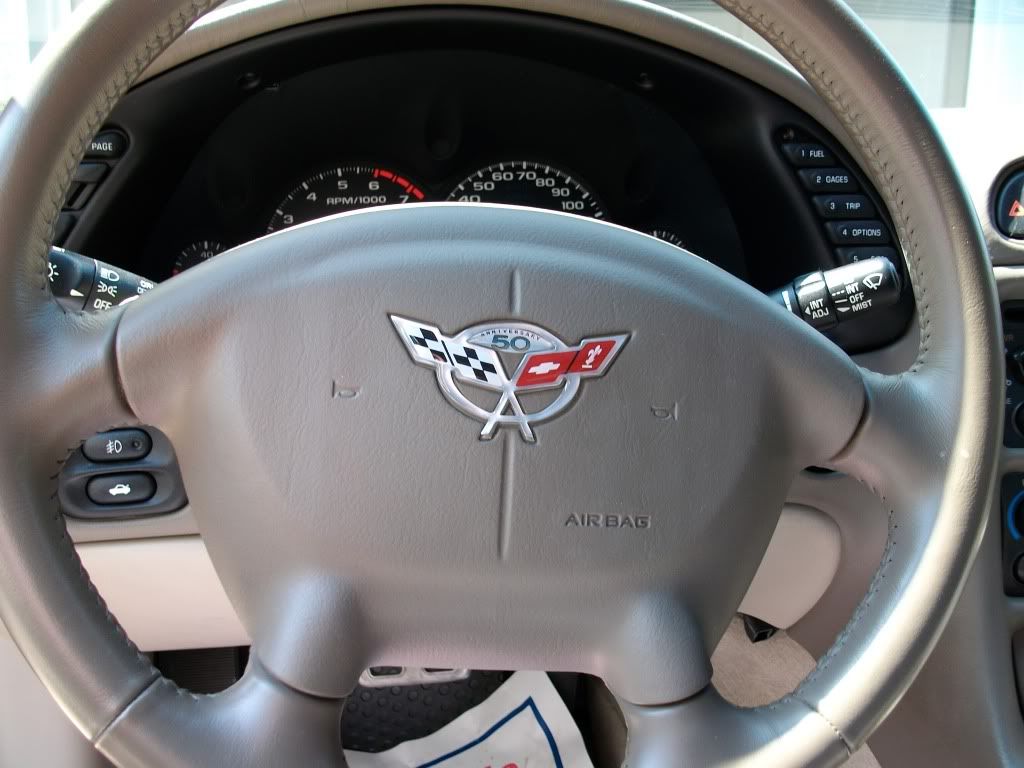
But I have to say, these emblems are from Cyberdine.com. and they look so normal, that you'd think they were installed at the factory. I got the Anniversary ones and I got gold letters for the indentions on the passengers airbag. My thinking was if you look at the seats head rests, their embroidered in the 50th. Anniversary logo which is gold, so using gold letters on the dashboard was just perfect.

Just use the Bondpro #4298 and wear latex gloves and use tweezers, take your time and do one letter at a time. (They are not all one piece like the letter 'E') and it'll loook fantastic. This is something great and it takes that bland interior and gives it a little pizzas ! :thumb

I've tried five times, but I can't upload the pictures. But that my word for it, their really nice. And if anyone is afraid of the word raised, these things are like less than 1/32 thick. It's more like an extension of the plastic steering wheel cover and the letters fit down into the passengers side airbag cover so that if you run your hand over the surface of the airbag cover, you can just feel the smooth cover as the raised letters just even out the airbag surface. But they look so normal, you'd think it was stock item.

But one important tip, do this job in the spring or early summer. As the graphics must be applied or installed when the temperature needs to be between 60 and 80 degrees, and the humidity between 40% and 60%., but they come with instructions for summer installations @ www.cyberdinegraphics.com

photo-1.jpg

Photo-4.jpg


photo-3.jpg


photo-2.jpg
 
Thanks, I'm trying to upload some of the pix's but the computer of the server at the other end doesn't want to cooperate. I did this picture thing before, so I dont know why it dosen't want to work this time. I'll figure it out, but trust me, this a great interior upgrade. It really looks like it was done at Bowling Green.
 
gizvette and kchalle,

I appreciate the pics. I've been debating on whether or not to do this myself. I figured it would look good, but then you say to yourself...well maybe not so much. Seeing the pics has definitely helped me make the decision to go forth with it! Like y'all, I have the Light Oak interior, so the pics were a big help. Thanks again!

Now, whether to put in the rear bumper lettering. With Magnetic Red, I think the chrome would look nice. I've been going back and forth whether to:

a) Go with the polished stainless steel ones. These are what I lean to, but my local 'vette guy said he wouldn't as they have edges that are easily caught when you are waxing, drying etc. He said because of that, they are easily ripped off. C5 Corvette Emblems 1997-2004 Rear Stainless Steel Lettering - 22% Off - Mid America Motorworks

b) Go with the chrome PVC lettering. These are the ones my 'vette dude recommends. C5 Corvette Emblems 1997-2004 Rear Lettering - Mid America Motorworks

c) Don't do it at all.

For those of you who did the rear bumper lettering, which did you use? Any issues?
 
I used the same Cyberdine 3D lettering on my butt because I was completely happy with the interior decals. I have black, but you can get these in chrome, too. Vette Works International sells them in a variety of colors and for every C5 emblem there is on your car. :beer
 
I've got the polished stainless steel and they've been on my butt for almost 10 years. Never had an issue with them.
 
Just a note to all of you who have installed, or are thinking of installing, these inserts. Please remember you are putting them on the AIR BAG DOORS. Heaven forbid you ever get into an accident in your Vette. However, if you do, at a sufficient enough speed (around 12 - 16 MPH), those air bags will DEPLOY, sending those inserts at you at around 200 MPH! Hopefully, they are urethane (soft plastic) parts and not a die cut piece of polished or chromed metal. Hopefully, the adhesive on these parts is sufficient to hold them on during a deployment, but buyer beware. BTW, I do this for a living, so I know what can happen with projectiles during a deployment. I have the high speed videos (2000 Fr/Sec) to prove it.
 

Corvette Forums

Not a member of the Corvette Action Center?  Join now!  It's free!

Help support the Corvette Action Center!

Supporting Vendors

Dealers:

MacMulkin Chevrolet - The Second Largest Corvette Dealer in the Country!

Advertise with the Corvette Action Center!

Double Your Chances!

Our Partners

Back
Top Bottom