lars
Well-known member
- Joined
- Feb 15, 2003
- Messages
- 209
- Location
- In my workshop bar in Denver
- Corvette
- 64 Black Roadster; 85 Coupe; 09 G8 GT 4-door Vette
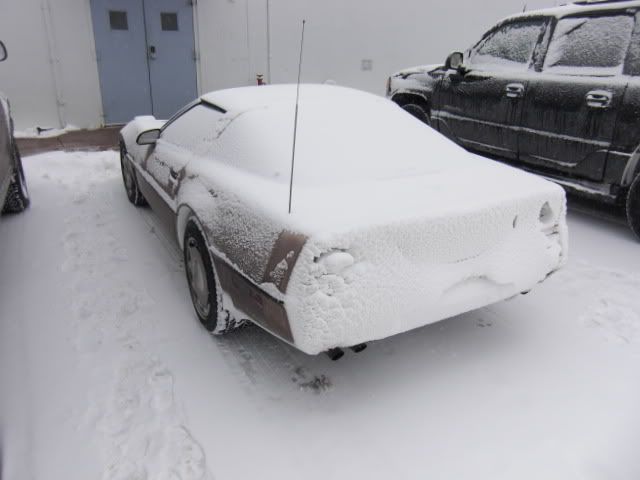
I just completed a 3-1/2 year ordeal with the resto-mod of my ’64. This was a very rough car, and it probably couldn’t have been parted out since there weren’t any parts on the car good enough to sell… I ended up disassembling the car and every component assembly down to the lowest possible detail part and building the entire thing back up from the ground. Not a single thing went untouched, from a complete rear end rebuild, tranny, engine, steering box, heater box, steering column, – and on and on – it never ended. The body required major surgery and was a 2-year process by itself. All work was done in my workshop, but I did use a paint booth for final paint application. Things were kept as original as possible and all correct parts were used, but liberty was taken with the engine build and a few bolt-ons to make this a fun car to drive. As it now sits, this thing is simply brutal and a total kick to take out and flog.. Here’s an abbreviated photo journey through the process:
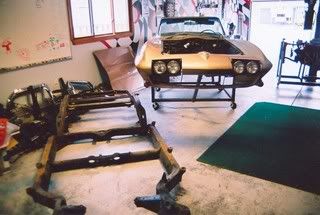
The start: a rough but drivable ’64 with a 350 pickup truck engine. Can you see how rough the bodywork is...?
Body coming off the frame:
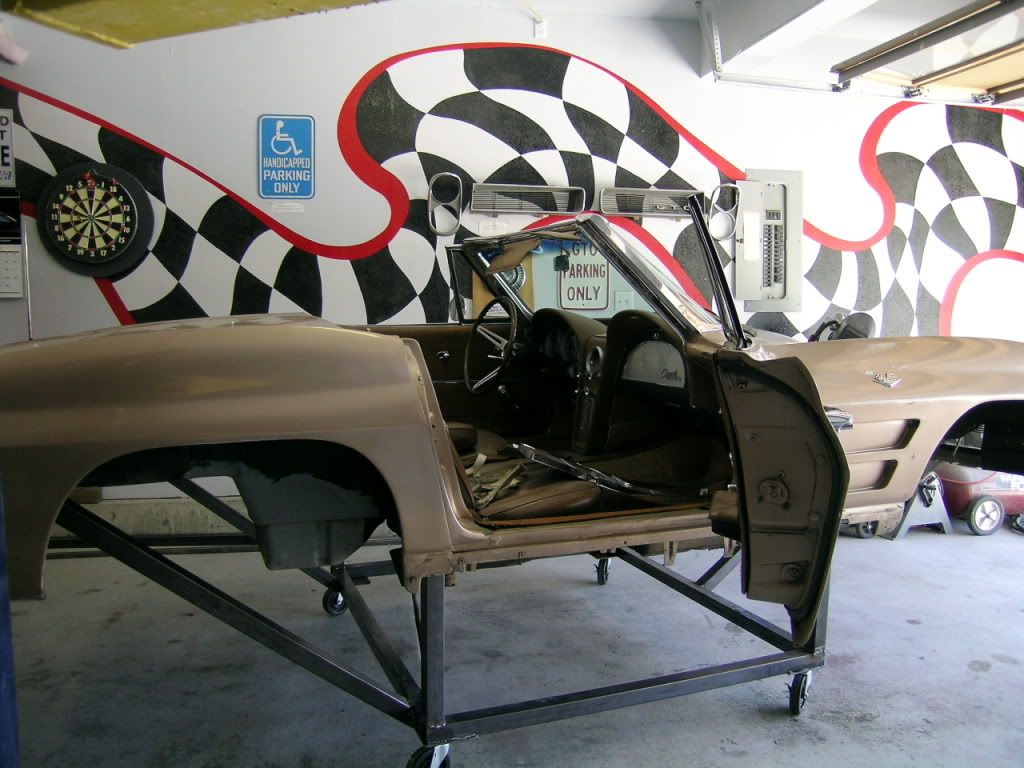
Body going onto my body dolly (isn't it nice to have a lift in the garage?):
Body dolly is rigid enough to correctly align the body and allow doors to open. I made the dolly tall enough that I could get under the car to work on the floorpans, yet do bodywork on the sides of the car without having to bend over - I'm 6' tall: this was a nice working height for me. The dolly was welded up in an afternoon by just taking some simple measurements off the body - total cost was less than $100:
Chassis & frame completely disassembled to allow inspection and repair:
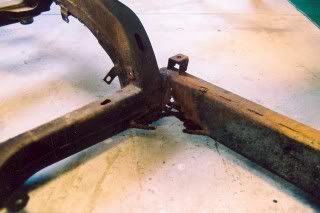
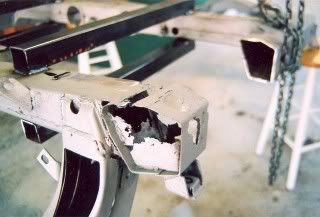
Frame rust was severe:

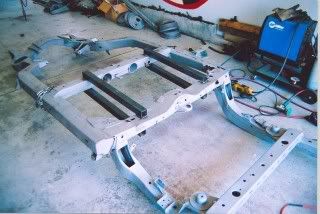
Sandblasted frame with stiffening bars welded in prior to cutting one side at a time:
Rust section chopped out:
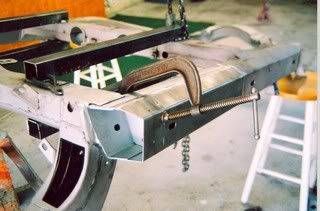
New section clamped in position for welding:
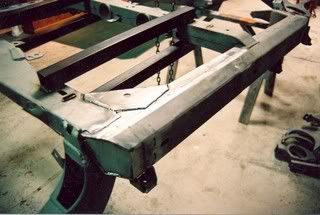
Welded up and ready for stiffening bars to be cut off (both sides of the frame went through this process):
Frame painted and ready for assembly after complete trailing arm rebuild:
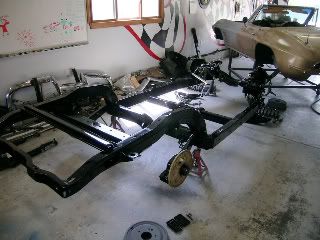
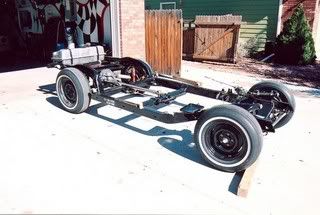
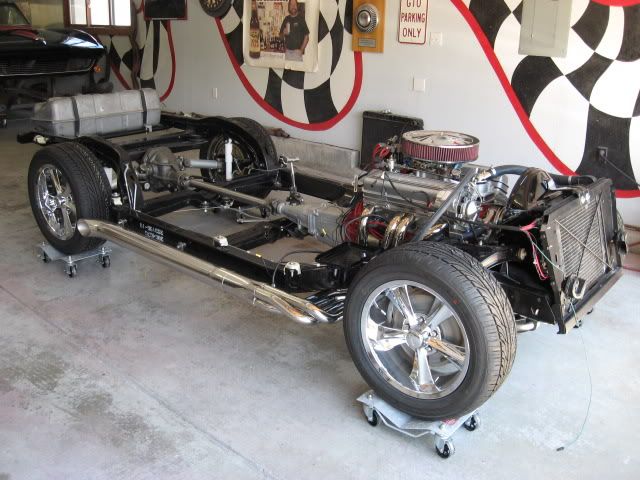
Rolling chassis complete. Rear end was upgraded to a 3.73:1, and completely rebuilt - gearing choice turned out to be a perfect match to engine:
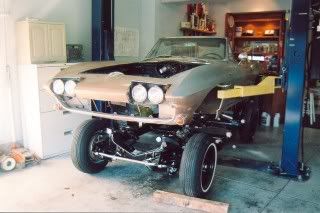
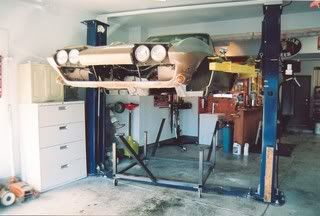
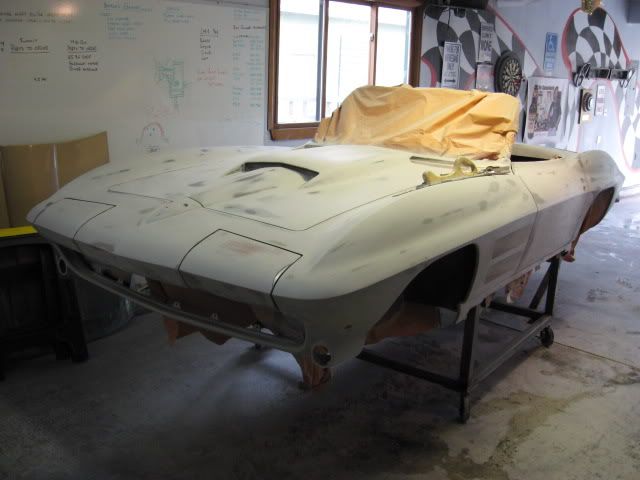
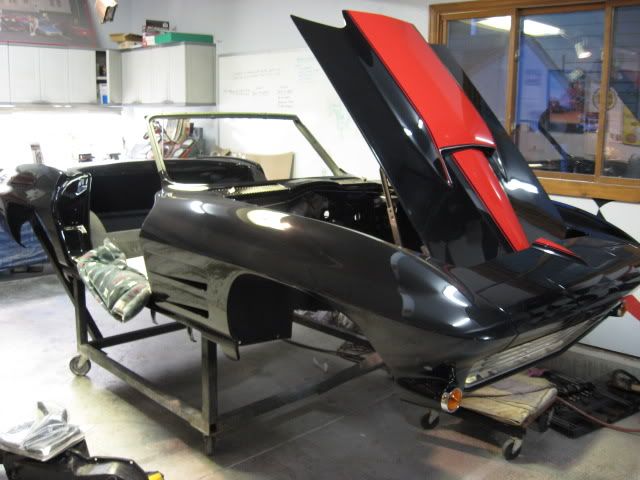
Rough body work complete after total strip-to-bare-‘glass and in primer with ’67 hood fitted. The hood is an original '67 factory hood that my good friend Lou found in a junk yard - it was so bad that it was "beyond repair." A week of labor cutting the entire support structure off the bottom of the hood and re-forming the hood to match the car paid off with a perfectly matched '67 BB hood to clear my tall intake system:
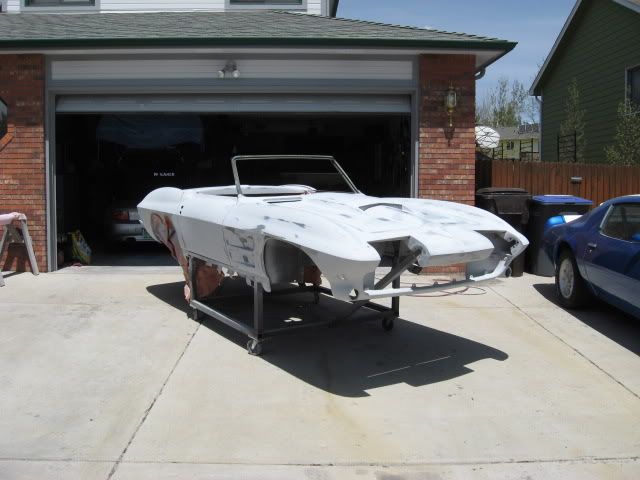
Final sanding prior to paint (after 5 rounds of fill primer and blocking):
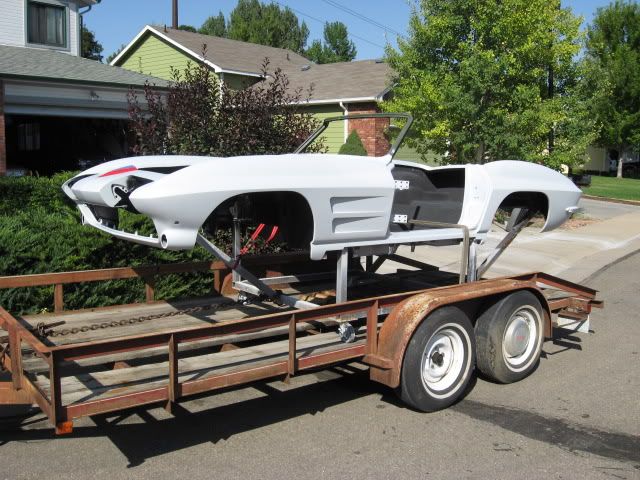
Transporting to the paint booth. My lift and my trailer are the 2 best "tool" inverstments I've ever made:
Me shooting in the booth:

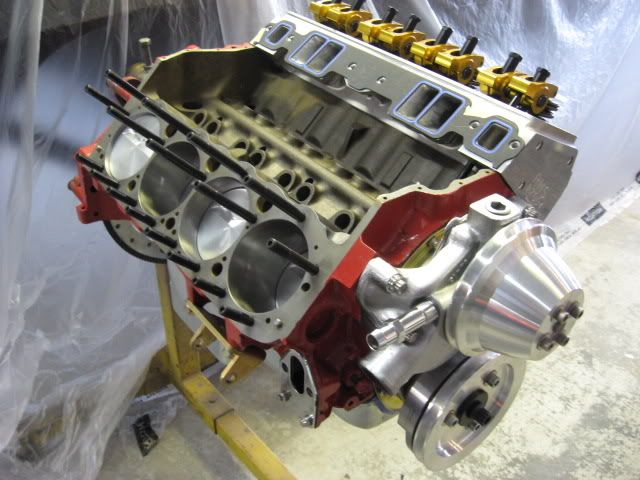
Engine build in progress - the 350 truck engine was set aside and this engine was built from scratch using a block and crank donated by my friend Matt as the foundation:
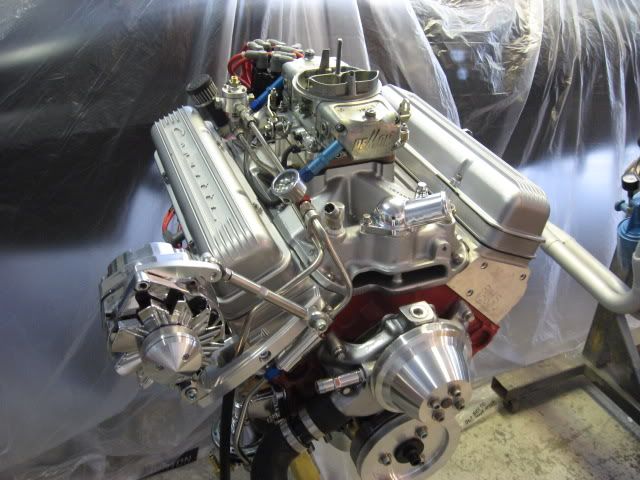
Engine complete:
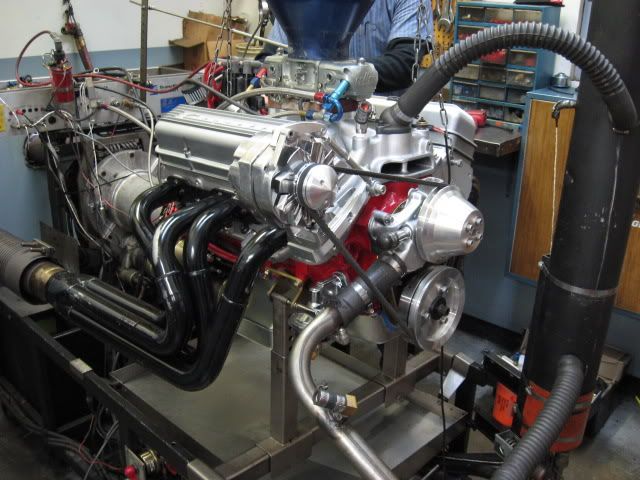
Engine on the dyno: 496 horsepower and 500 ft/lbs torque. Since I’m using the original valve covers (and a hidden PCV system) I’m telling people it’s a 327… The color of the engine matches the color of the stripe on the hood, which is a 2009 'Vette color.
Body painted and undergoing assembly. Everything was "stuffed" into the body before mating it to the frame, including all electrical systems. The electricals were tested (including verification and setup of the headlight doors, tail lights, ignition system, etc) using a battery and some jump wires. This proved invaluable, since several problems were found and corrected while the body was in this state and very easy to work on:
Rolling chassis complete with drivetrain – ready to mate to body. Note correct factory part numbers/stencils on the frame - everything was done "correctly" in spite of engine mods. Even though the engine had been run on the dyno and was known to be good, a wire harness was made up to allow the engine to be started and run in the chassis to verify that everthing was working perfectly before mating the body to the frame. Everything worked...:
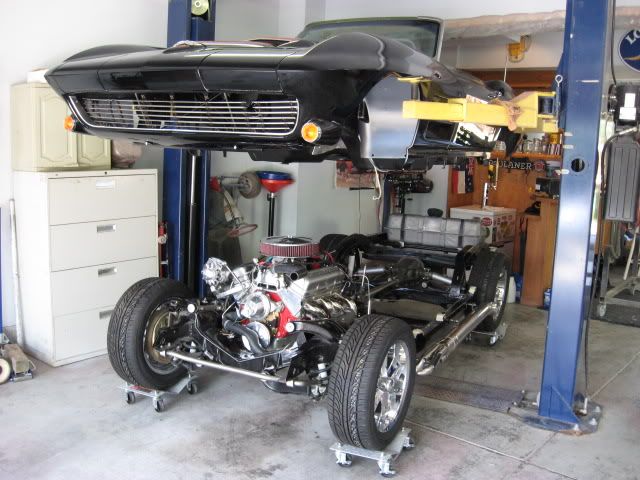
Body being lowered onto rolling chassis:
Mated!
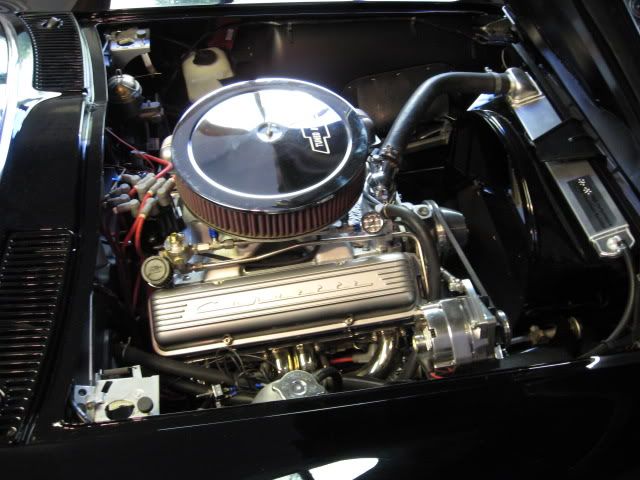
Engine in place. Yes, that's a "Tuned by Lars" decal on the air cleaner, courtesy San Antonio Corvette Club:
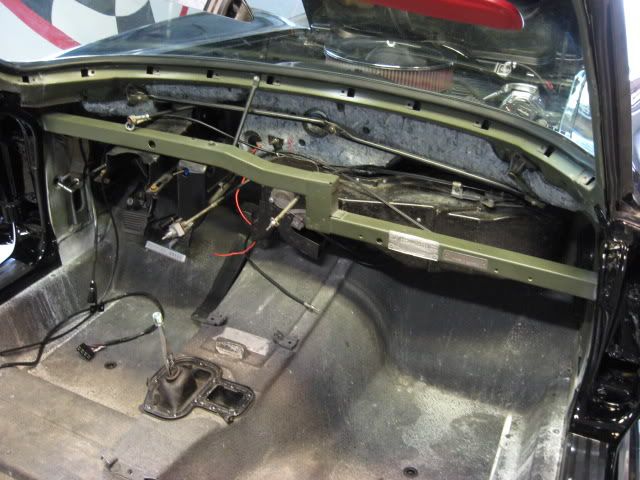
Ready for dash. That's not zinc chromate on the birdcage: the "birdcage" was stripped down, epoxy coated, and then painted with a catalyzed urethane that I mixed and flattened to make it look like zinc chromate. The epoxy/urethane is more durable than the old chromates, so this birdcage will never rust for as long as I'm alive...
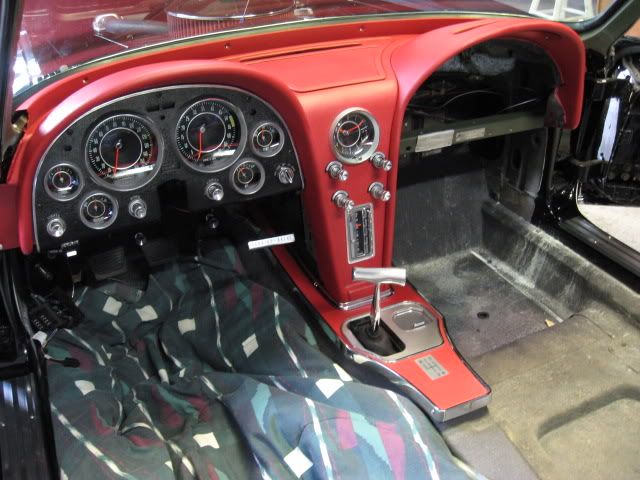
Dash, wiring & instrument panel was installed in factory sequence (thanks to JohnZ for the info on this). This allowed complete installation in less than an hour. All instruments were rebuilt, including the clock (with quartz movement) and the radio (which was upgraded with an MP-3 jack and a good speaker under the stock grill). That's the original "Saddle Tan" interior that I prepped and painted with my own color-matched formula to match the Al Knoch leather that I bought for the seats:
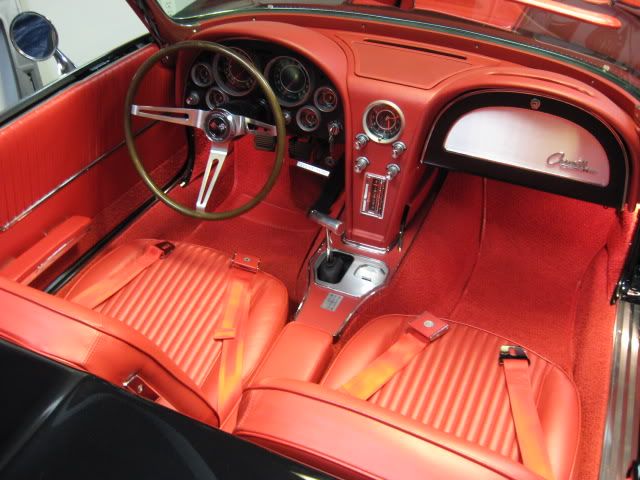
Interior in. MP-3 jack wire can be seen sticking out the passenger heat vent. Yeah, it's a Hurst shifter - so shoot me. Original Muncie shifter is rebuilt and in a box in my shed, where it belongs:
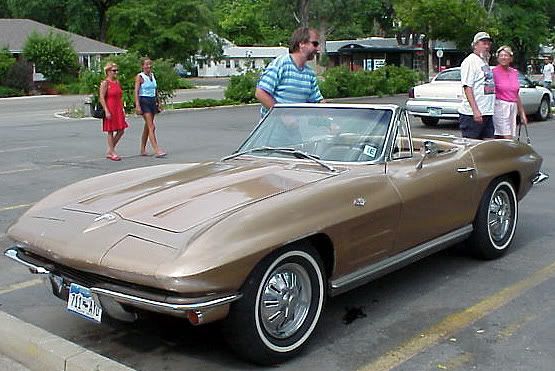
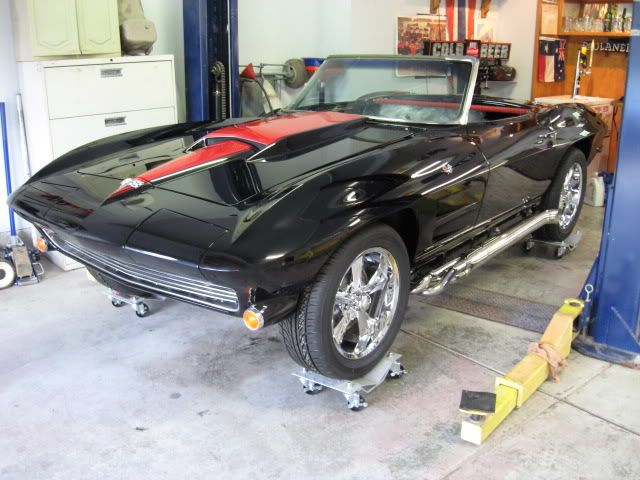
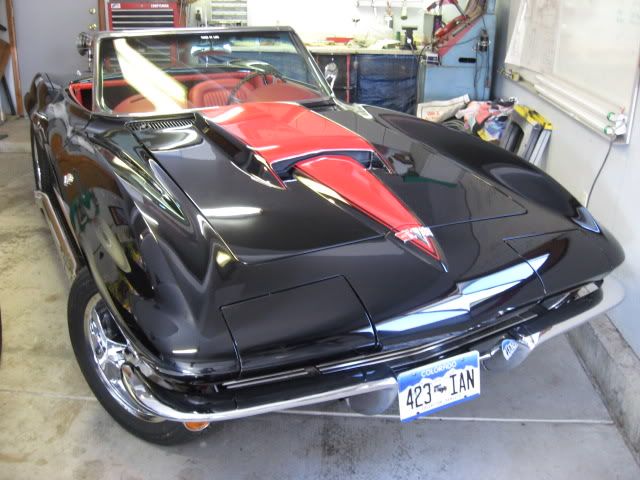
Final assembly complete. The hood isn't latched in this photo - it really does line up:
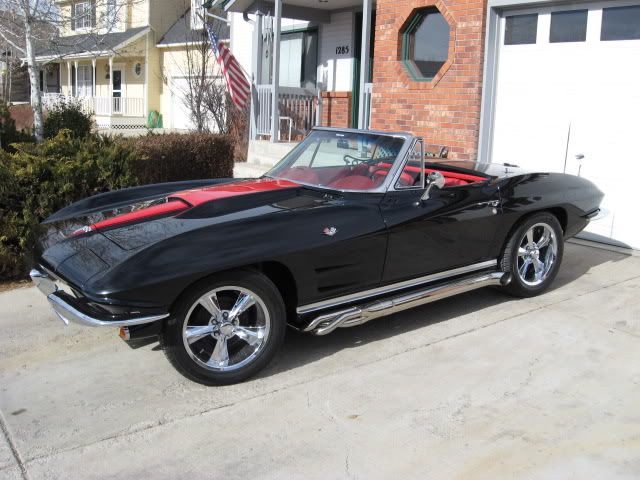
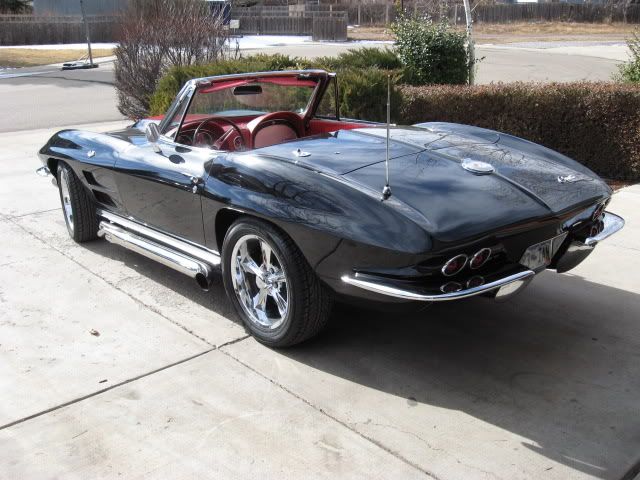
I don't ever want to see another piece of sandpaper again.
Lars
The start: a rough but drivable ’64 with a 350 pickup truck engine. Can you see how rough the bodywork is...?
Body coming off the frame:
Body going onto my body dolly (isn't it nice to have a lift in the garage?):
Body dolly is rigid enough to correctly align the body and allow doors to open. I made the dolly tall enough that I could get under the car to work on the floorpans, yet do bodywork on the sides of the car without having to bend over - I'm 6' tall: this was a nice working height for me. The dolly was welded up in an afternoon by just taking some simple measurements off the body - total cost was less than $100:
Chassis & frame completely disassembled to allow inspection and repair:
Frame rust was severe:
Sandblasted frame with stiffening bars welded in prior to cutting one side at a time:
Rust section chopped out:
New section clamped in position for welding:
Welded up and ready for stiffening bars to be cut off (both sides of the frame went through this process):
Frame painted and ready for assembly after complete trailing arm rebuild:
Rolling chassis complete. Rear end was upgraded to a 3.73:1, and completely rebuilt - gearing choice turned out to be a perfect match to engine:
Rough body work complete after total strip-to-bare-‘glass and in primer with ’67 hood fitted. The hood is an original '67 factory hood that my good friend Lou found in a junk yard - it was so bad that it was "beyond repair." A week of labor cutting the entire support structure off the bottom of the hood and re-forming the hood to match the car paid off with a perfectly matched '67 BB hood to clear my tall intake system:
Final sanding prior to paint (after 5 rounds of fill primer and blocking):
Transporting to the paint booth. My lift and my trailer are the 2 best "tool" inverstments I've ever made:
Me shooting in the booth:
Engine build in progress - the 350 truck engine was set aside and this engine was built from scratch using a block and crank donated by my friend Matt as the foundation:
Engine complete:
Engine on the dyno: 496 horsepower and 500 ft/lbs torque. Since I’m using the original valve covers (and a hidden PCV system) I’m telling people it’s a 327… The color of the engine matches the color of the stripe on the hood, which is a 2009 'Vette color.
Body painted and undergoing assembly. Everything was "stuffed" into the body before mating it to the frame, including all electrical systems. The electricals were tested (including verification and setup of the headlight doors, tail lights, ignition system, etc) using a battery and some jump wires. This proved invaluable, since several problems were found and corrected while the body was in this state and very easy to work on:
Rolling chassis complete with drivetrain – ready to mate to body. Note correct factory part numbers/stencils on the frame - everything was done "correctly" in spite of engine mods. Even though the engine had been run on the dyno and was known to be good, a wire harness was made up to allow the engine to be started and run in the chassis to verify that everthing was working perfectly before mating the body to the frame. Everything worked...:
Body being lowered onto rolling chassis:
Mated!
Engine in place. Yes, that's a "Tuned by Lars" decal on the air cleaner, courtesy San Antonio Corvette Club:
Ready for dash. That's not zinc chromate on the birdcage: the "birdcage" was stripped down, epoxy coated, and then painted with a catalyzed urethane that I mixed and flattened to make it look like zinc chromate. The epoxy/urethane is more durable than the old chromates, so this birdcage will never rust for as long as I'm alive...
Dash, wiring & instrument panel was installed in factory sequence (thanks to JohnZ for the info on this). This allowed complete installation in less than an hour. All instruments were rebuilt, including the clock (with quartz movement) and the radio (which was upgraded with an MP-3 jack and a good speaker under the stock grill). That's the original "Saddle Tan" interior that I prepped and painted with my own color-matched formula to match the Al Knoch leather that I bought for the seats:
Interior in. MP-3 jack wire can be seen sticking out the passenger heat vent. Yeah, it's a Hurst shifter - so shoot me. Original Muncie shifter is rebuilt and in a box in my shed, where it belongs:
Final assembly complete. The hood isn't latched in this photo - it really does line up:
I don't ever want to see another piece of sandpaper again.
Lars
 Jane Ann
 I think that the 'liberties' that you took were well worth it.

")