Bob Heine
Well-known member
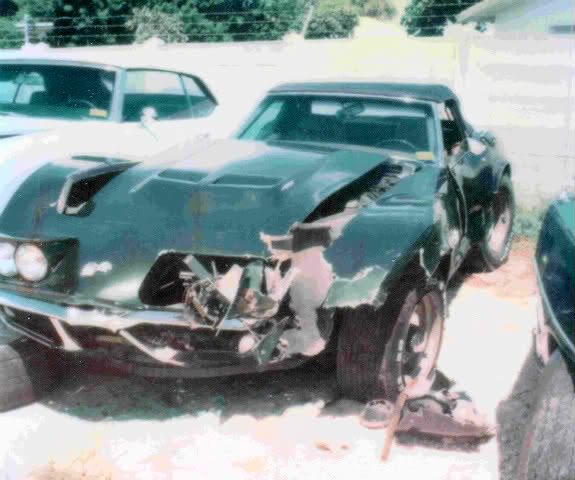
I graduated from night school in 1977 with a bachelor’s degree in English and my wife asked me what I wanted for graduation. I said I wanted a Corvette and she let me go out and buy one. Found a green convertible four-speed 427-390 big block with 90,000 miles on it. Started fixing it up but didn’t invest in new tires right away. Spun out on US1 one night and totaled the car.
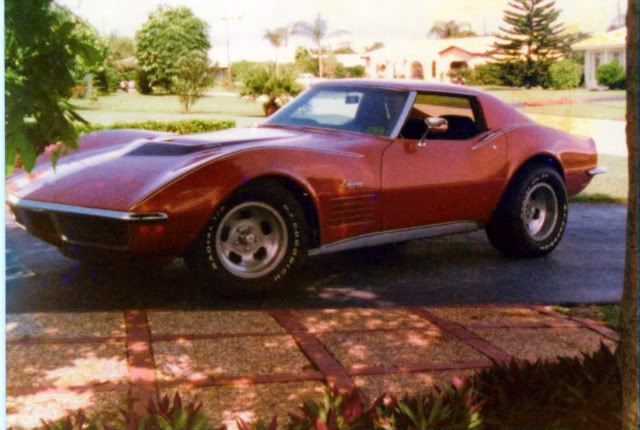
Wife wouldn’t let me fix the car and told me to go buy another one that didn’t need as much work. This 72 coupe automatic big block became mine in 1978 and has been with me ever since.
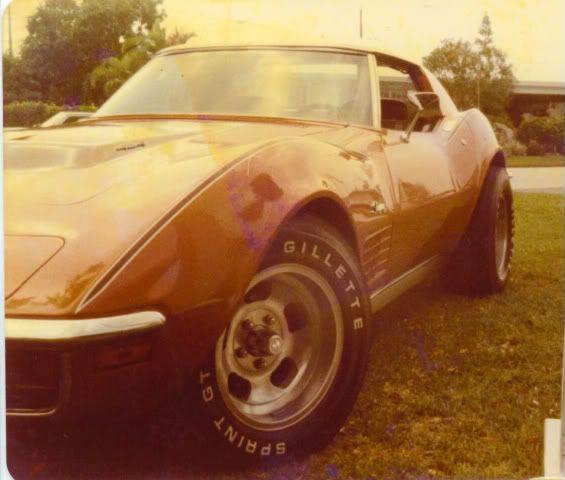
Replaced the worn Gilette tires with brand new Comp T/As and took the wedges out of the front springs.
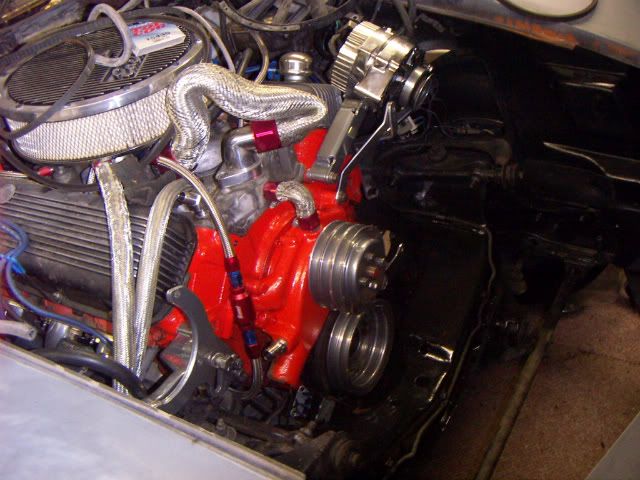
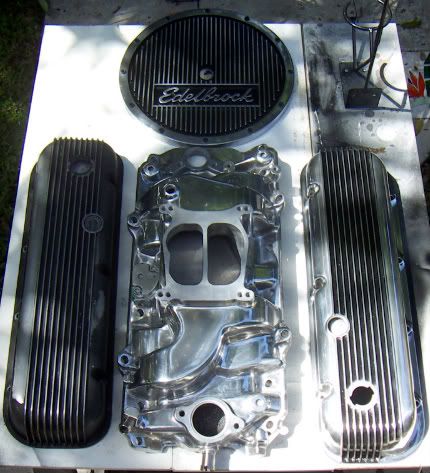
Drove it to work every day and took it to several autocrosses the first few years I owned it. It smoked a little on startup but I figured it was valve seals. Before I got around to that project, an STP oil filter blew its seal and it was time to check the insides for damage. I was heartbroken, having to pull the engine and blueprint it at a friend's machine shop. While it was out, I also went through the TH499 and added a shift kit to the complete rebuild. Very very sad.
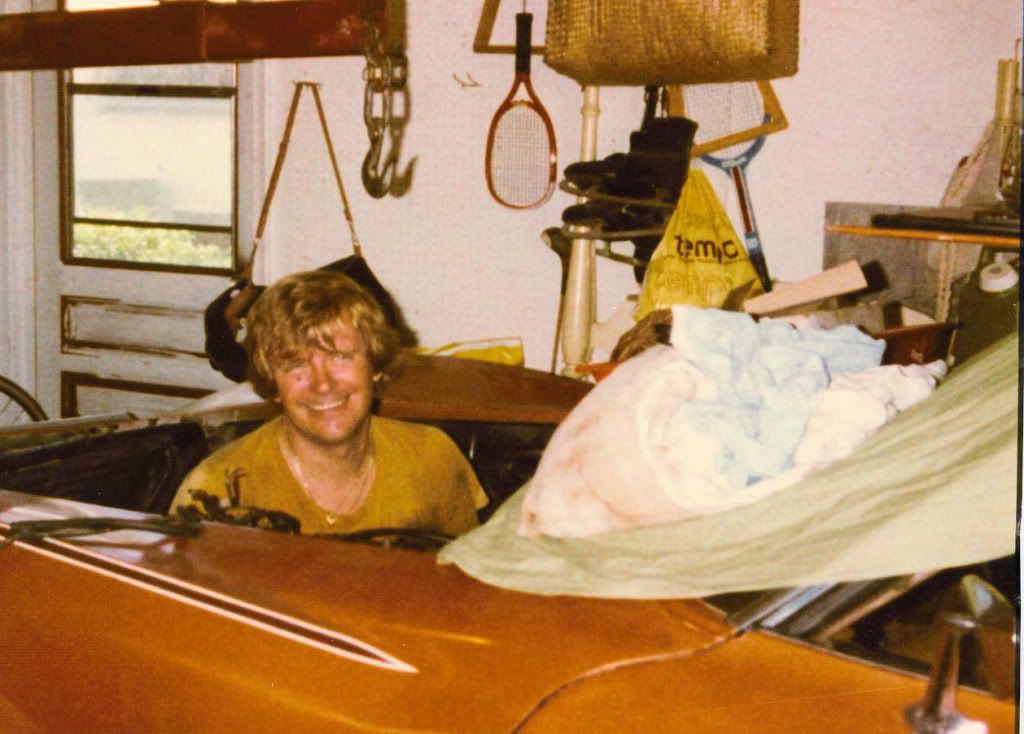
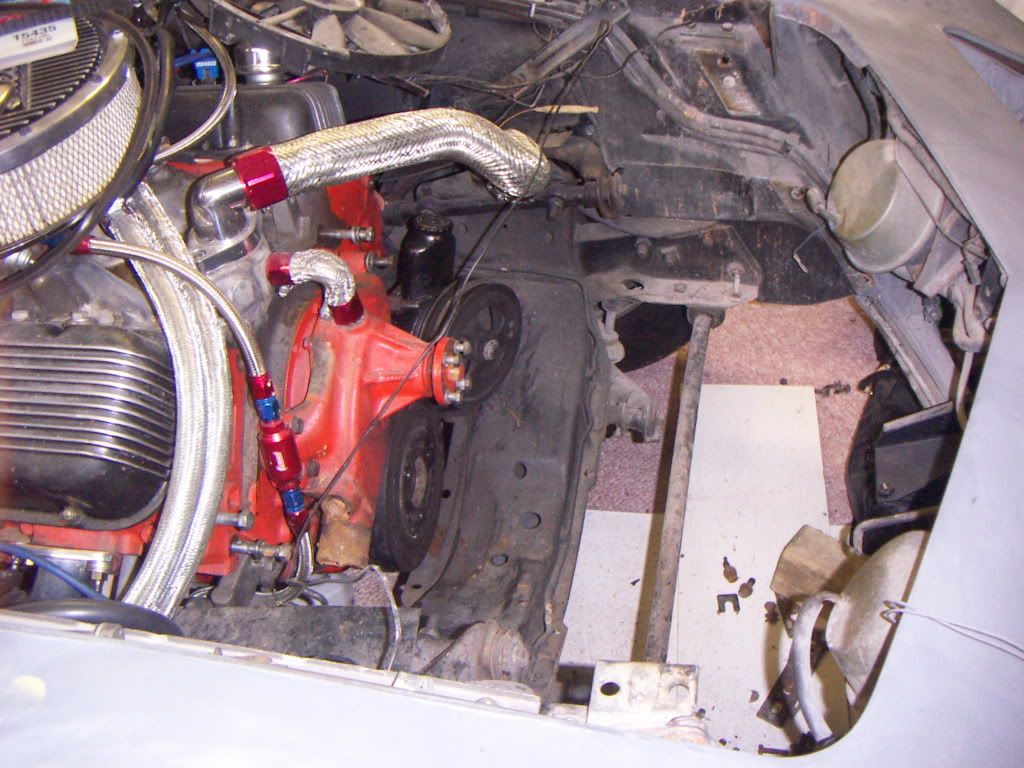
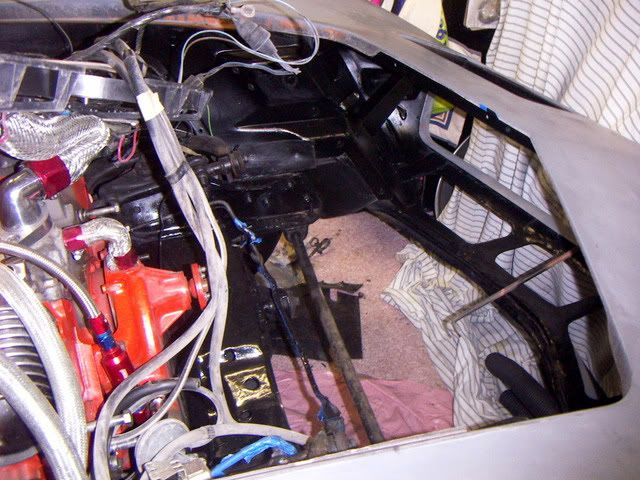
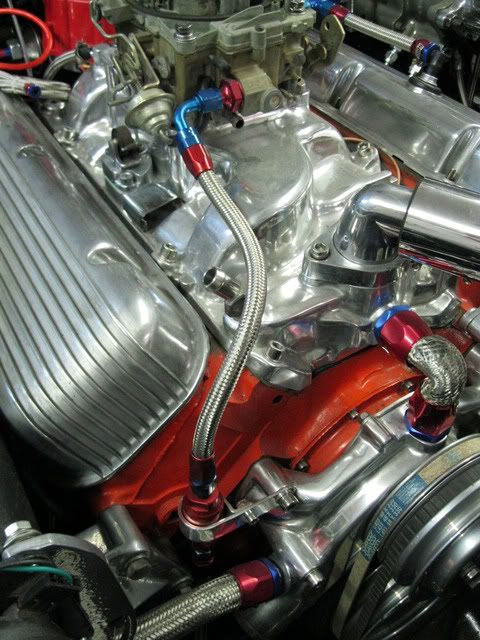
My wife lent a hand putting the engine and trans back in. Managed to squeeze it all back in without damaging any bodywork. Mostly due to her care holding the A/C compressor (we didn't open the system and it actually worked when everything went back together.
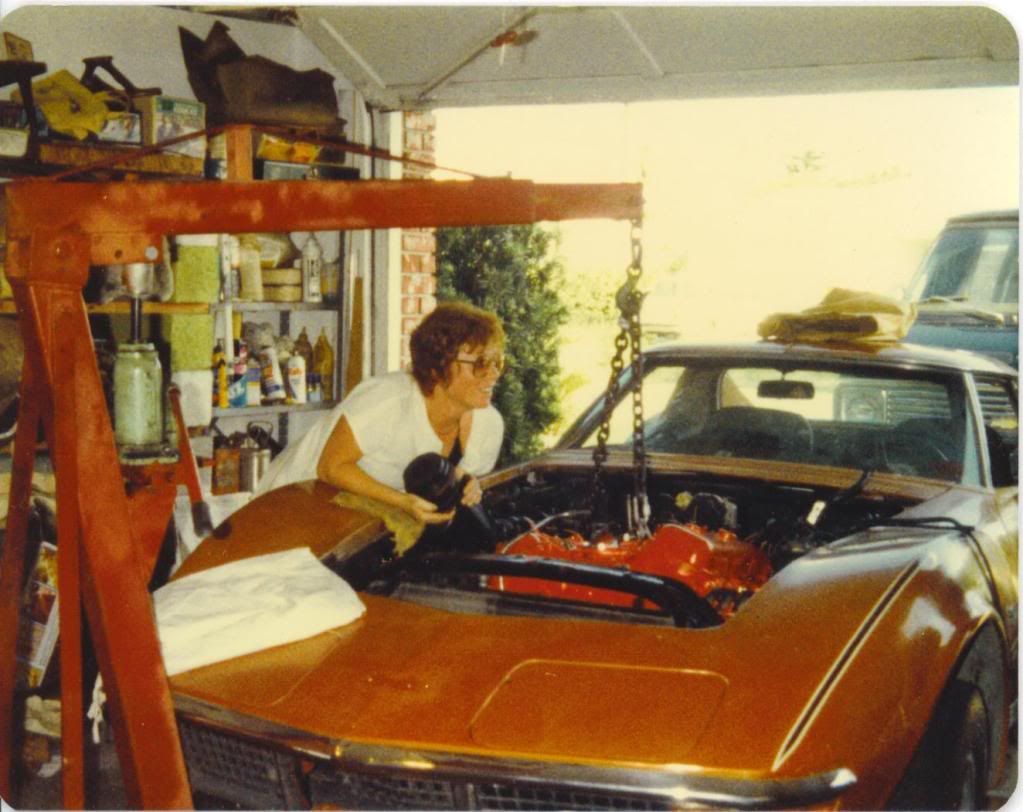
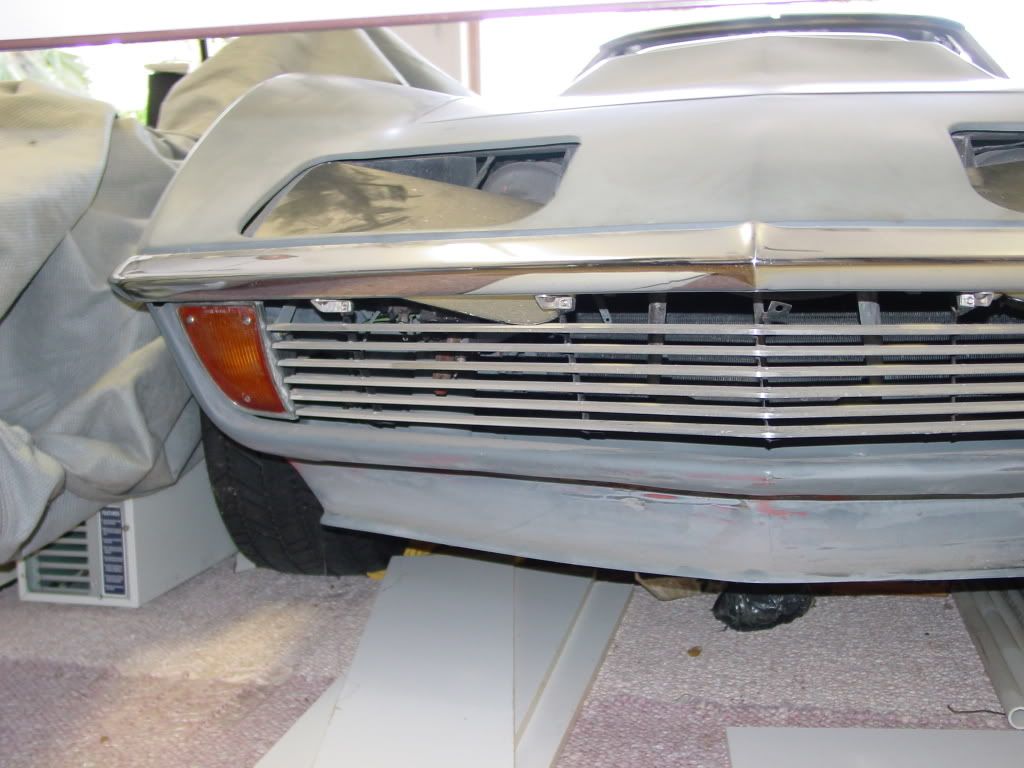
After four years, the thick layers of clear lacquer sprayed by a previous owner were crazing and cracking so I tried buffing the paint back to a shine. It was too far gone and in 1983 I got out the paint stripper and removed all the paint and planned to shoot some fresh black lacquer. I had helped a friend paint his '59 Corvette in his garage and the black lacquer looked good enough to take first place in his modified sports car class at the Miami World of Wheels show.
1983 was the year my job took over my life and the Corvette got moved to the back burner.
Wife wouldn’t let me fix the car and told me to go buy another one that didn’t need as much work. This 72 coupe automatic big block became mine in 1978 and has been with me ever since.
Replaced the worn Gilette tires with brand new Comp T/As and took the wedges out of the front springs.
Drove it to work every day and took it to several autocrosses the first few years I owned it. It smoked a little on startup but I figured it was valve seals. Before I got around to that project, an STP oil filter blew its seal and it was time to check the insides for damage. I was heartbroken, having to pull the engine and blueprint it at a friend's machine shop. While it was out, I also went through the TH499 and added a shift kit to the complete rebuild. Very very sad.
My wife lent a hand putting the engine and trans back in. Managed to squeeze it all back in without damaging any bodywork. Mostly due to her care holding the A/C compressor (we didn't open the system and it actually worked when everything went back together.
After four years, the thick layers of clear lacquer sprayed by a previous owner were crazing and cracking so I tried buffing the paint back to a shine. It was too far gone and in 1983 I got out the paint stripper and removed all the paint and planned to shoot some fresh black lacquer. I had helped a friend paint his '59 Corvette in his garage and the black lacquer looked good enough to take first place in his modified sports car class at the Miami World of Wheels show.
1983 was the year my job took over my life and the Corvette got moved to the back burner.


 Jane Ann
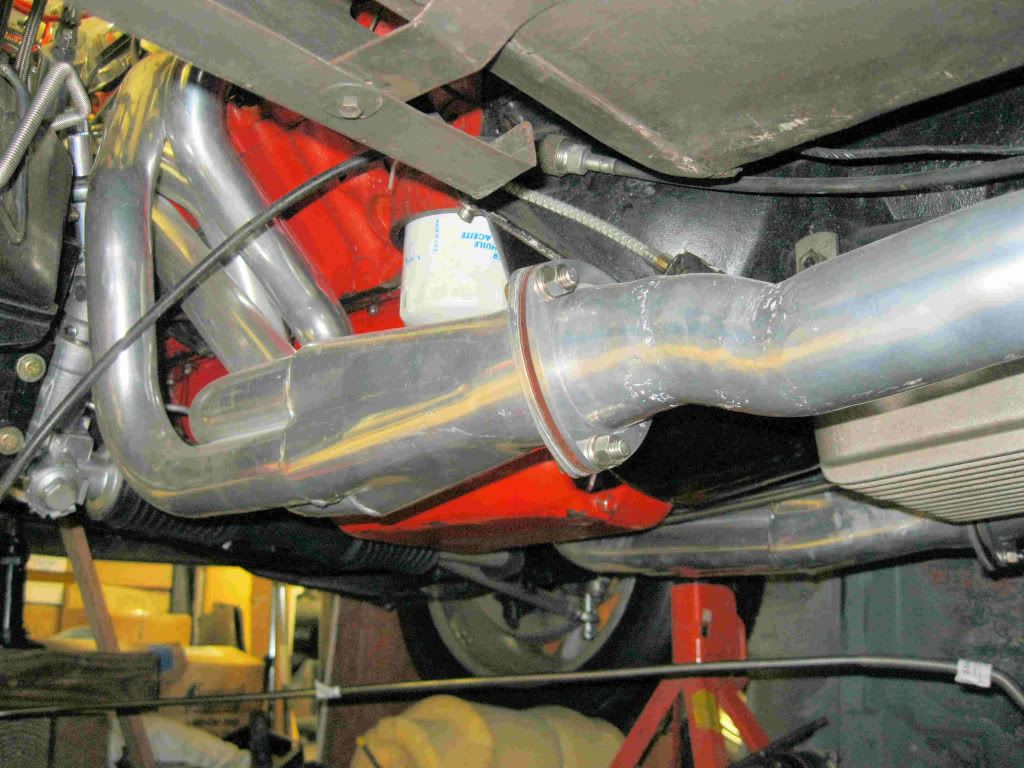
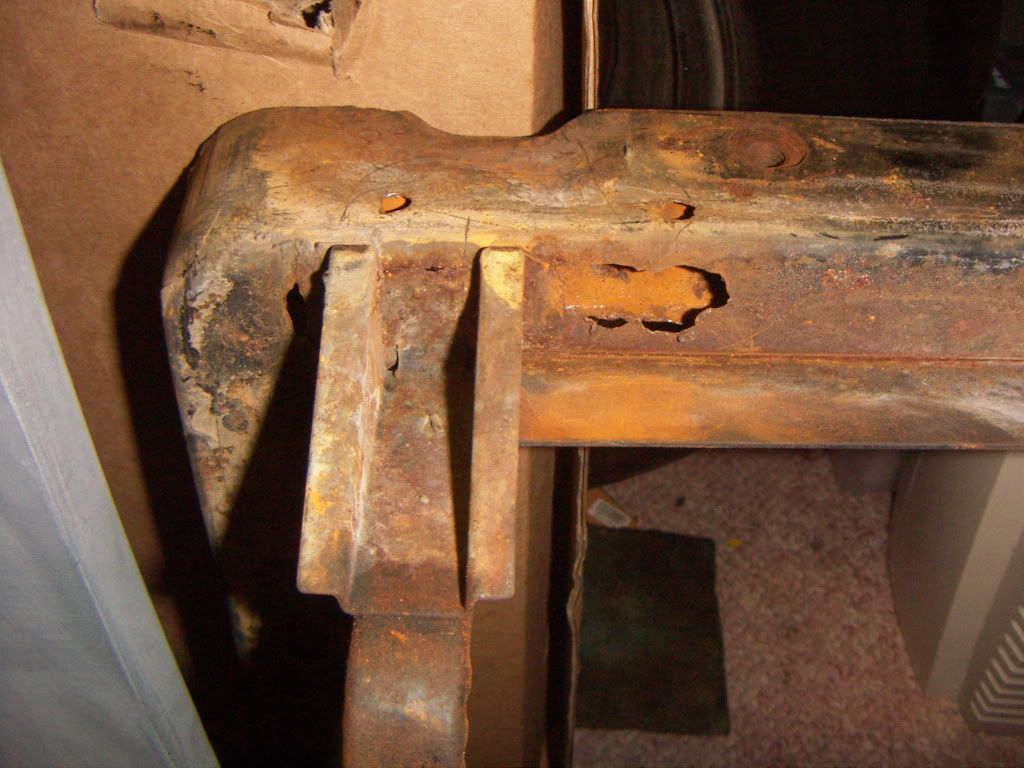

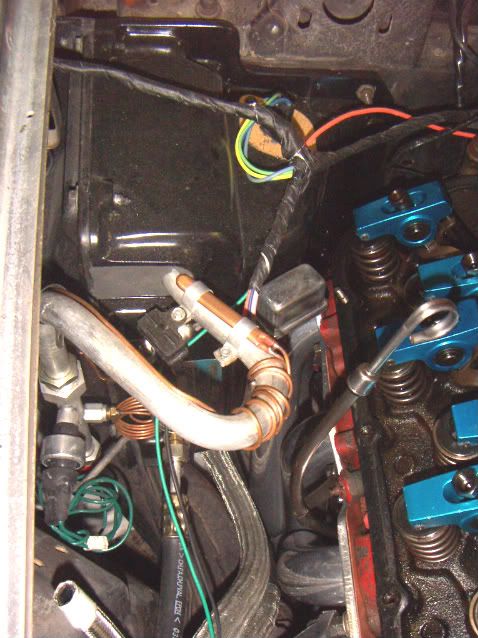
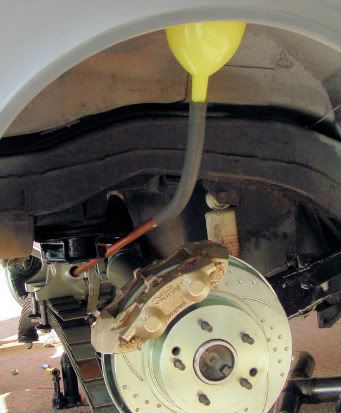
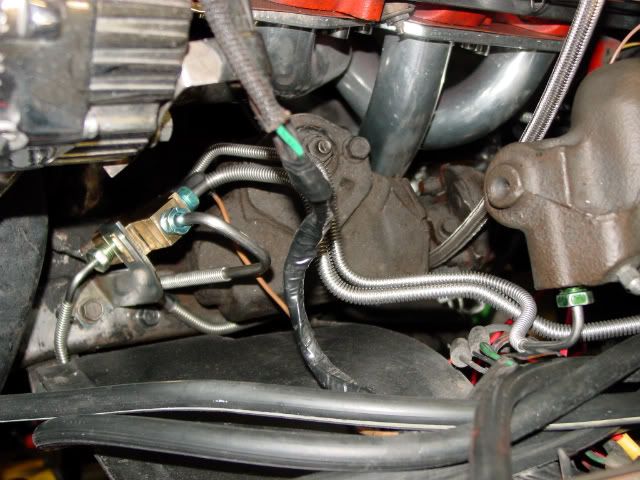
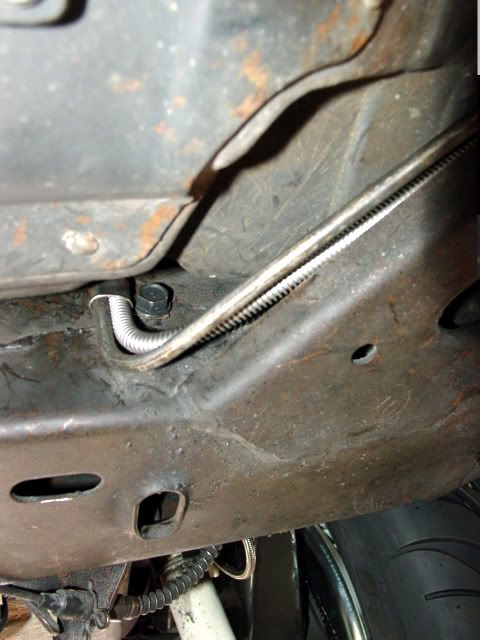
") Two of the line clamps were mounted to the frame before the body was put in place. One was barely visible and had to be loosened (and tightened) by feel rather than sight.
Two of the line clamps were mounted to the frame before the body was put in place. One was barely visible and had to be loosened (and tightened) by feel rather than sight. 

 for giving this classic new life


