BIDFORPARTS
Member
Hi Guys,
Can anyone tell me how to properly remove the header molding on a '62 hardtop.
Thanks,
Jamvette1
Can anyone tell me how to properly remove the header molding on a '62 hardtop.
Thanks,
Jamvette1
Follow along with the video below to see how to install our site as a web app on your home screen.
Note: This feature may not be available in some browsers.

 .
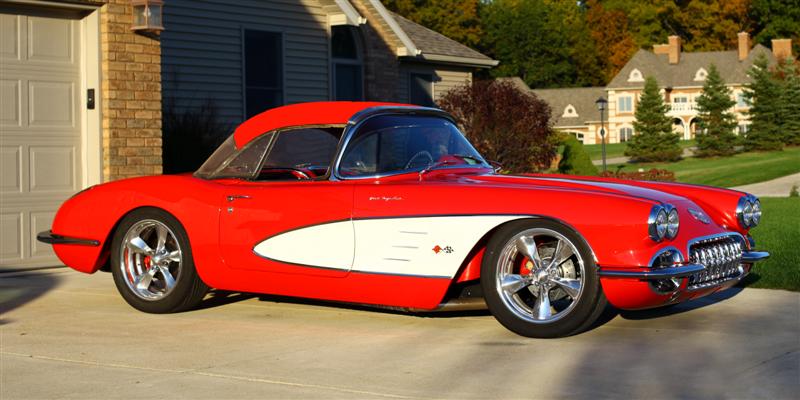
.thanks for the compliment on the car....it is truly a labor of love....only way I could ever justify the money that I spend on it....Hi firstgear,
Wow! That was nice of you to go to the trouble of such a reply. I subscribe to the phrase, "A picture is worth a thousand words". You not only did the picture, you threw in the thousand words part too. Thank you.
Where can I get the correct tool to "set" the rivets and where do I get the correct rivets?
You know, The NCRS is a very valuable resource in this hobby but, I gotta tell ya I'm having a carefree time of it with my '62 since I'm not following any rules but my own in working to bring this car back to life. in the late 70's, I did one according to the book and it was a little stressful. This one can be called a Rat Rod Corvette because I'm using as many good used parts as I can that still are really good functional parts that a NCRS guy would never use. Again, all due respect to the NCRS guy(s) but I'm having way more fun doing this one the way I am. Who knows, maybe it'll be the start of a new trend
Anyway, that Corvette of yours is way too cool. I love the way it sits and also the individual expression going on there. That's kind of where I was going with my rambings in the previous paragraph. I think you have more fun that way. What do you think?
Well, thanks again and good luck with your project!
bidforparts
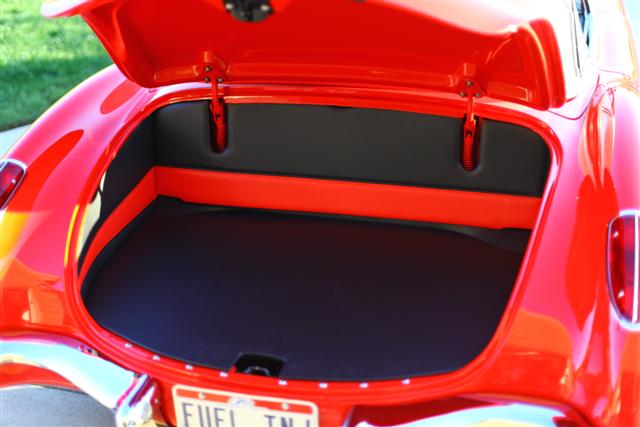
you mean like the interior of my c5 Z06? To each their own.....I like the modified black/red and believe it or not, it was modeled after my C5 Z06 interior........oh well.......some like it and some don't......Hi firstgear,
I gotta tell ya, that car is real nice just from the few pictures I saw. I'm not a fan of the red/black interior like the c/5 Z06's have on some of them but, it sure seems to work for the looks on your car. Very tastefully done. The trunk should have been done like that from day one at St. Louis. Whoever is doing the work, is good at it. Just for laughs, I'm going to try to post a couple of photos of the '62 interior & trunk.....here goes.
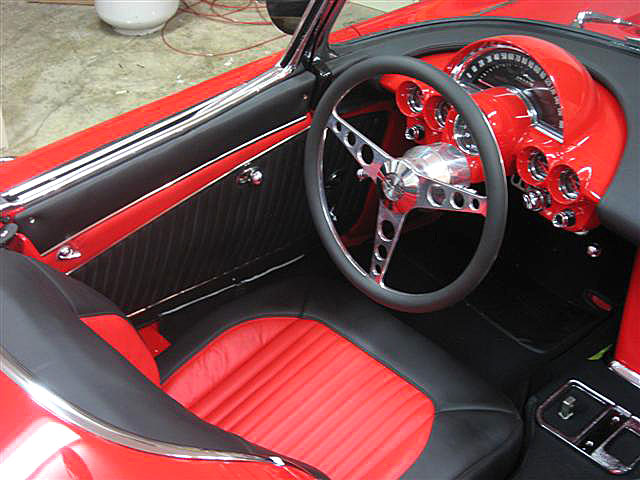
Is that dash pad custom made or is it a standard molded one that you can order? It looks too good to be the later.
Yeah! $$$ is where the problem lies.:eyeroleDash pad is leather from Al Knoch.......they can make it for you.....no problem, just bring $$$
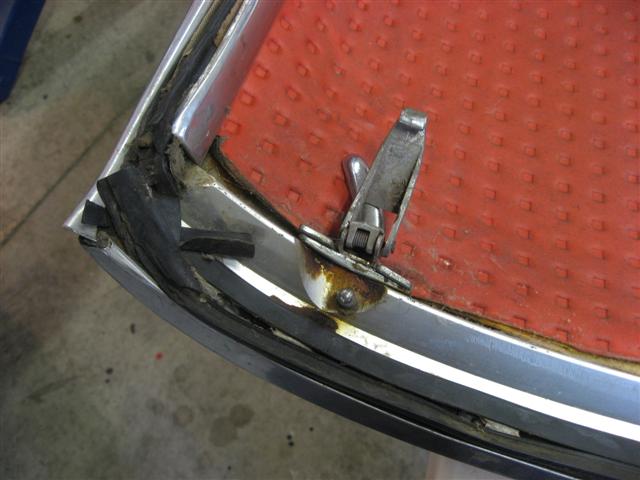
OK, here I thought the fastener that held the retainer for the header trim was secured by a roundhead, rivet-like object that had a spiral, splined shape to it. Kind of like the license lens screw shoulder that I think might be on your '63(s). Maybe I'm thinking of my '71 front parking lamp lens screws. Do you think a dissimilar metal thing is going on there between the steel fastener and the aluminum header?not sure about you, but in my case almost all of the bolts that hold the front trim pieces to the header broke off.
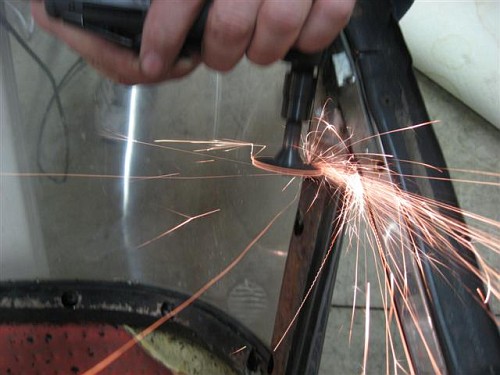
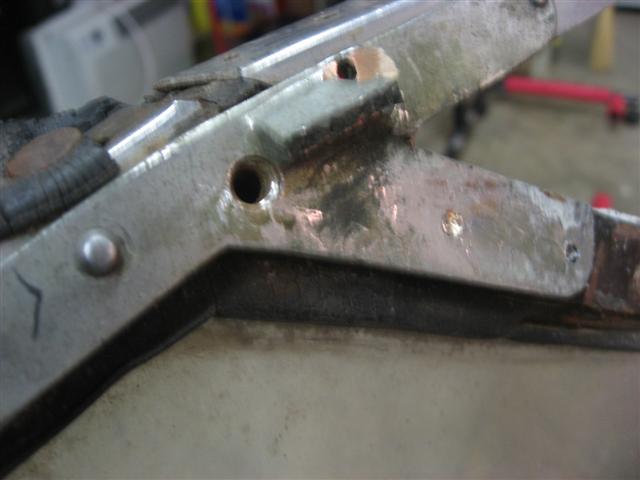
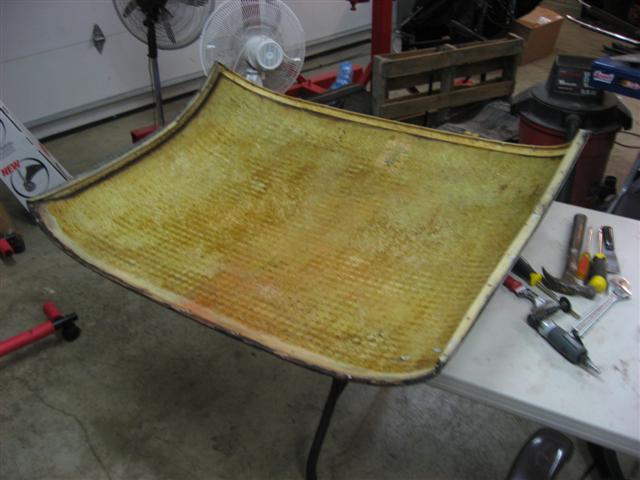
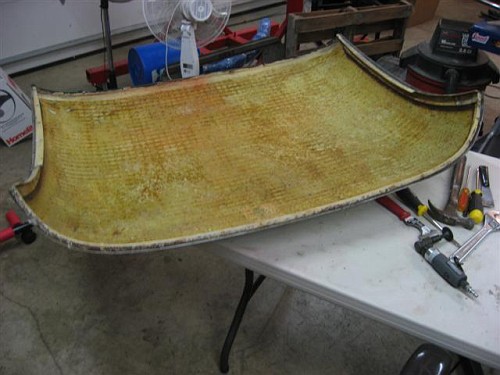
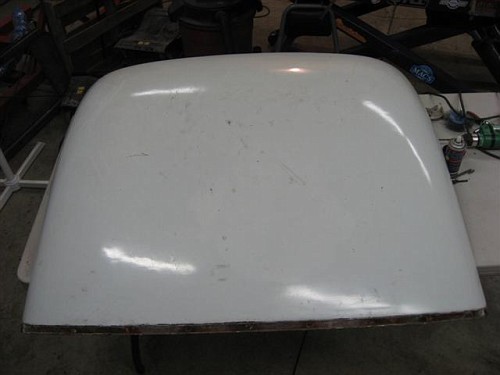
to get the pieces out, I took my die grinder and ground the bolt down flush to the header and I tried to make it as level as possible.
next, I took a center punch and tried to get the punch in the center of the bolt. I would suggest hitting it lightly, enough for you to see where the punch hit. in some cases I was off even though it looked good when I whacked it. In those cases where that happened I took the die grinder and got rid of the mark and did it one more time with a whack.
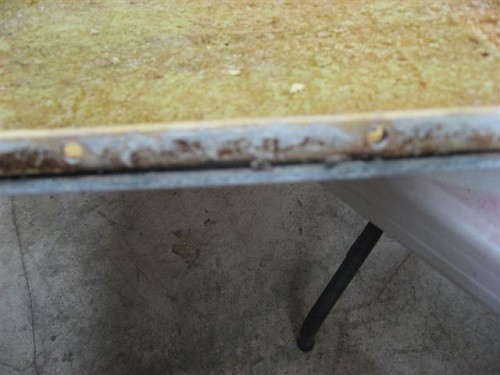
I then drilled it in successive drilling's up to #25 drill which is the right size for a 10-24 screw which is the size I figured was needed based on one bolt not breaking off and checking the hole with the tap.
the die grinder was the key to getting the old pieces out. In some cases the old pieces were still in the hole and were tapped and now are more like a heli-coil insert......
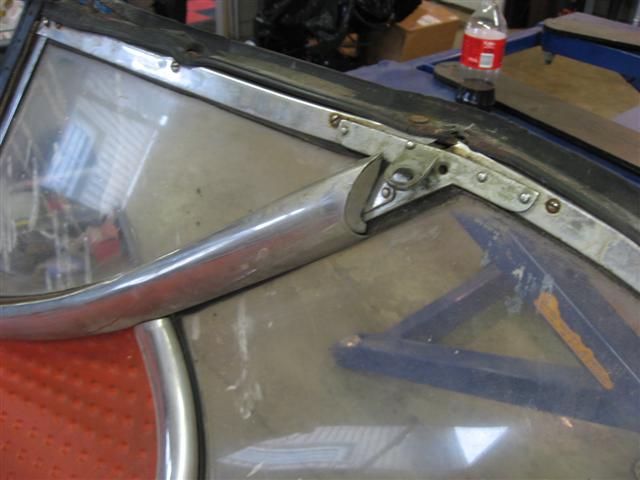
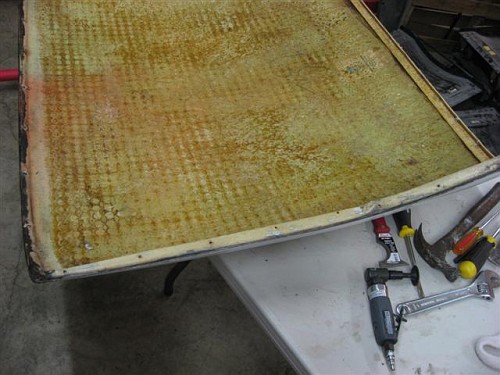
yup, they were all corroded, but of course everything under the trim pieces in the front was corroded including the piece that the trim pieces hook onto. I need to get that piece sand blasted and then I will get it powder coated at work. I plan on using stainless steel fasteners but when I put them in I will use the never seize paste on them. if it was held on with the spiral type, it isn't any more, they are all threaded with 10-24 threads.......ha-haOK, here I thought the fastener that held the retainer for the header trim was secured by a roundhead, rivet-like object that had a spiral, splined shape to it. Kind of like the license lens screw shoulder that I think might be on your '63(s). Maybe I'm thinking of my '71 front parking lamp lens screws. Do you think a dissimilar metal thing is going on there between the steel fastener and the aluminum header?
In any case, that sounds like a real fun time.
and I will need a padded wall room!I'm probably going to need a picture of this top when it's done.
yup, the windshield and bumpers were the death of me......3 windshields to get one and more than 80 hours trying to get the bumpers and everything right.......really the only things on the car that gave me a real fit.......Herb, I felt that way about getting windshield put back together. Ace
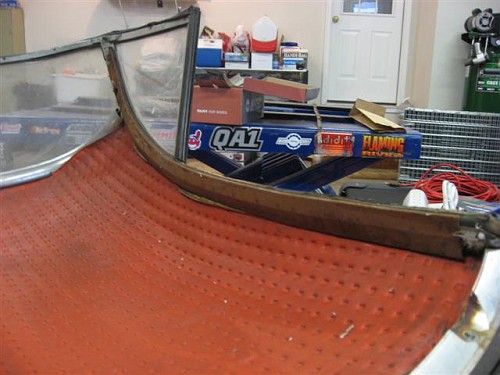
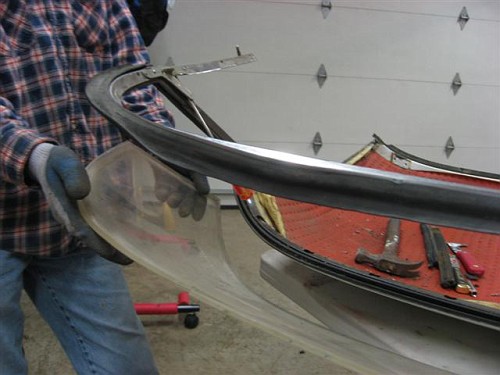
Well, I got all the inside chrome off as well as the trim around the window and the rear window itself. I haven't gotten the nerve to remove that front header molding yet. I did remove the front header weatherstrip which was like a saltine cracker. The rivets I was refering to earlier, turned out to be the rivets that held the "P" plates and weatherstrip in place on the header. I got those out by tapping on them with a punch left then right then left again to see them slightly move. Then I knew they were loose and ready to be pryed up and out. That was done using a 90 degree screwdriver driven under the "P" plate and gently prying up on it.yup, the windshield and bumpers were the death of me......3 windshields to get one and more than 80 hours trying to get the bumpers and everything right.......really the only things on the car that gave me a real fit.......
Well, I got all the inside chrome off as well as the trim around the window and the rear window itself. I haven't gotten the nerve to remove that front header molding yet. I did remove the front header weatherstrip which was like a saltine cracker. The rivets I was refering to earlier, turned out to be the rivets that held the "P" plates and weatherstrip in place on the header. I got those out by tapping on them with a punch left then right then left again to see them slightly move. Then I knew they were loose and ready to be pryed up and out. That was done using a 90 degree screwdriver driven under the "P" plate and gently prying up on it.
Right now, I'm debating whether to replace the rear window weatherstrip or not. A much bigger problem is what to do about the broken off studs on the rear window trim as well as the rotted backing plate they're afixed to in back of the trim itself.
It might be time to call GLASSWORKS for some answers........


Dealers:

