Curby
Well-known member
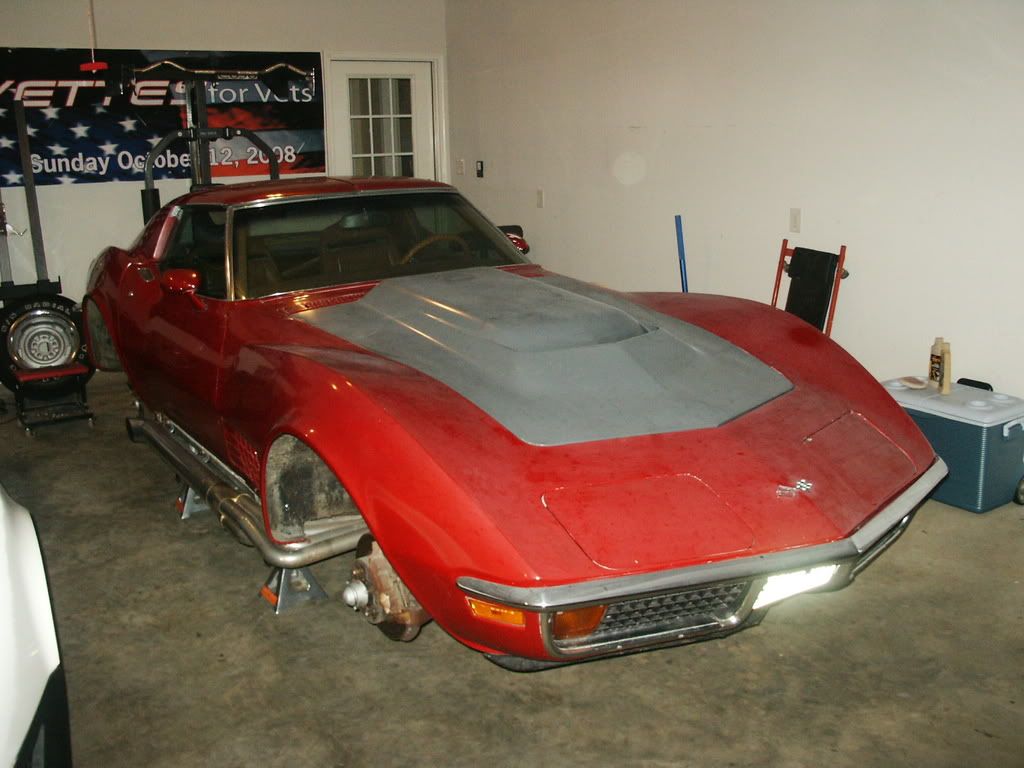
Some of you may be familiar with my 72 Vette, Michele. I have had her for a few years now and in that short amount of time, I have had decades of fun. She came to me with a piss poor paint job and running like crap. When I got her, she had a GM ZZ454 engine in her with an M22 4-speed. The motor was purchased as a GM 454 Marine engine back in 2001 and it was sent to a machine shop for some go-fast goodies. The motor was finished and the owner sold the car without puting any miles on it. The next owner bought it and put it in his shop and never touched. His daughter put it on eBay when he died. The motor was 8 years old and still had the break-in oil in it. She had been ignored for the most part of a decade.
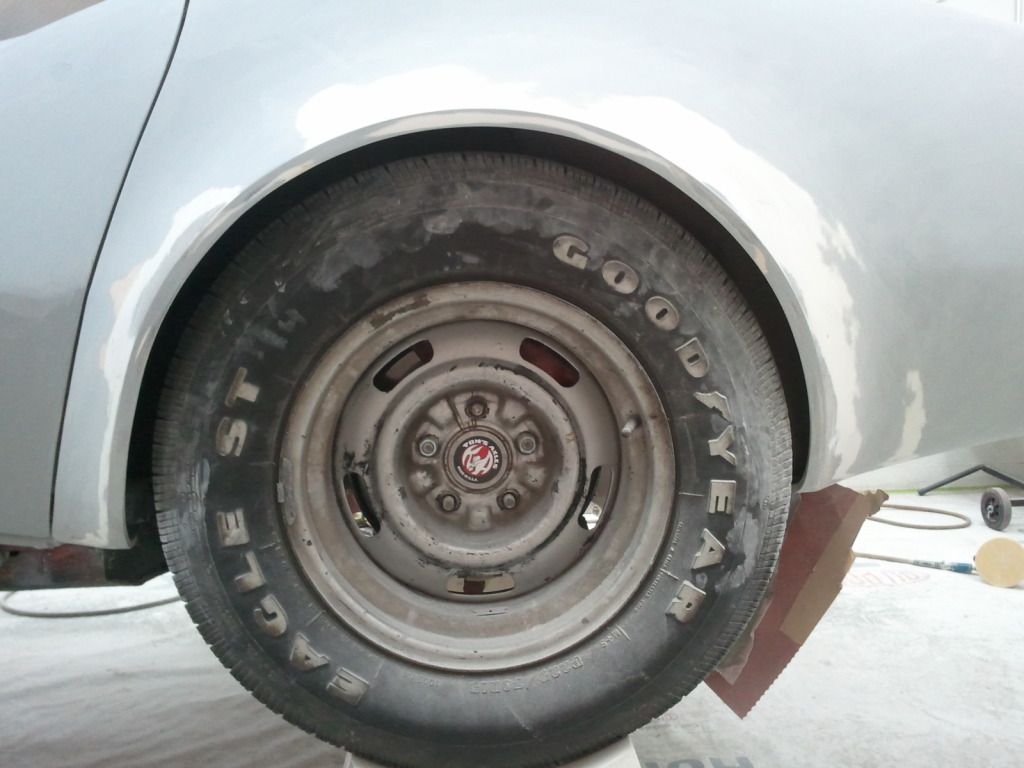
When I got her, she was on her 3rd color and I found 8 layers of paint on her. Originally a small block car in War Bonnet yellow, she had been re-sprayed around 1977 (the passenger door has a 1977 date code on it), then some time after that, she has been given the sport mirrors and sprayed white. Some time after that, she was painted Rally Red and the big block was installed. I didn't have a lot of money to put in her all at once, so I did a little bit at a time.
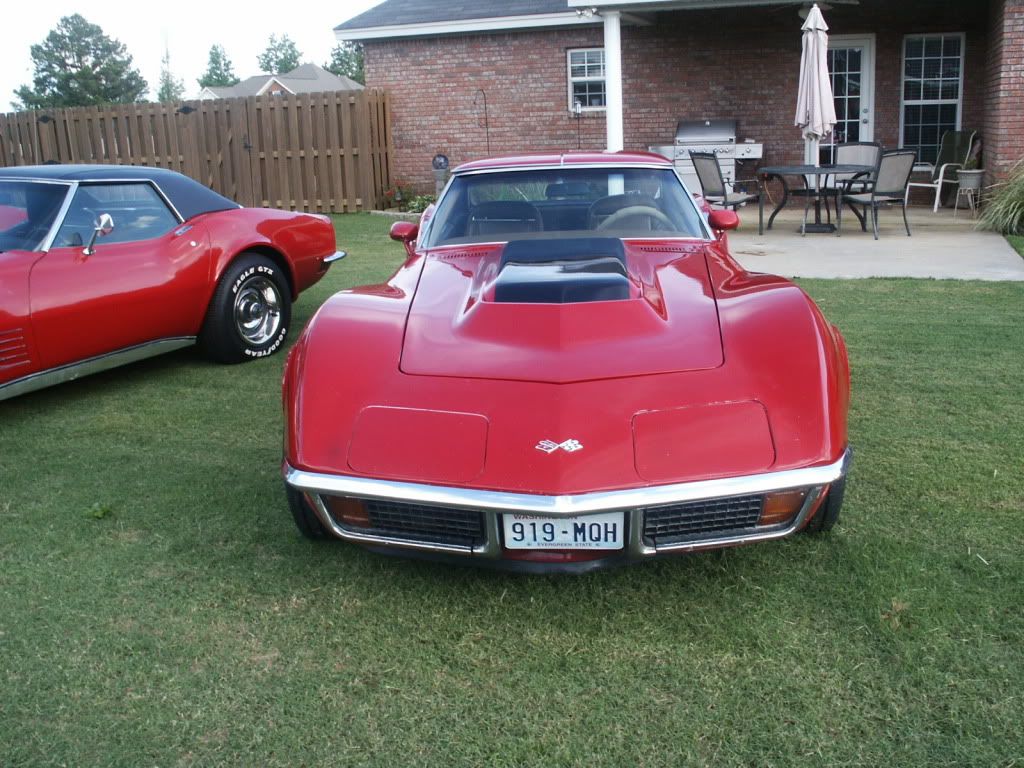
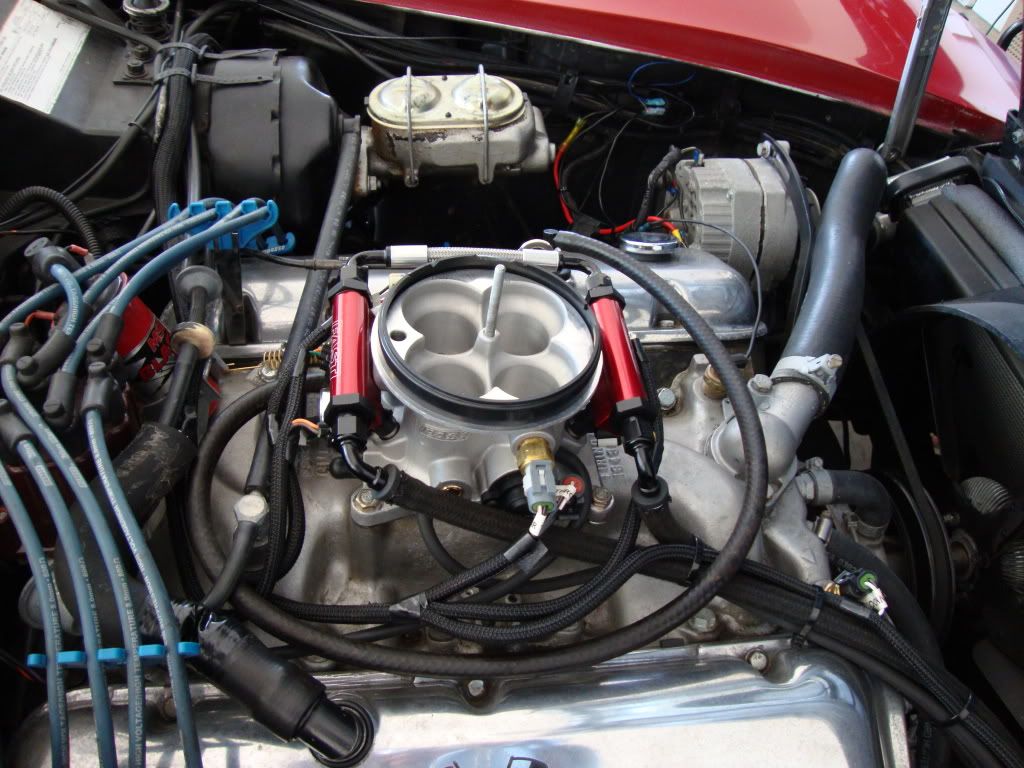
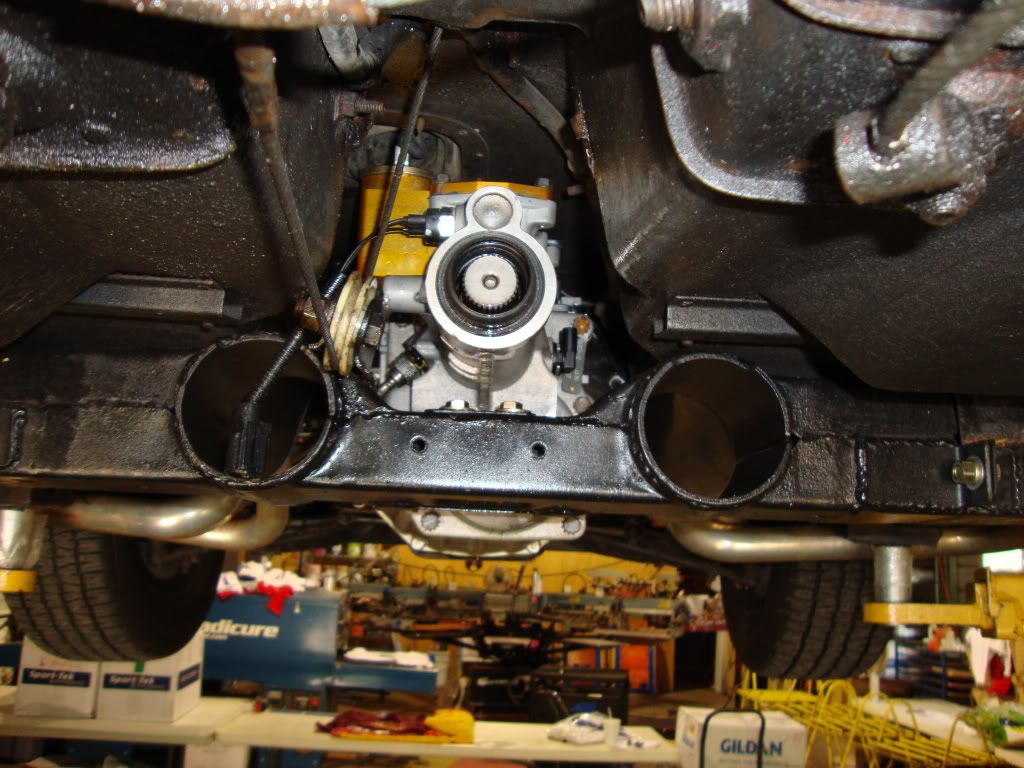
I painted the hood, buffed out the rest of her as best I could, and drover her for a while. My first mod was when I swapped out the M22 for a Tremec TKO-600 for better highway cruising. I had idle and starting issues, so the next mod was to get rid of the Holley 850 and added EZ-EFI. I had to swap out the oil pan, becasue the GM pan hung below the frame. I knocked a hole in it on the 2009 Hot Rod Power Tour. Next I had Gary Ramadei build me a super 10 differential after I twisted an axle at the drag strip.
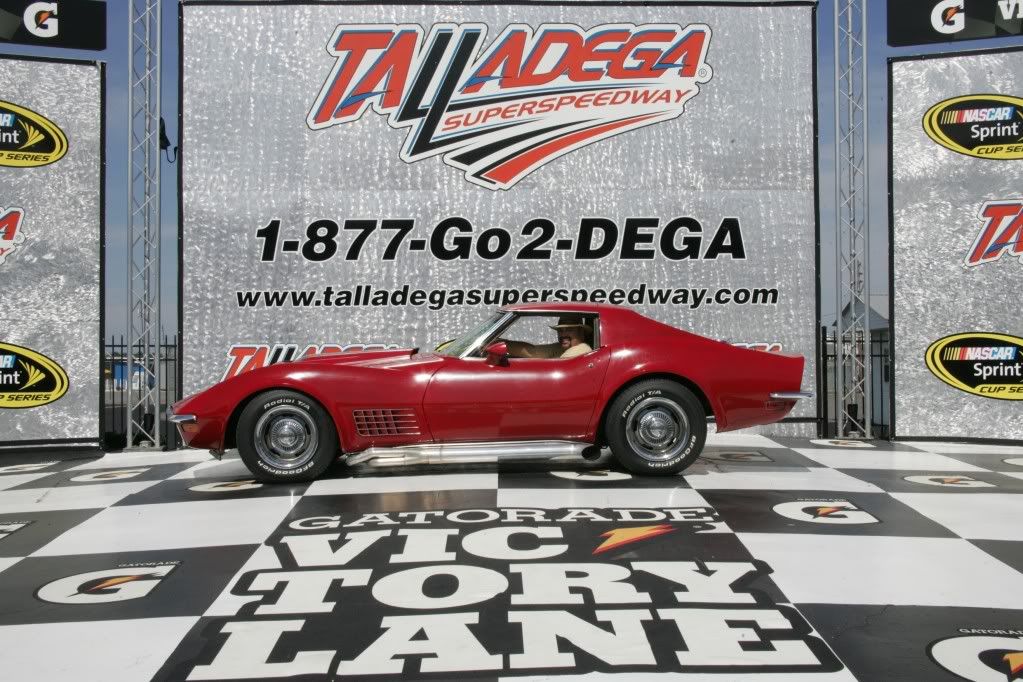
She has done the last two Hot Rod Power Tours completely and part of 2009. She has been on Talladega Super Speedway, Indianapolis Super Speedway, and a half dozen drag strips throughout the southeast. I drove her to the 09 Caravan. I take her on all the club cruises. I drive her anywhere, and everywhere. I even made the October, 2010 Hot Rod Magazine.
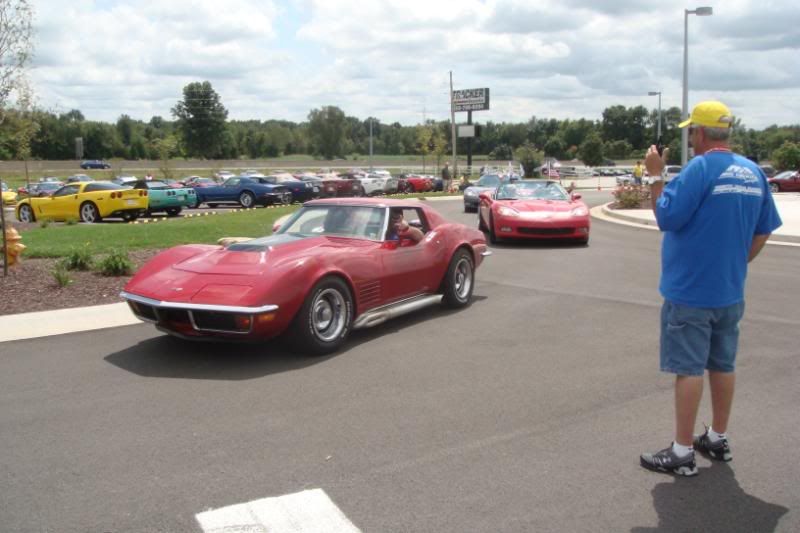
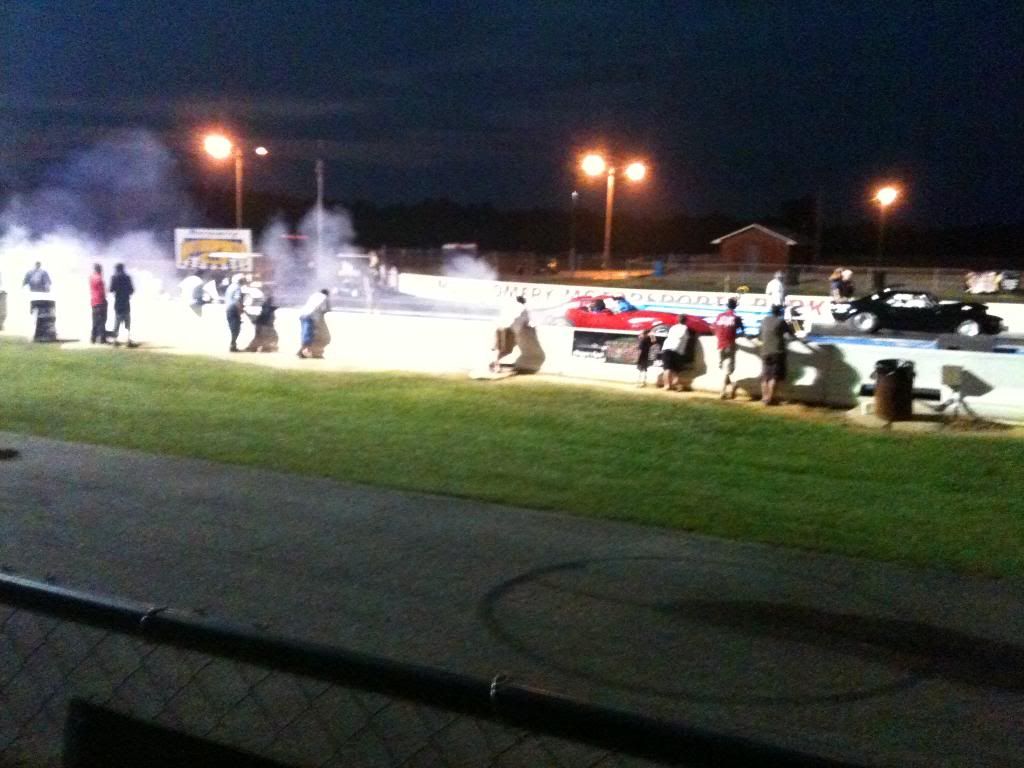

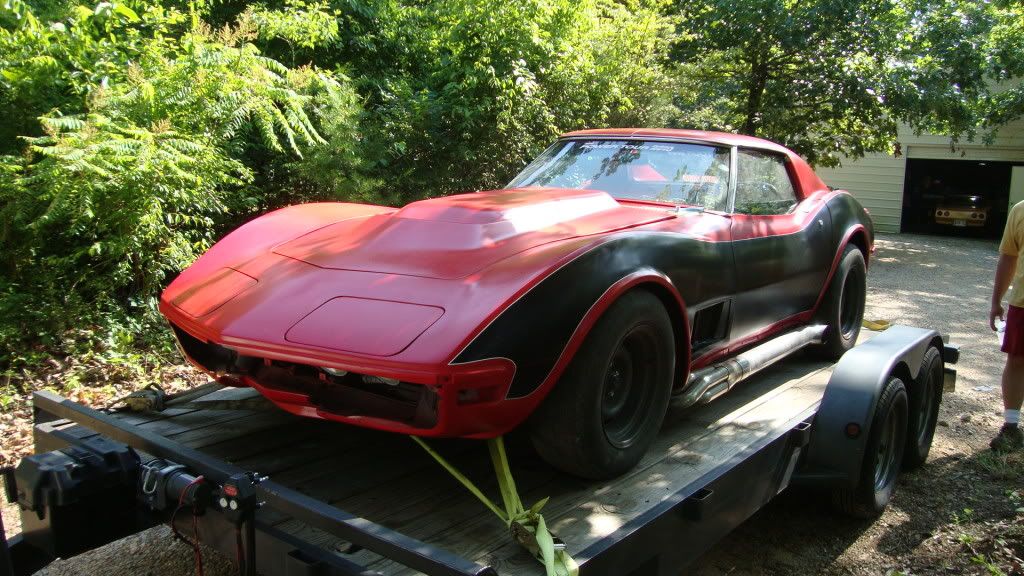
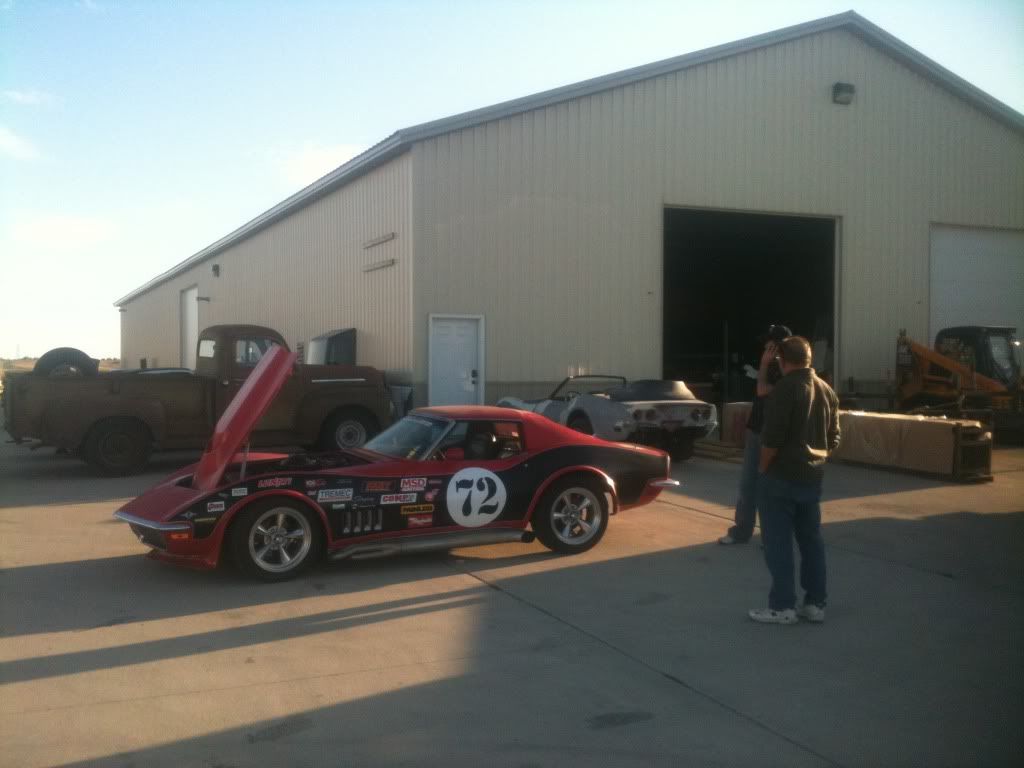
After my "temporary" paint job this last spring was such a hit, I have decided to expound on the theme and go "All In". Here she is at Indy.

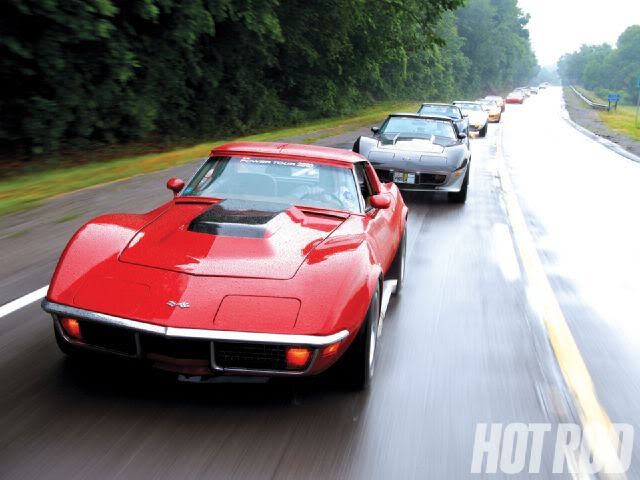
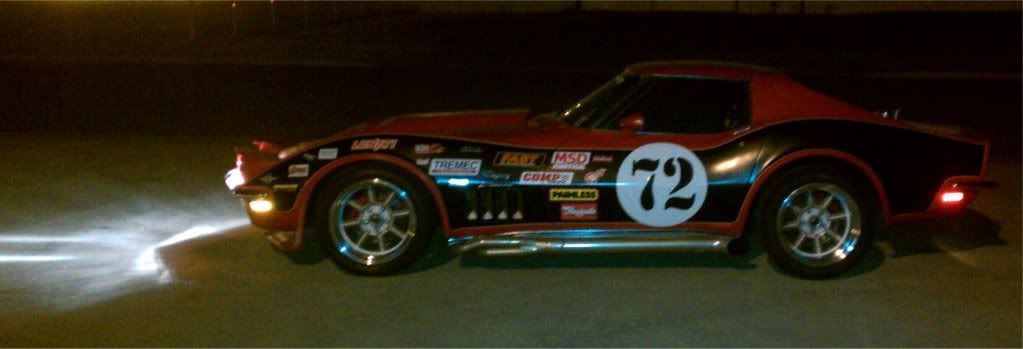
I had a blast driving her with the satin road race paint job on the Hot Rod Power Tour. Everywhere I went, people responded positively to the look. All my friends loved it because if the authorities were to pick one of us to use as an example, it would be the one that is painted like a race car.
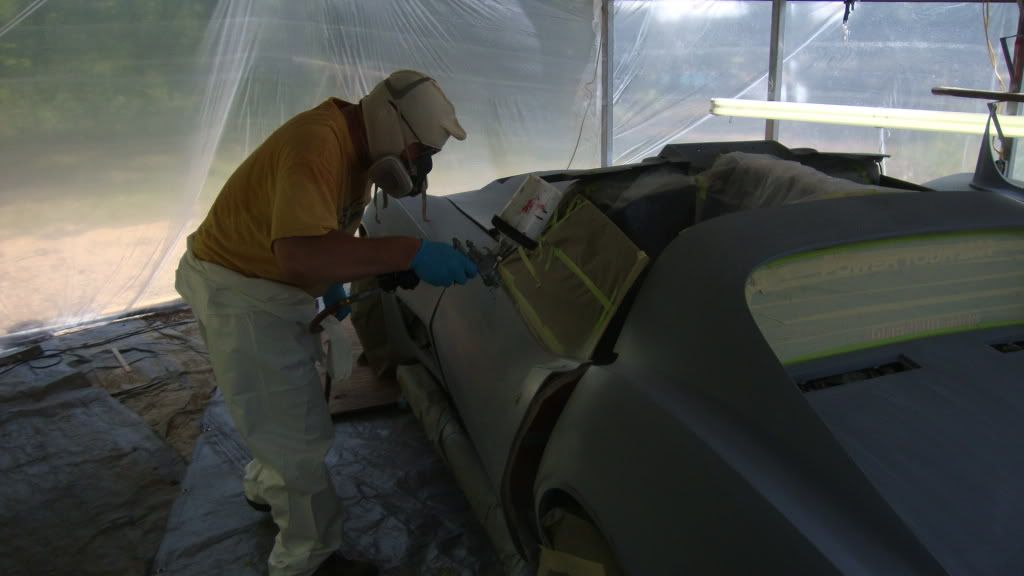
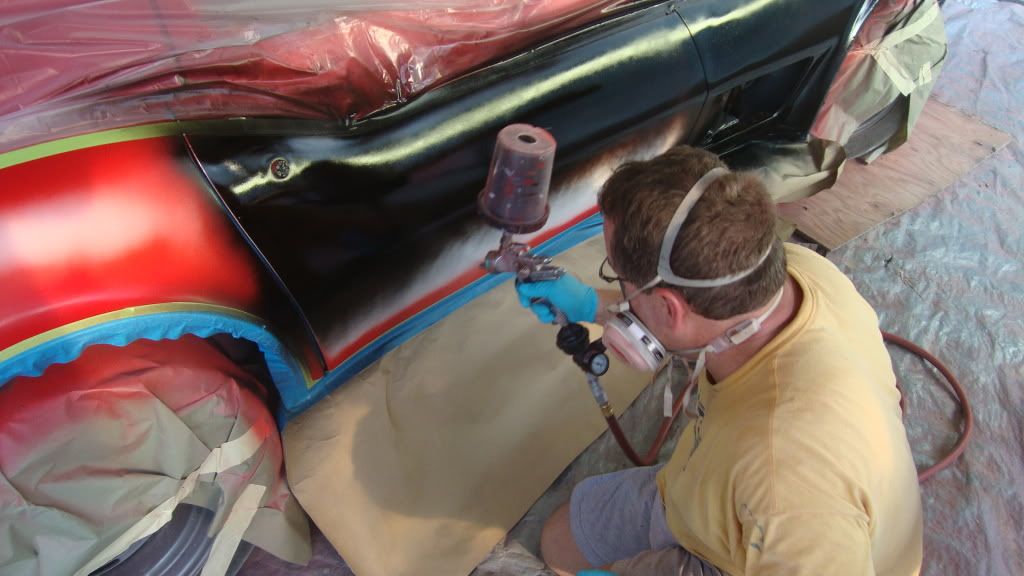
With the 2011 Power Tour looming, and all my spare time being consumed by the Talladega Vettes4Vets event, time was running out and I had to cut a lot of corners during the re-paint. What suffered was the prep work, the finish sanding, and the actual painting of the car. It was so bad, I decided not to clear coat the paint. It would have made it that much aharder to strip and re-do. Ironically, that is what made the car so popular.
All of this happened within 3 days...

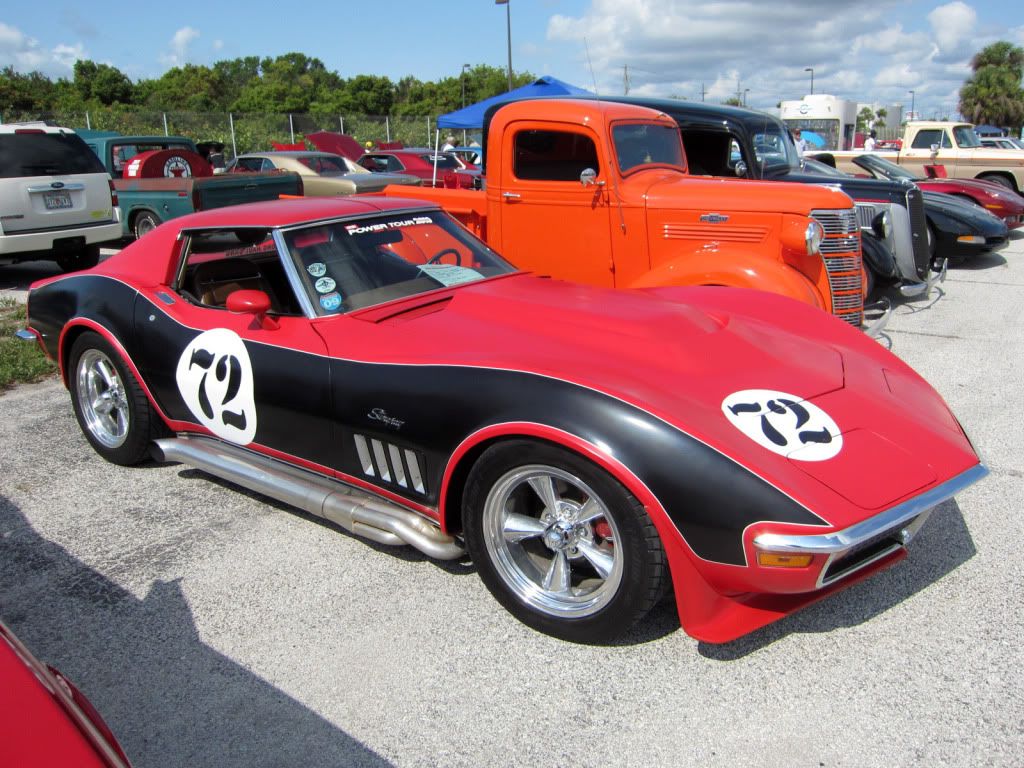
It seems that satin paint was "In" with the power tour this year. Hot Rod magazine are using my car as the banner page for the Cocoa Beach photo albumn, which is cool. They also showed it twice during the "Hot Rod TV" coverage of the power tour, which is also cool.
It drew a lot of attention with the fans as well. One of my running mates said it was quite possibly the most photographed non-professional built car on the tour. Considering that it went from raw fiberglass to paint in the final 3 days before we left for Cocoa Beach, I really couldn't complain about the few issues. We were bolting in the seat 30 minutes before I hit the road.
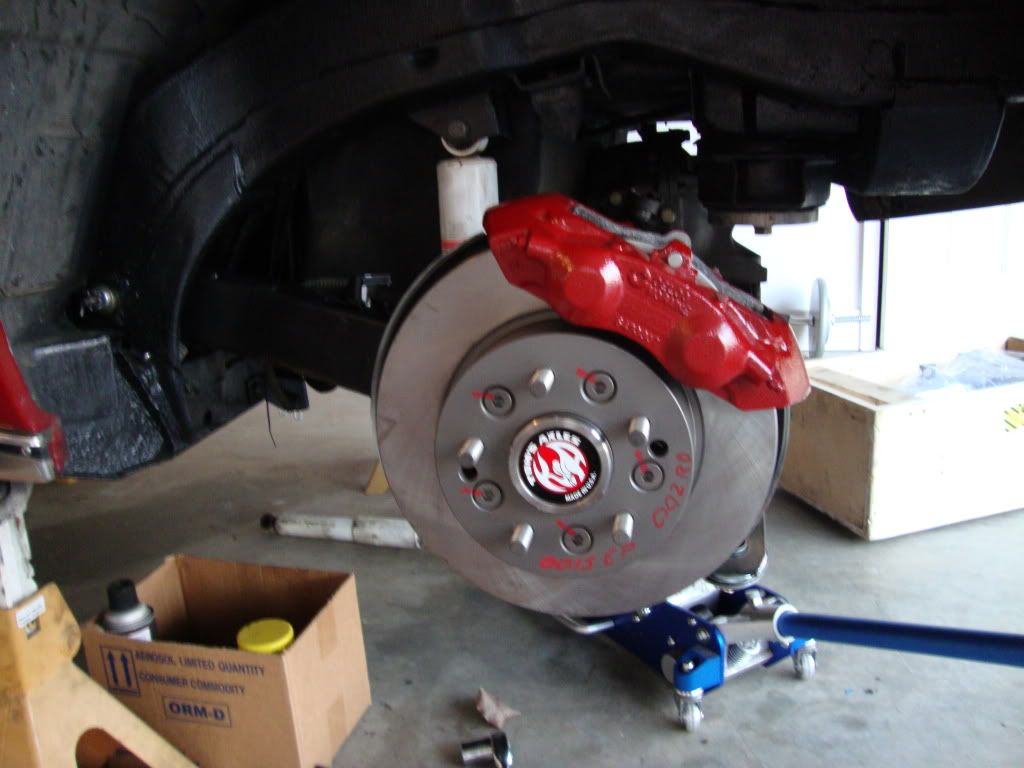
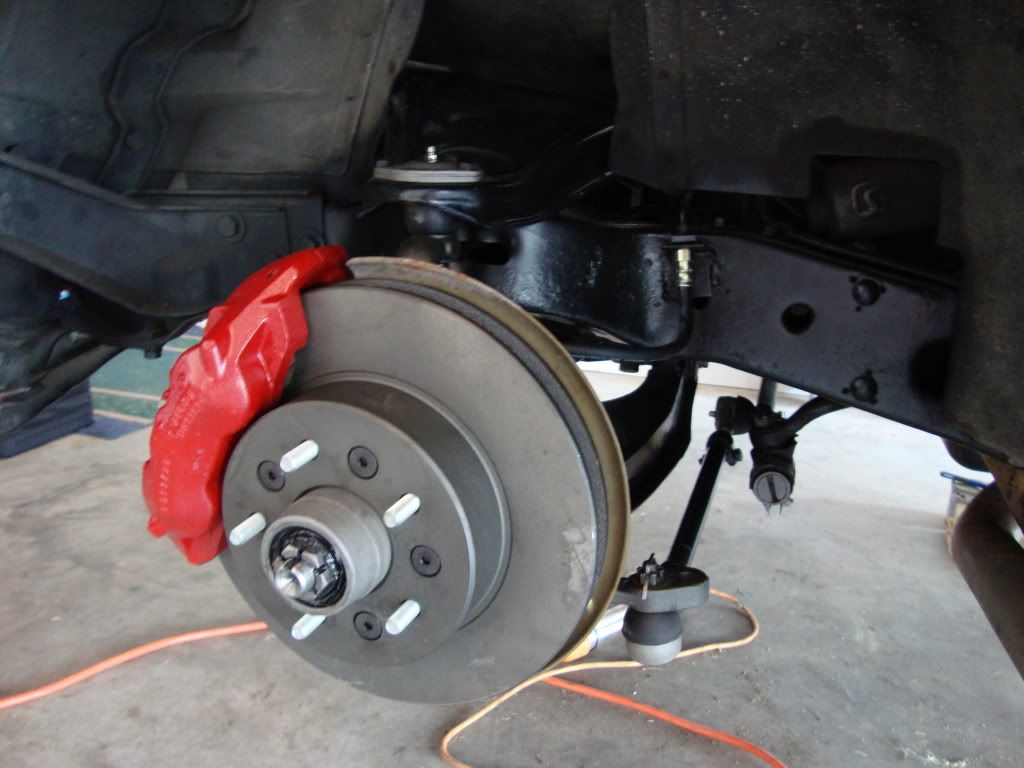
In addition to the re-paint, over the winter I had completely rebuilt the front suspension, the rear suspension, and did some modifications to the cooling system. Gary Ramadei built me some monster trailing arms to go with my Super 10 differential. I replaced all the rubber brake lines ans some of the steel one that needed it and re-painted the claipers i had replaced the previous ydear.
This year's Hot Rod Power Tour was truely a 4,000 mile road test.
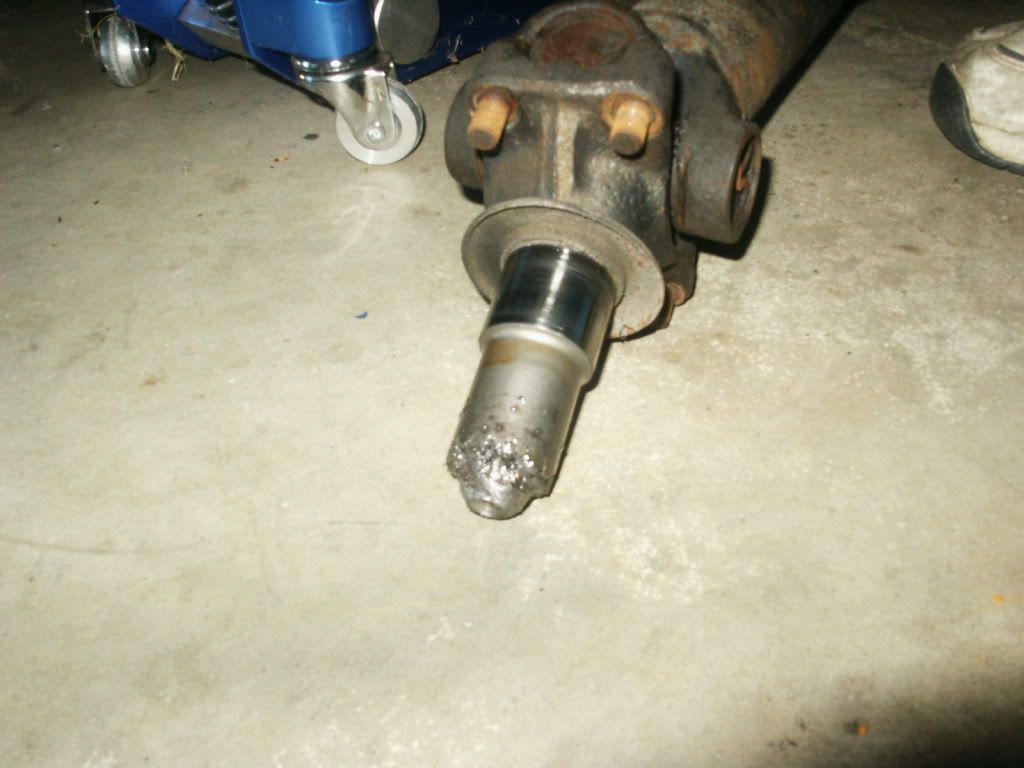
Outside of Florida on my way to Georgia, I lost the bolts that hold the differential to the front mounting plate. That downshift in traffic was a real eye opener. It sounded like the driveshaft was coming through my seat! A couple starter bolts from the local parts store, and we were back on the road in a few hours. (All part of the Power Tour experience in an old car.) There should have been kotter pins in those bolts, but I mus have had a brain fart on re-assembly.
The plan was to do a re-paint when I got back home after the 2011 cruise season. I was going to go back to a metallic Black Baldwin-Motion stripe over a Crystal Red Metallic base coat.
The response was so positive on the road race paint theme and I had such a blast driving around in a car with a number on the door (I now know know how Bo & Luke Duke felt), I decided to keep the road race theme, but really do it right with flares, wheels and a cage. My next step was to give Josh a call.
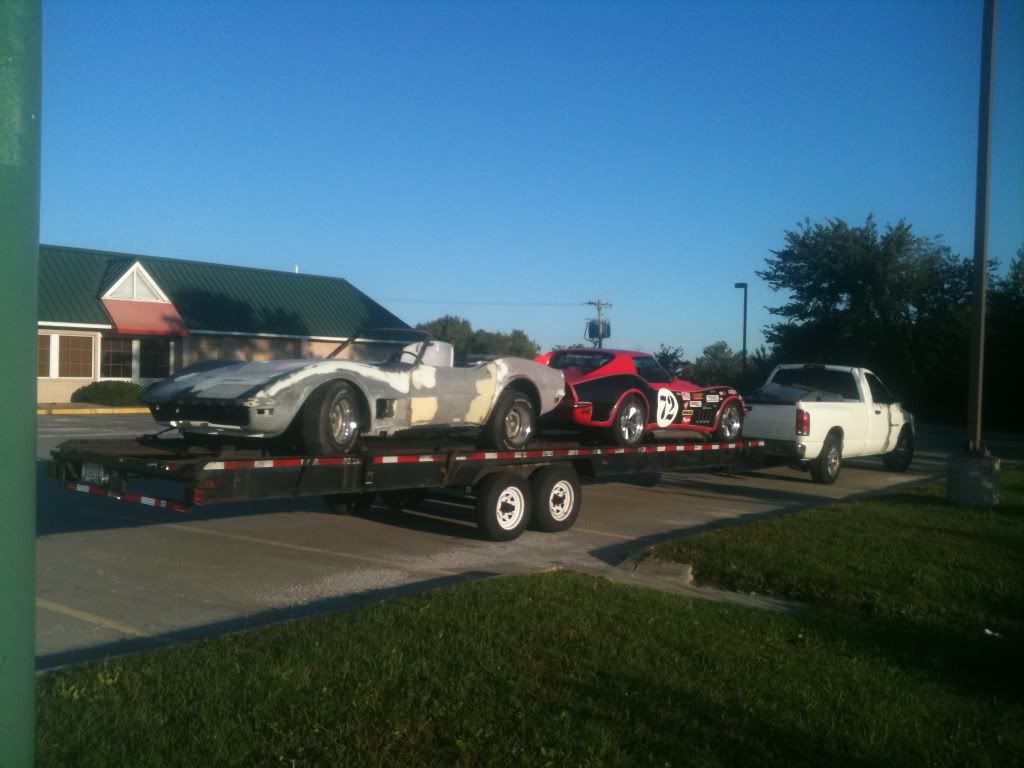
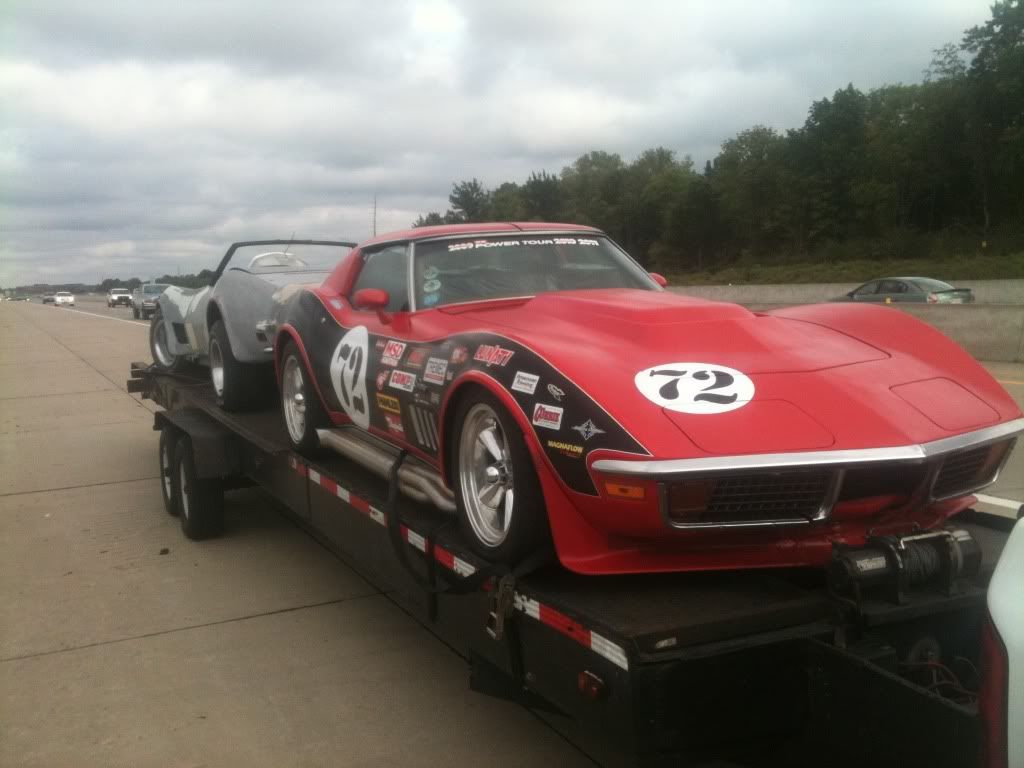
Since we had worked together on a few things, and Kaos had just left his shop on the way to Rob, I knew he was in a position to take on another project. We started talking aobut my baby and my plans. We worked out the details and in a couple weeks, I was trailiering her up there. I picked up another project car for him in St Louis along the way. Here is a shot of me on the road. I stopped for breakfast and to check the straps and shot a couple pictures.
We went over the car, I showed him the pictures of my re-paint and we came up with a game plan.
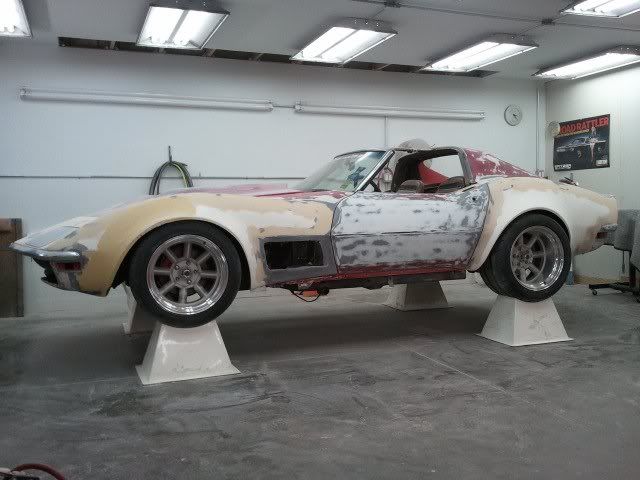
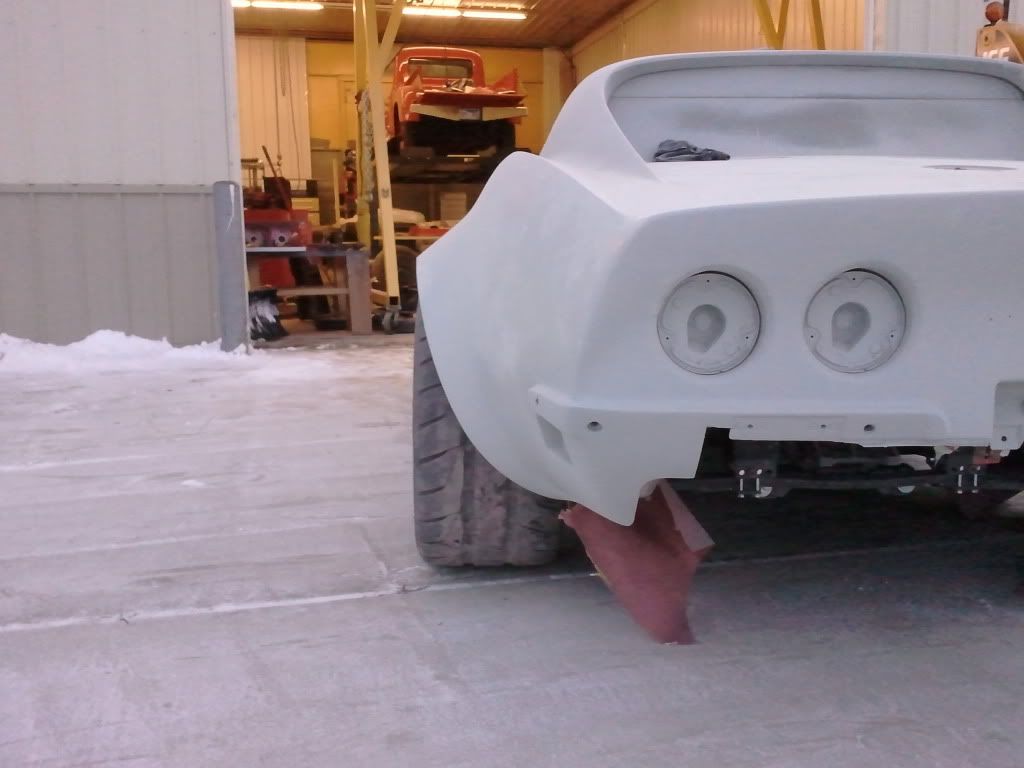
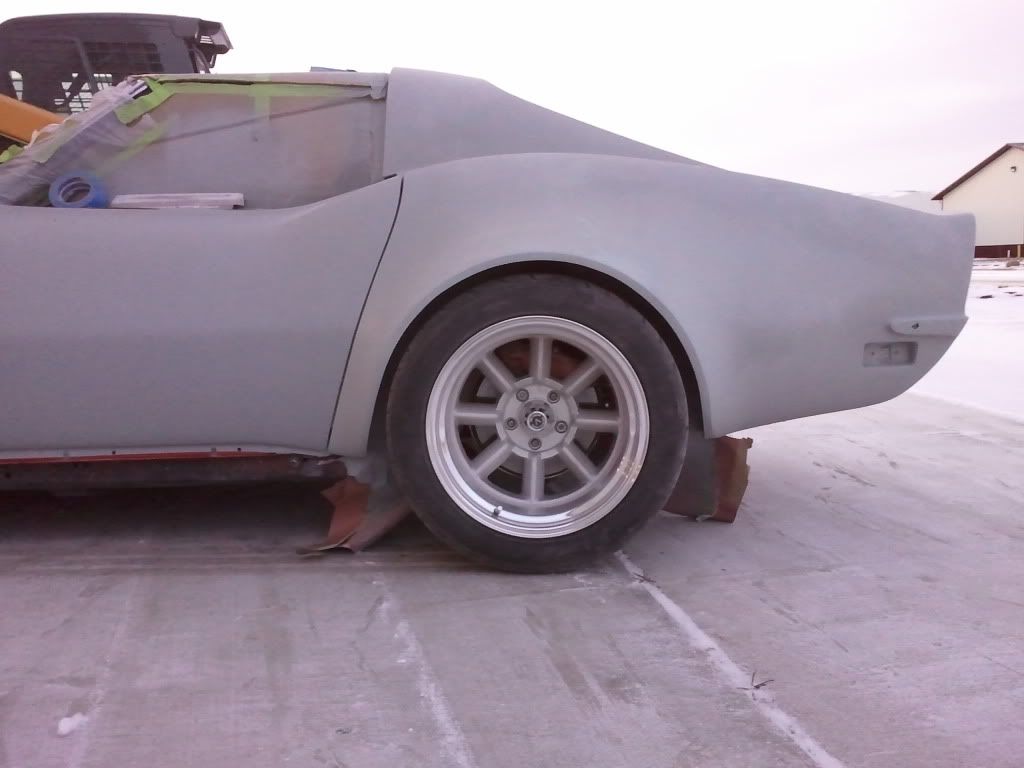
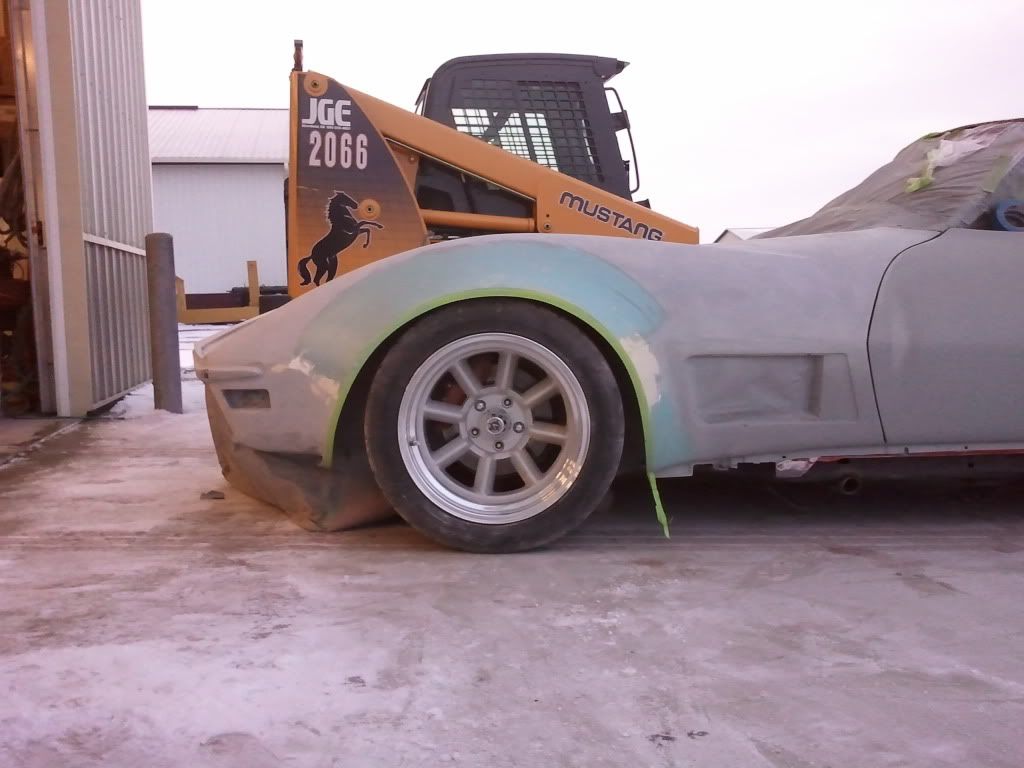
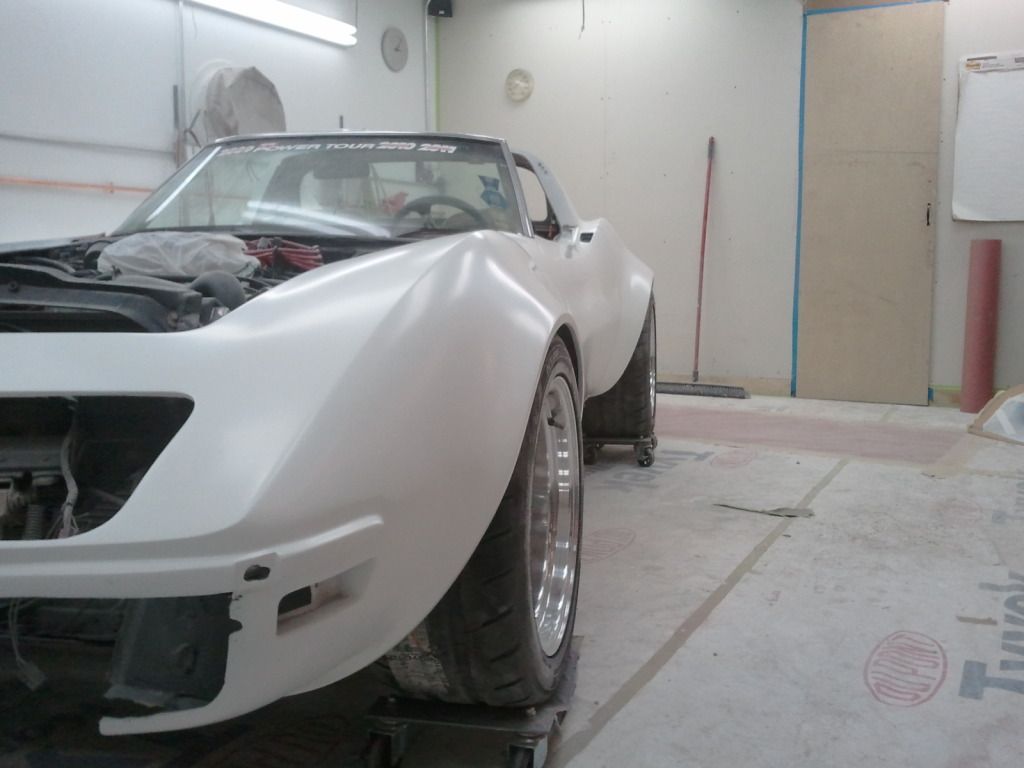
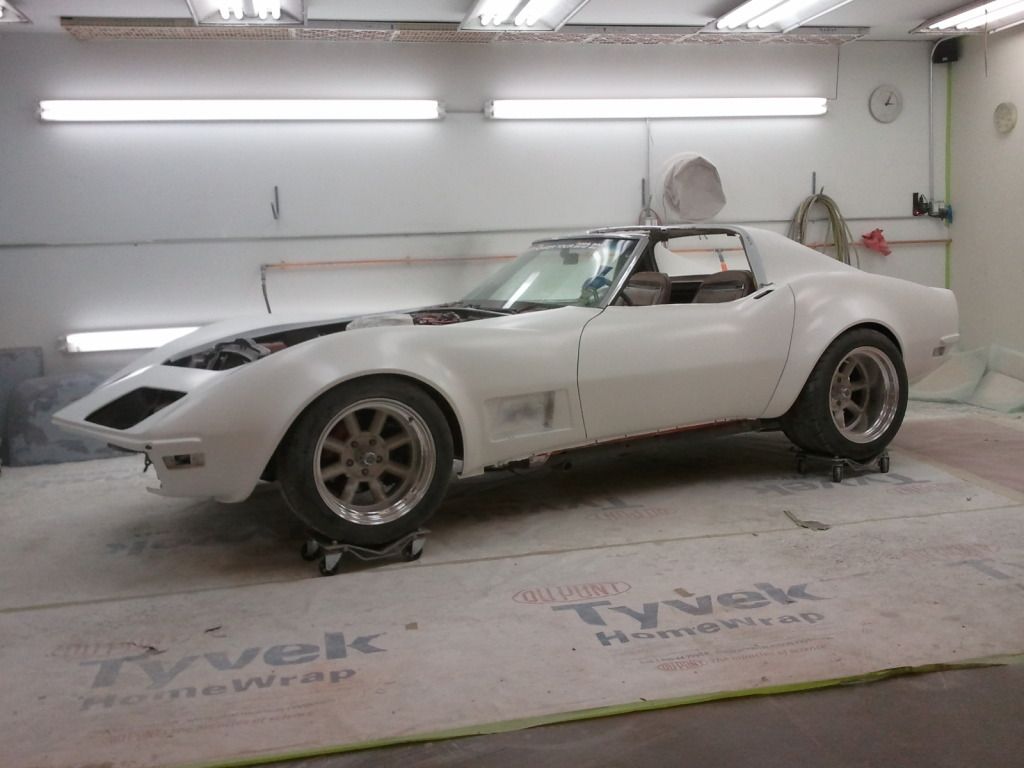
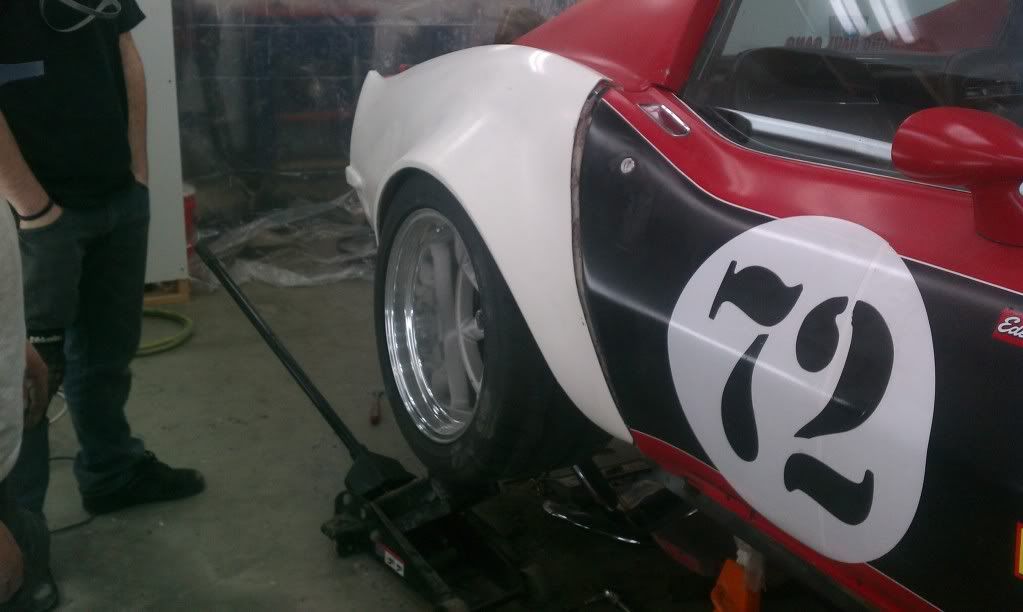
The first step was to get the right offset and width of the tires so the flares would look right. I gave Vintage Wheel Works a call and ordered new wheels and got my tires from Discount Tire.
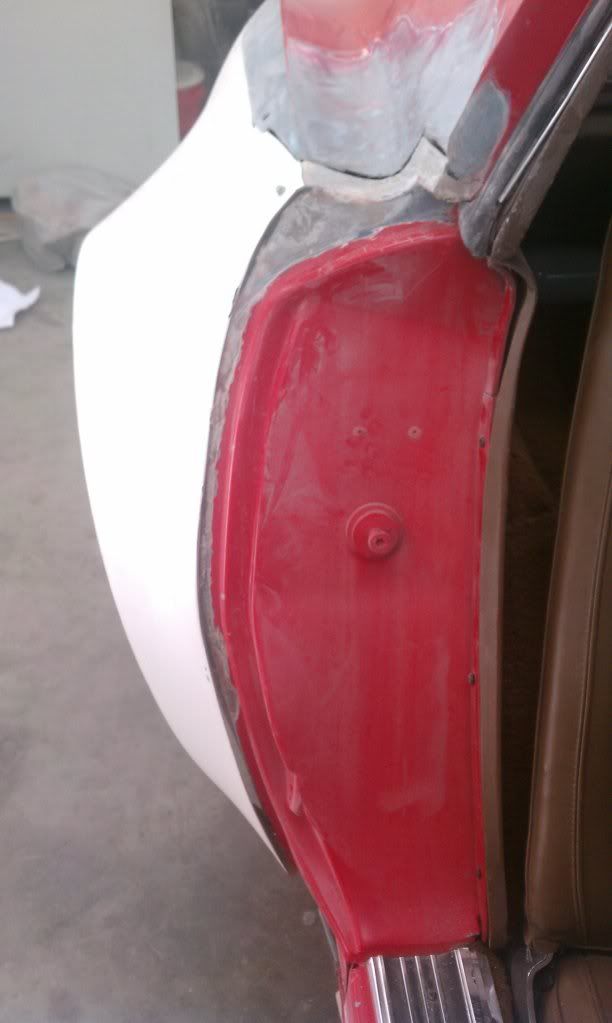
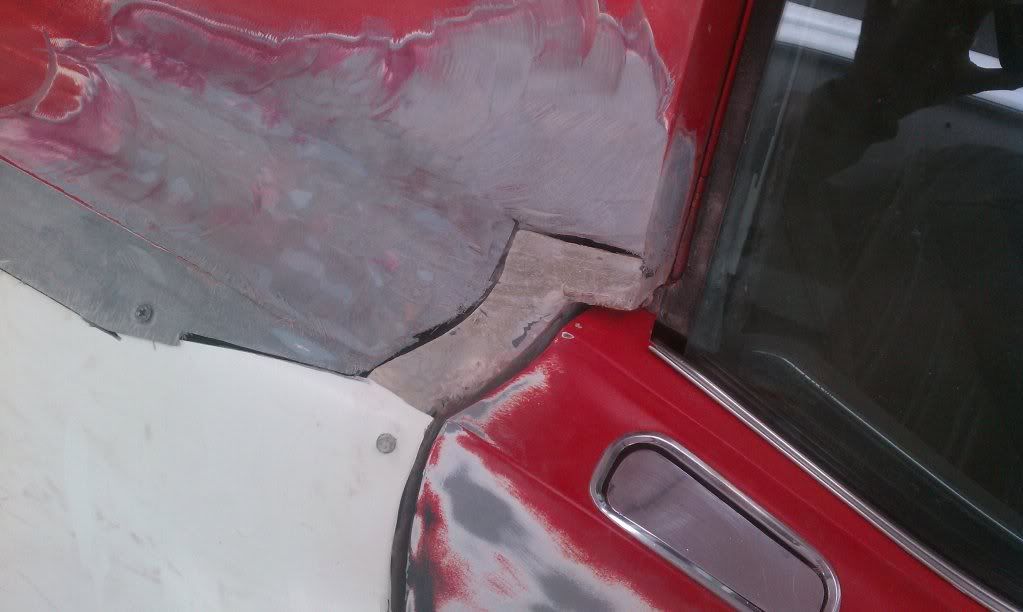
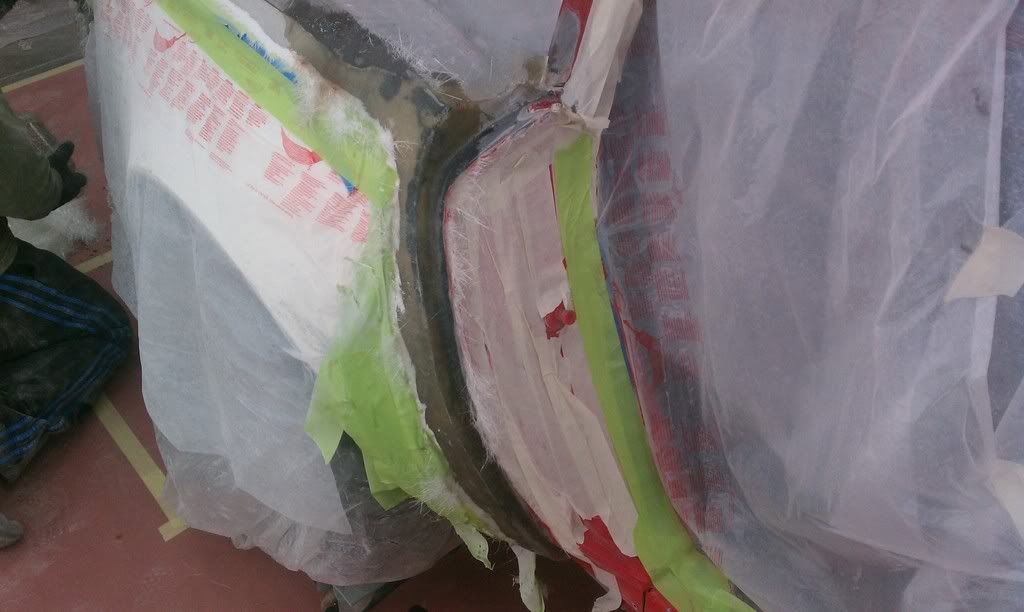
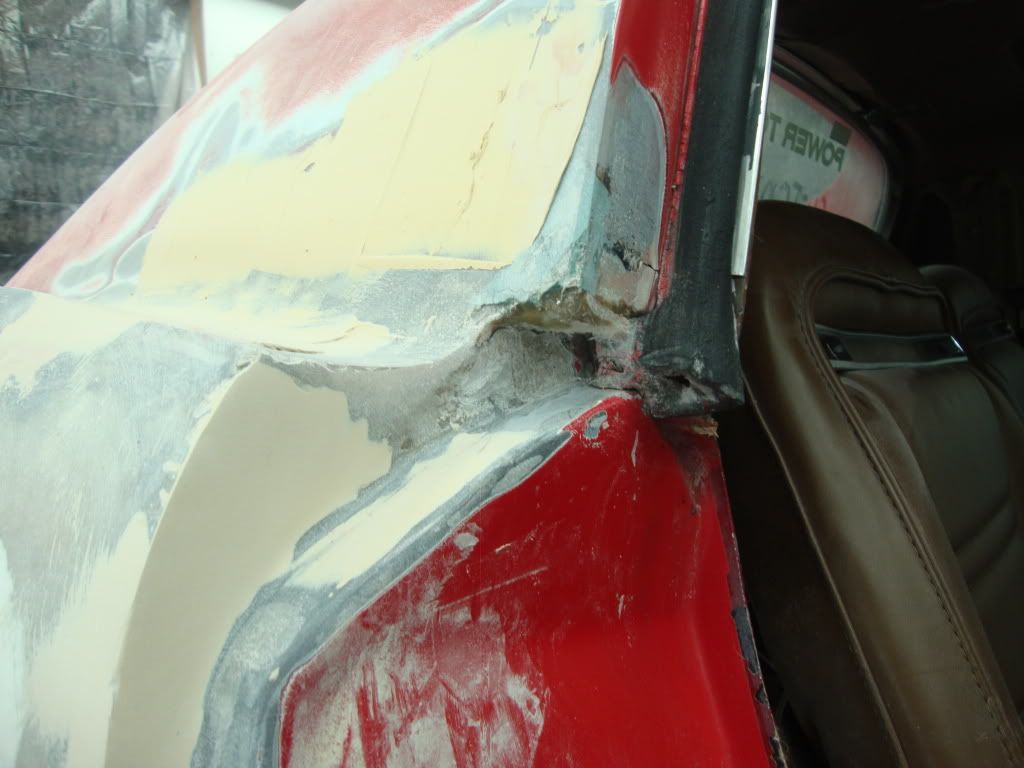
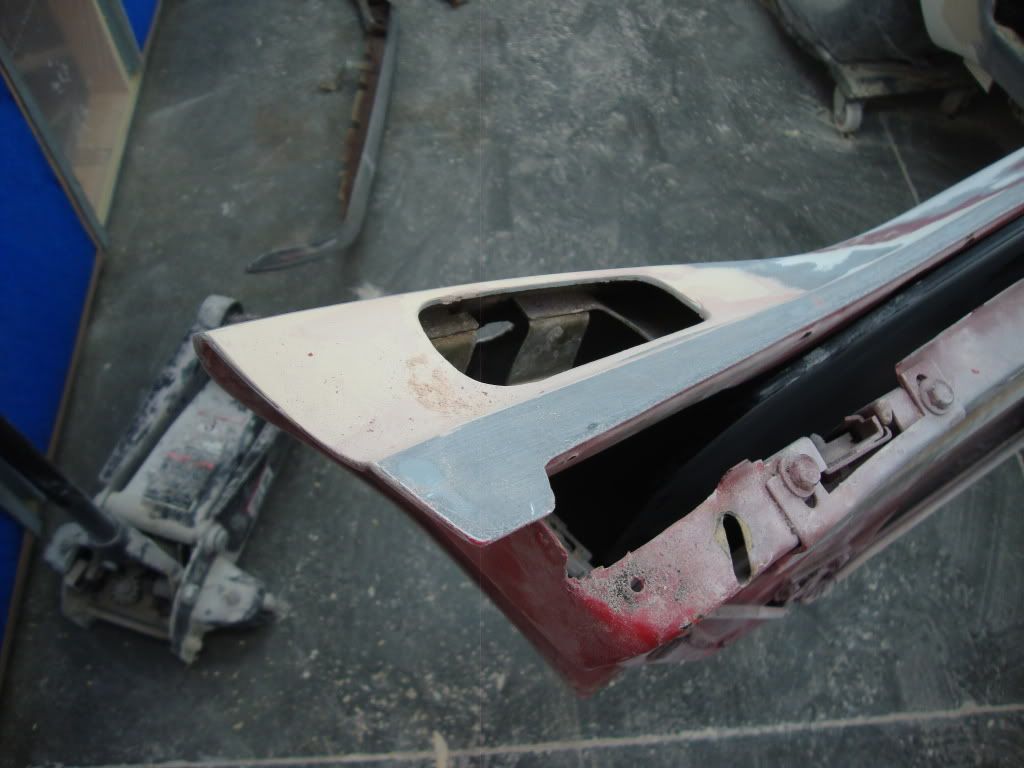
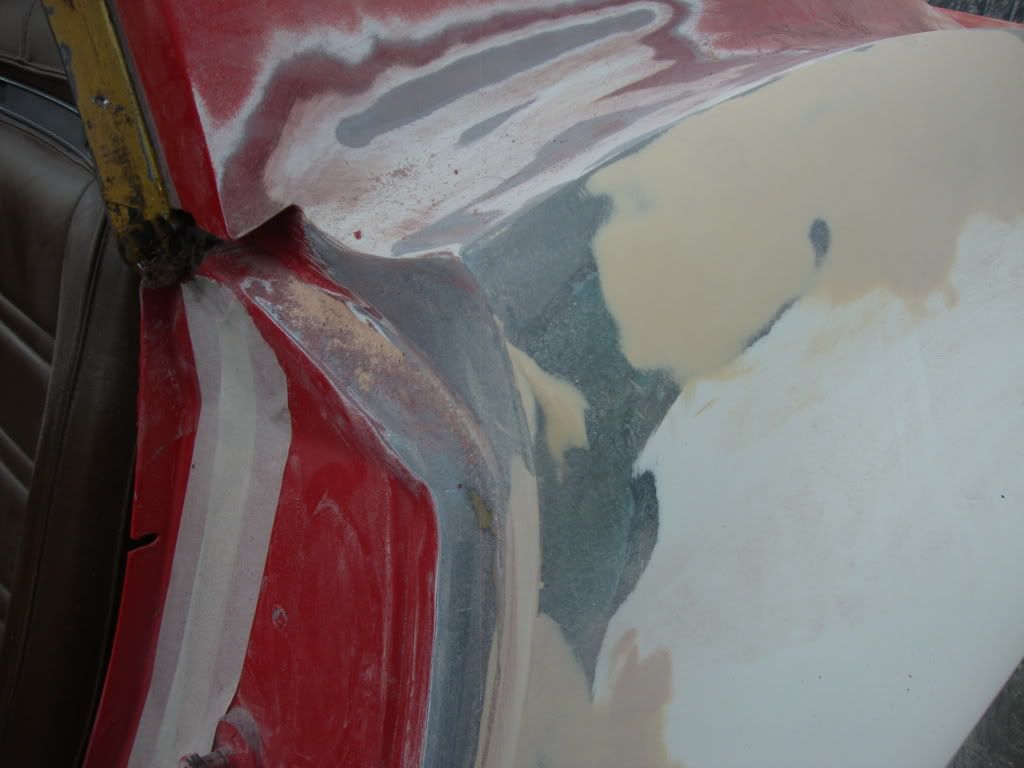
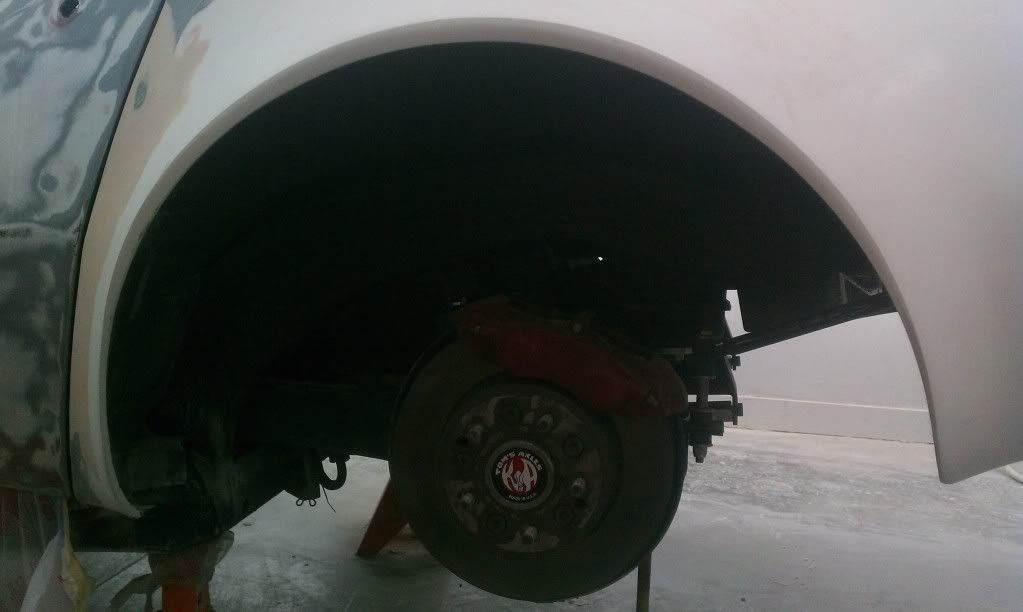
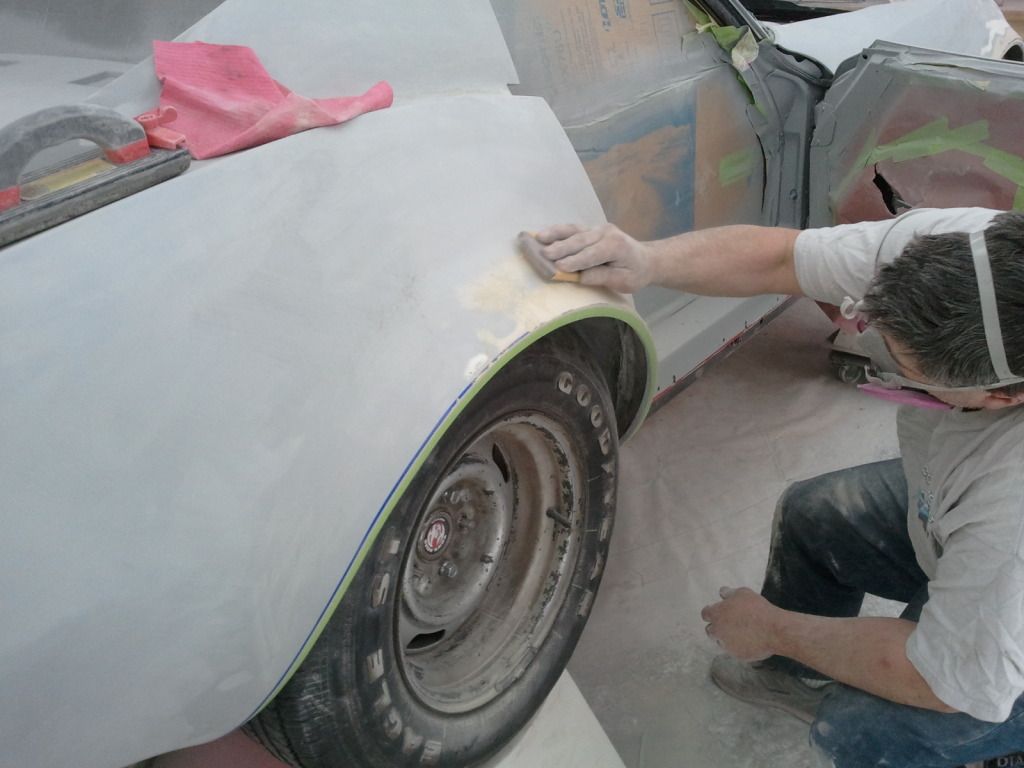
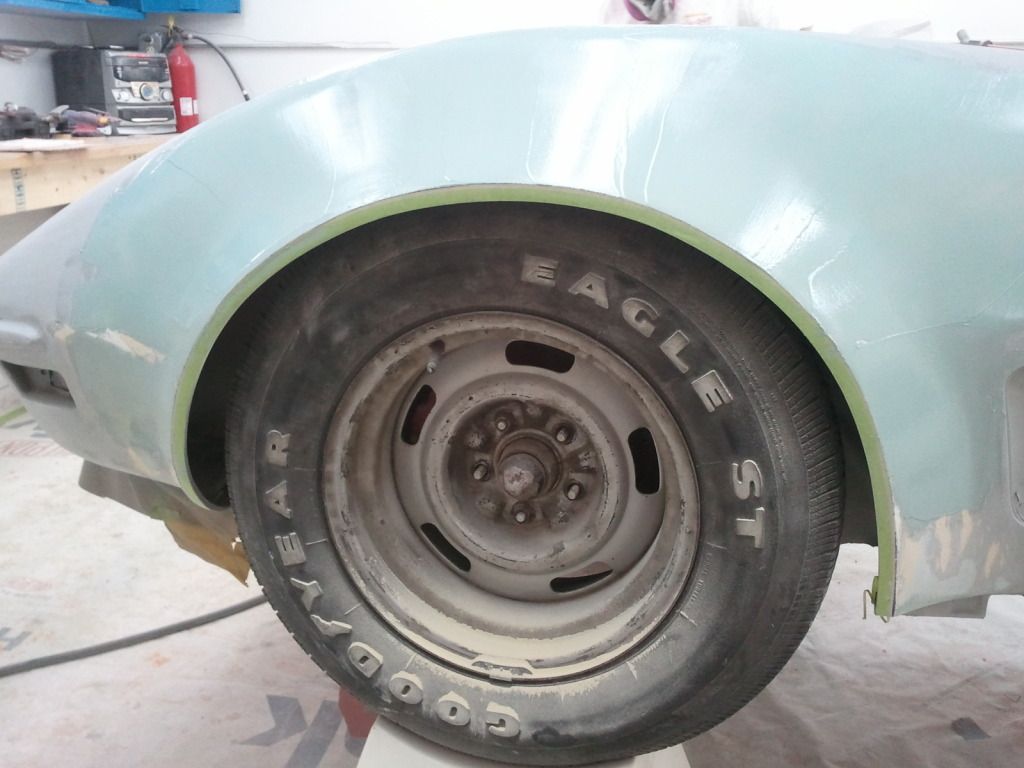
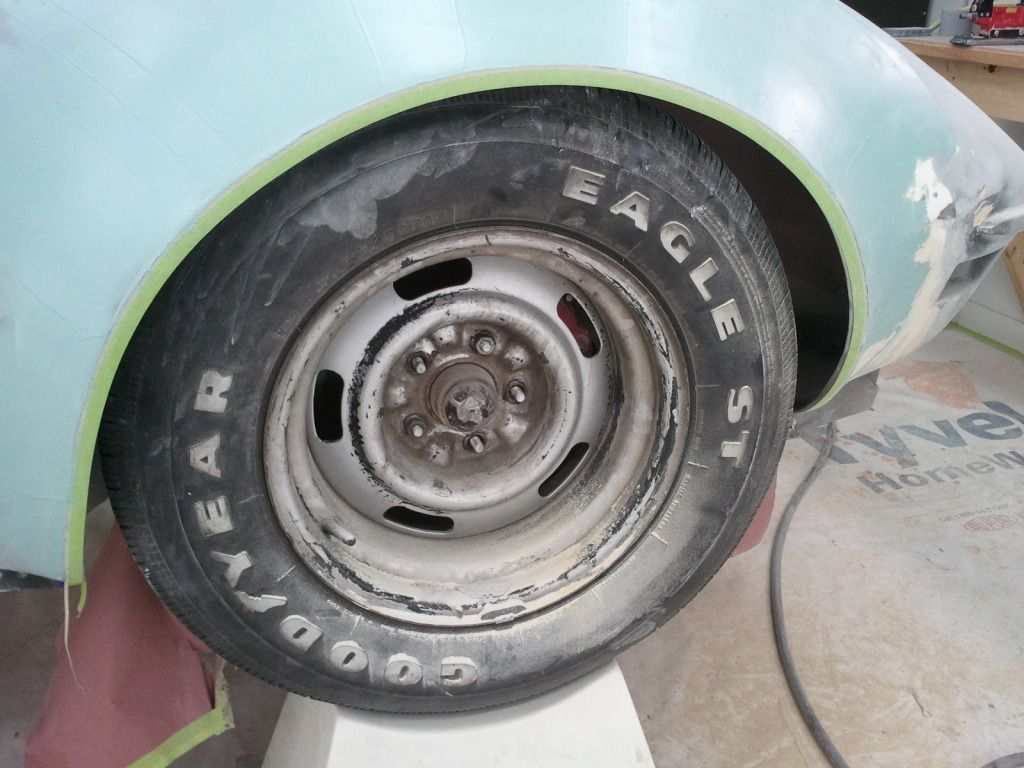
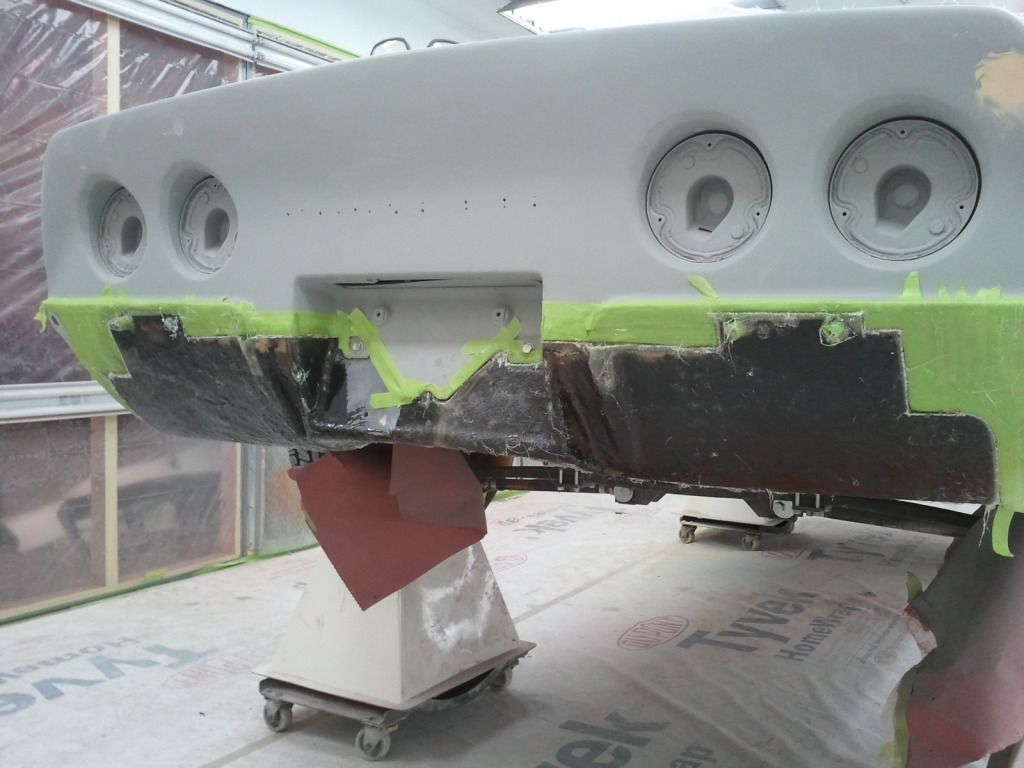
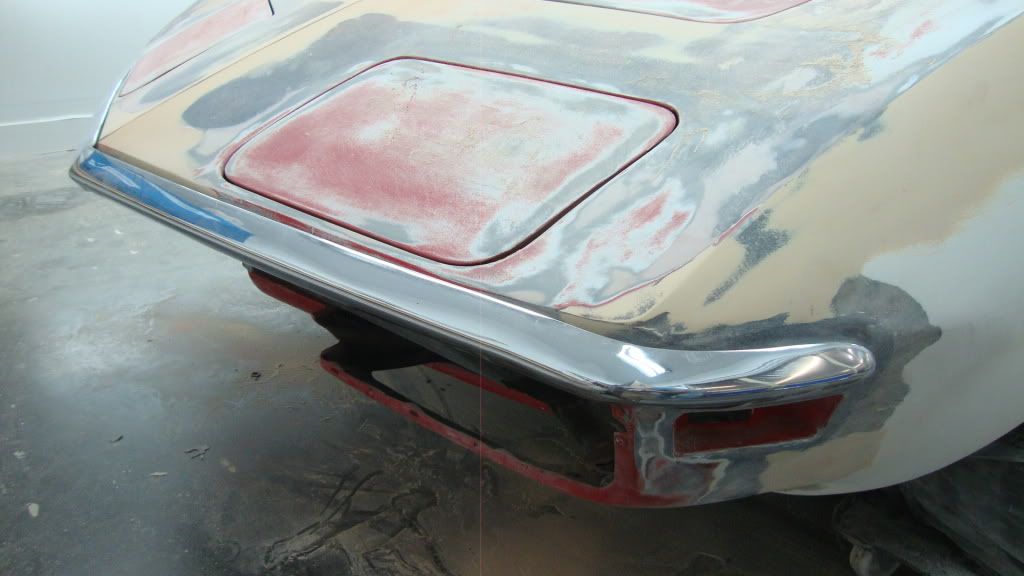
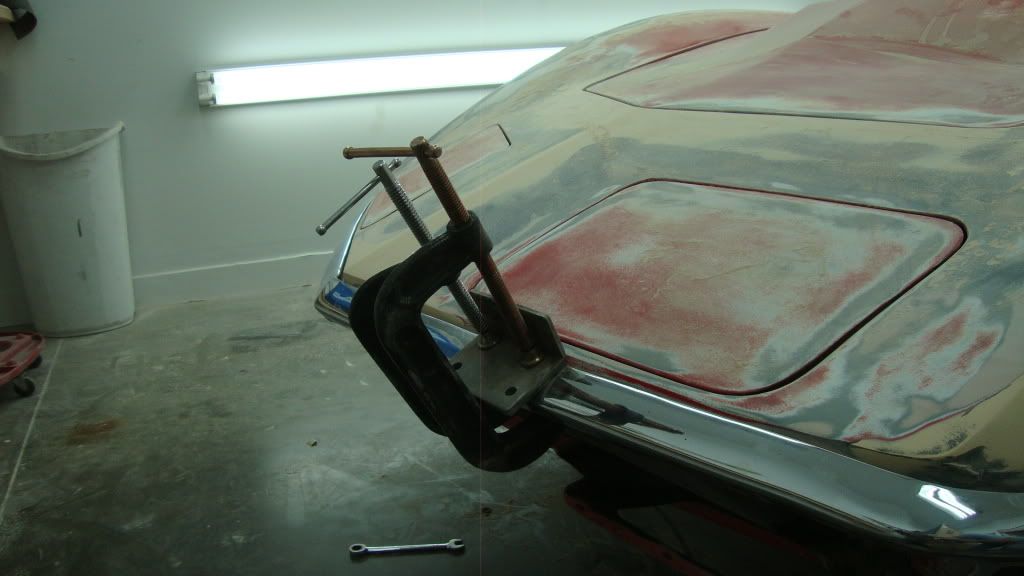
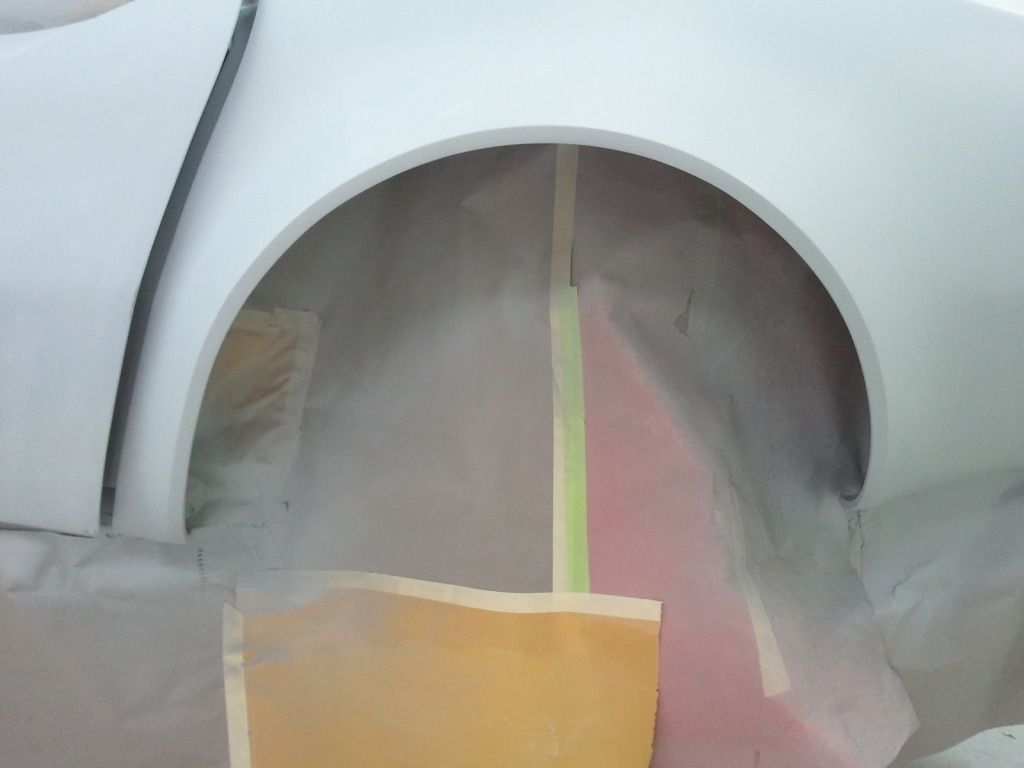
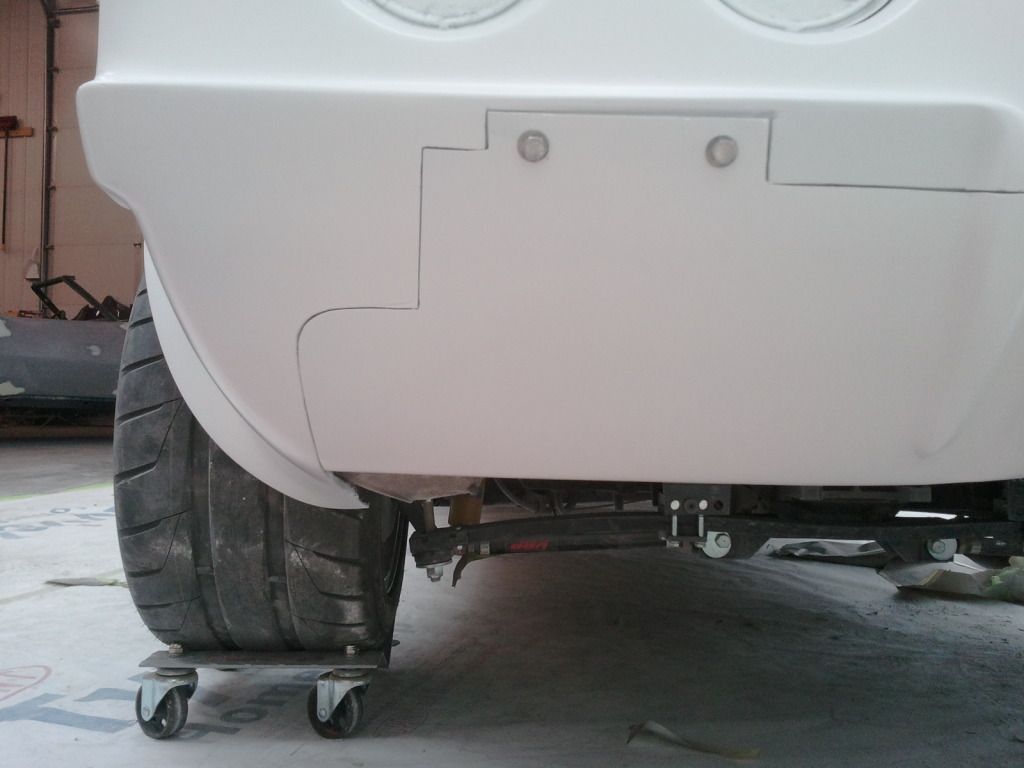
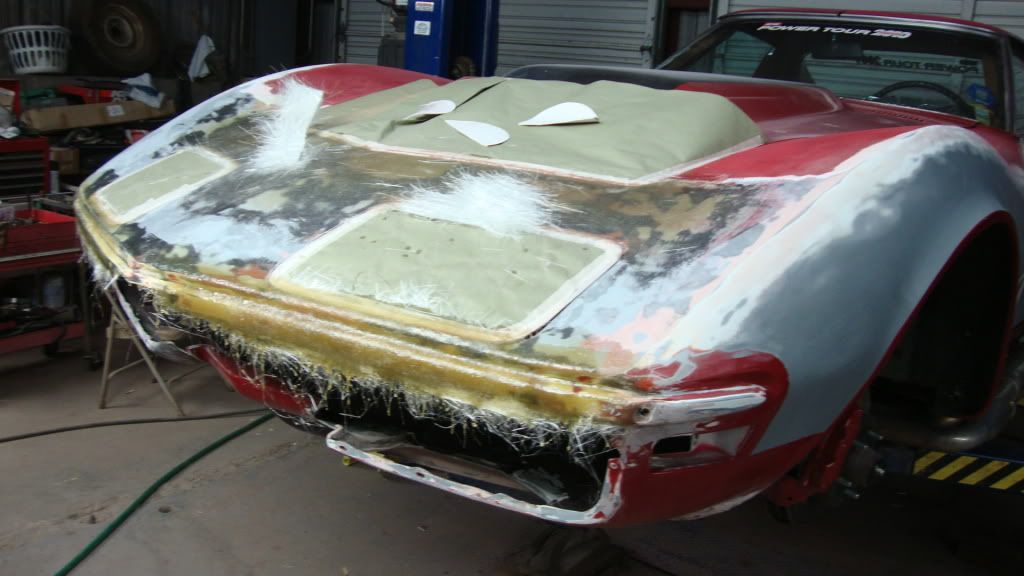
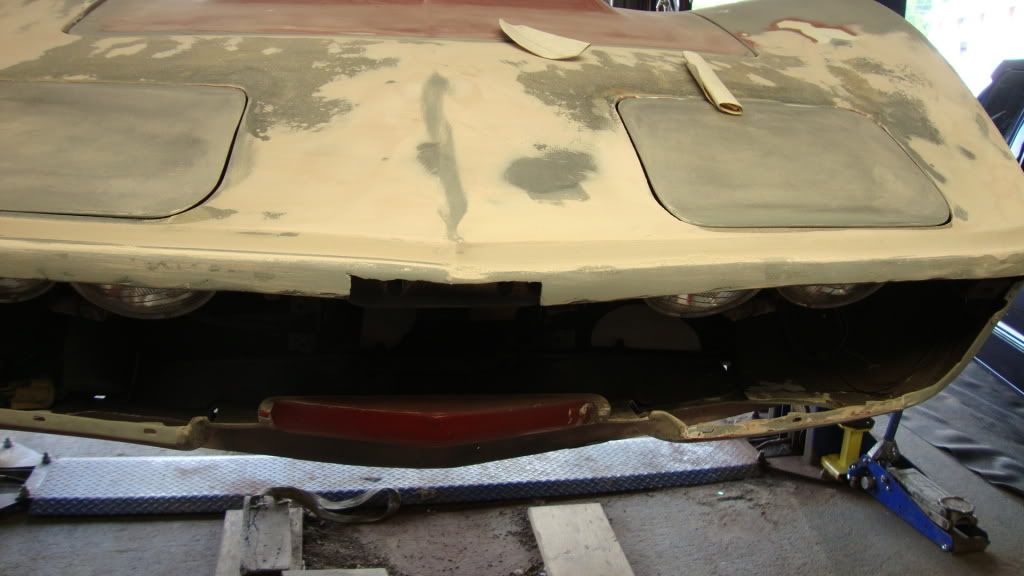
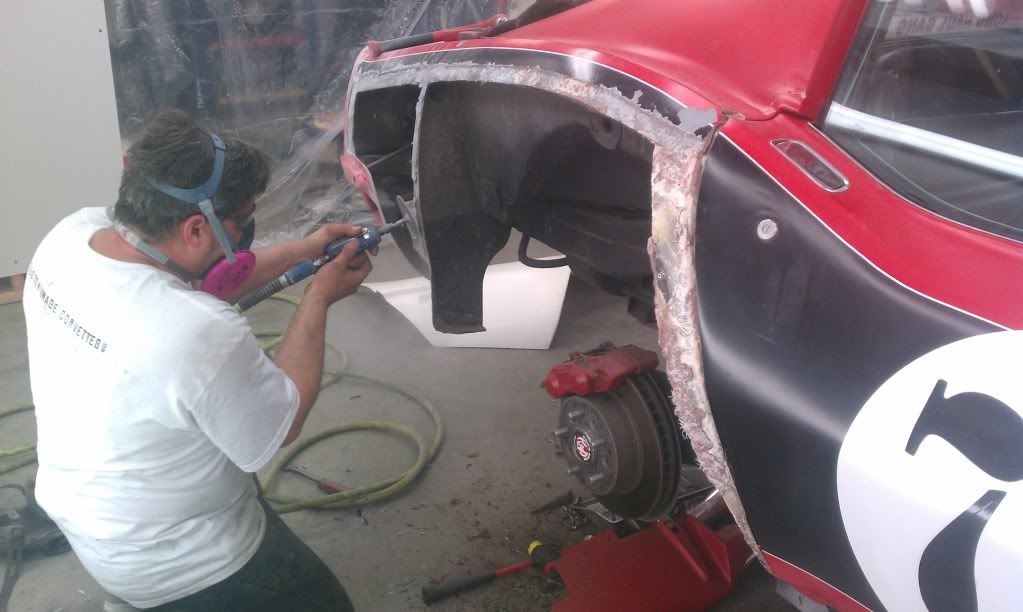
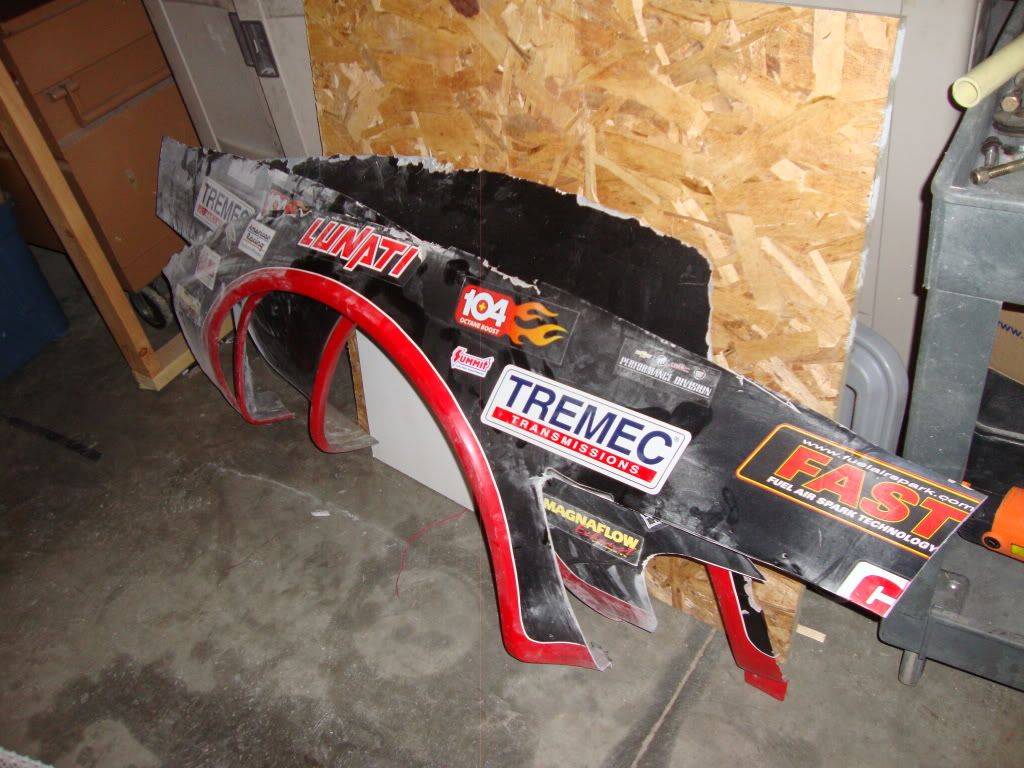
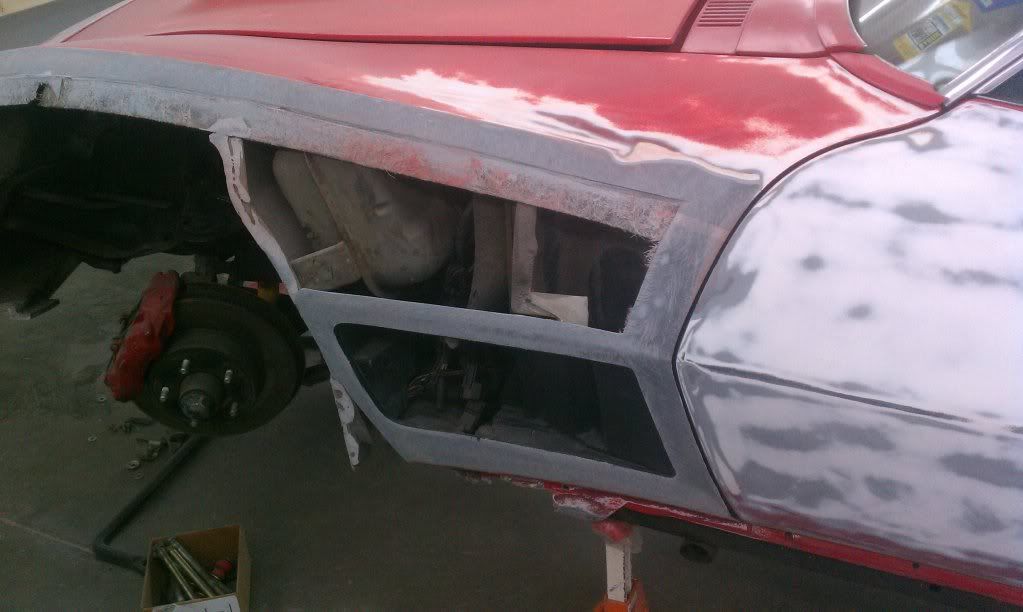
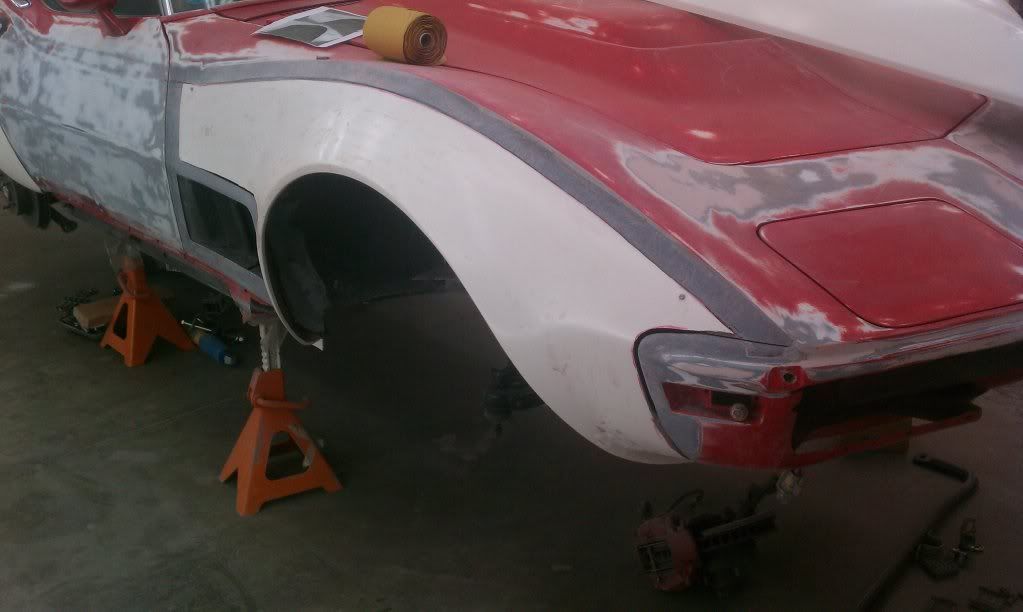
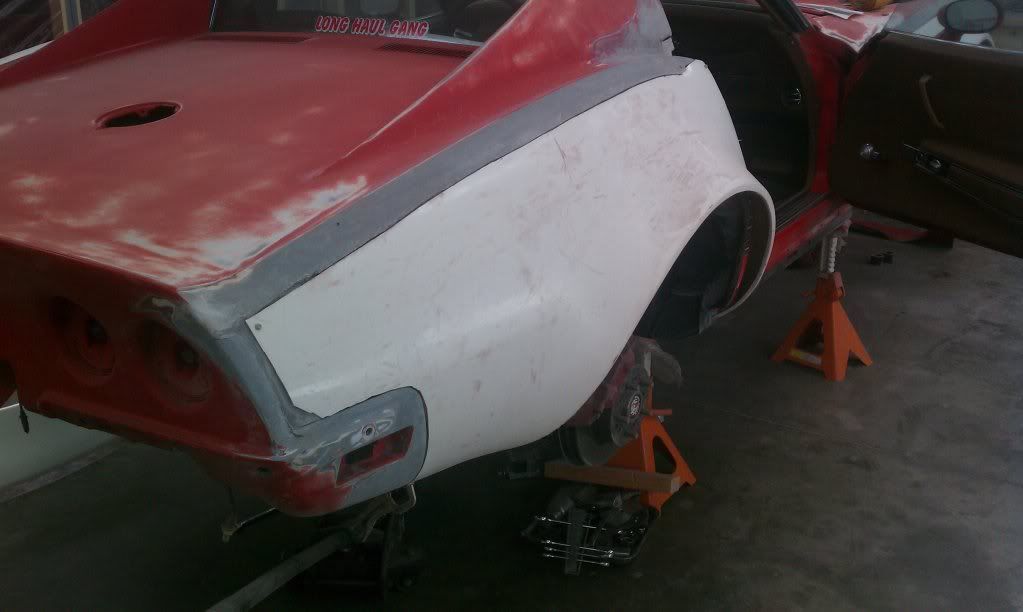
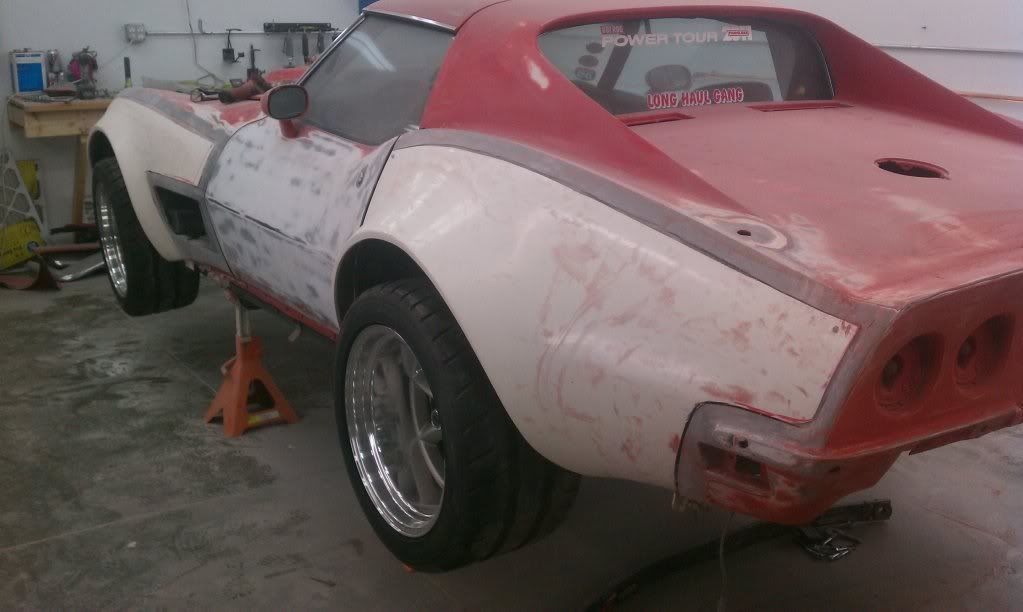
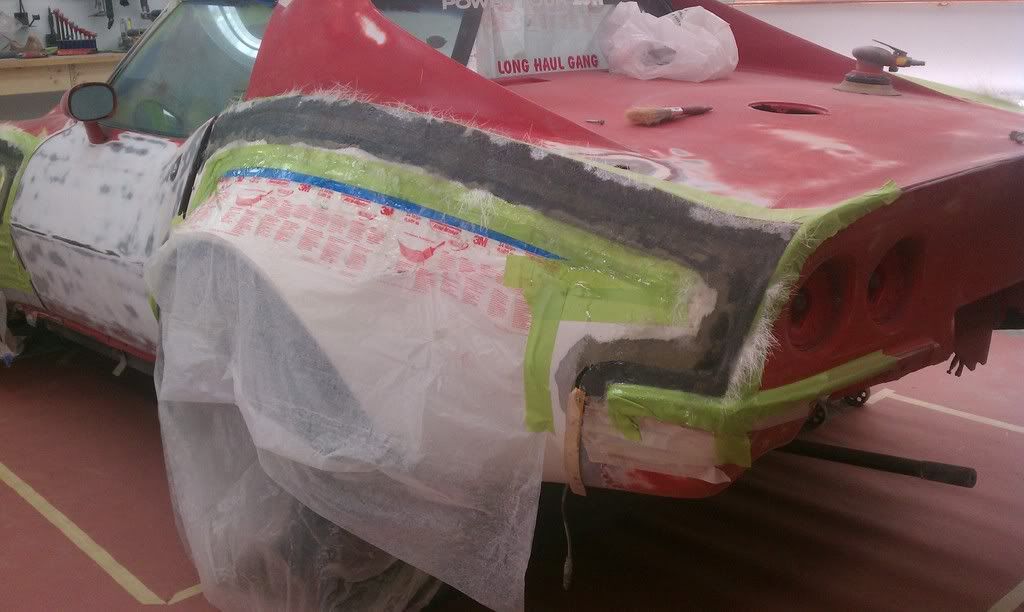
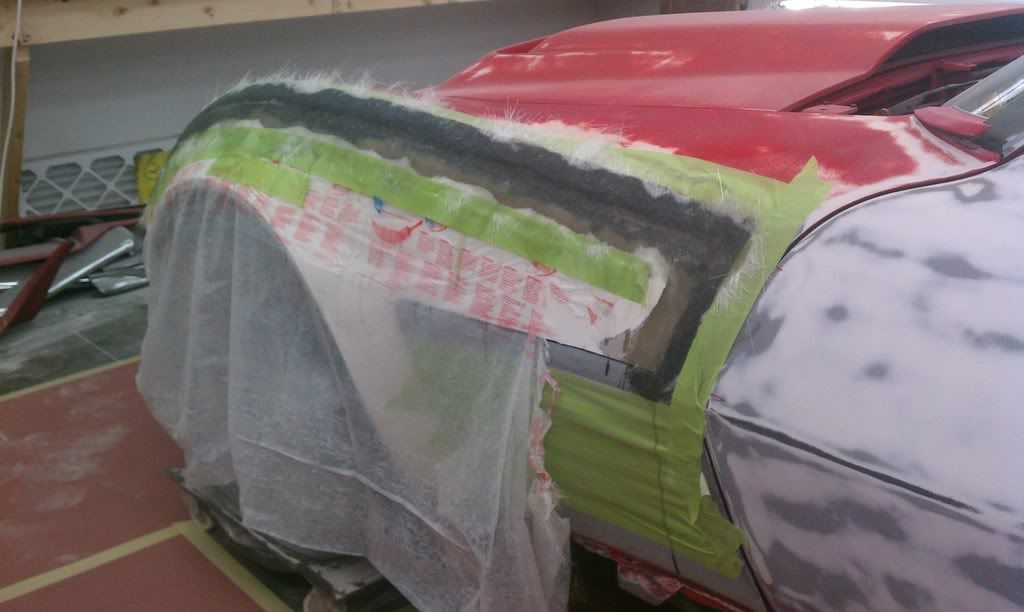
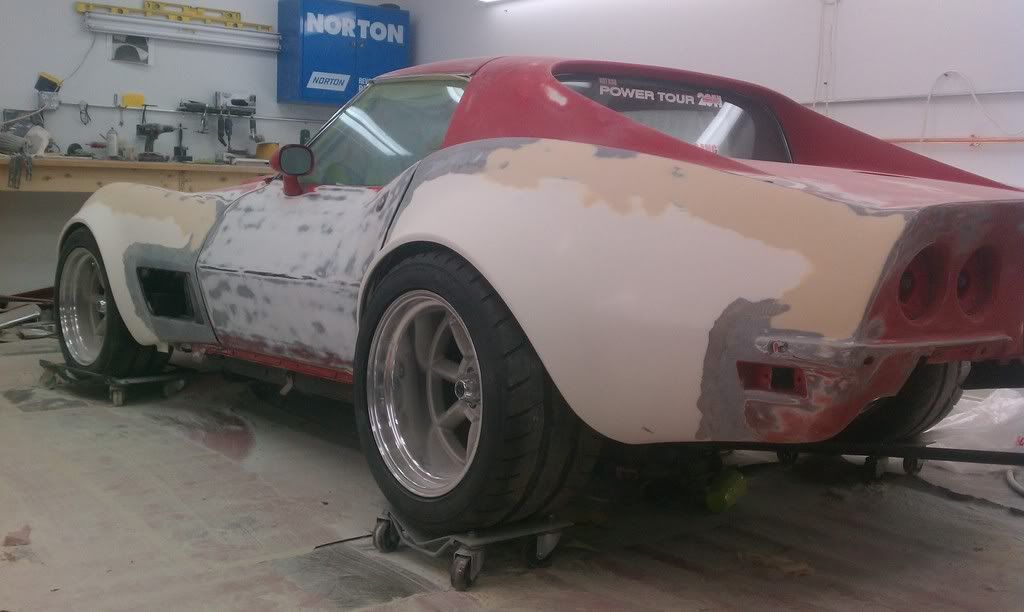
The plan is to fix a few bad spots, correct the body lines that I abused in my last re-paint, put on the KAOS flares, but with the 72 side marker lights and egg crate openings and shoot some color on her.
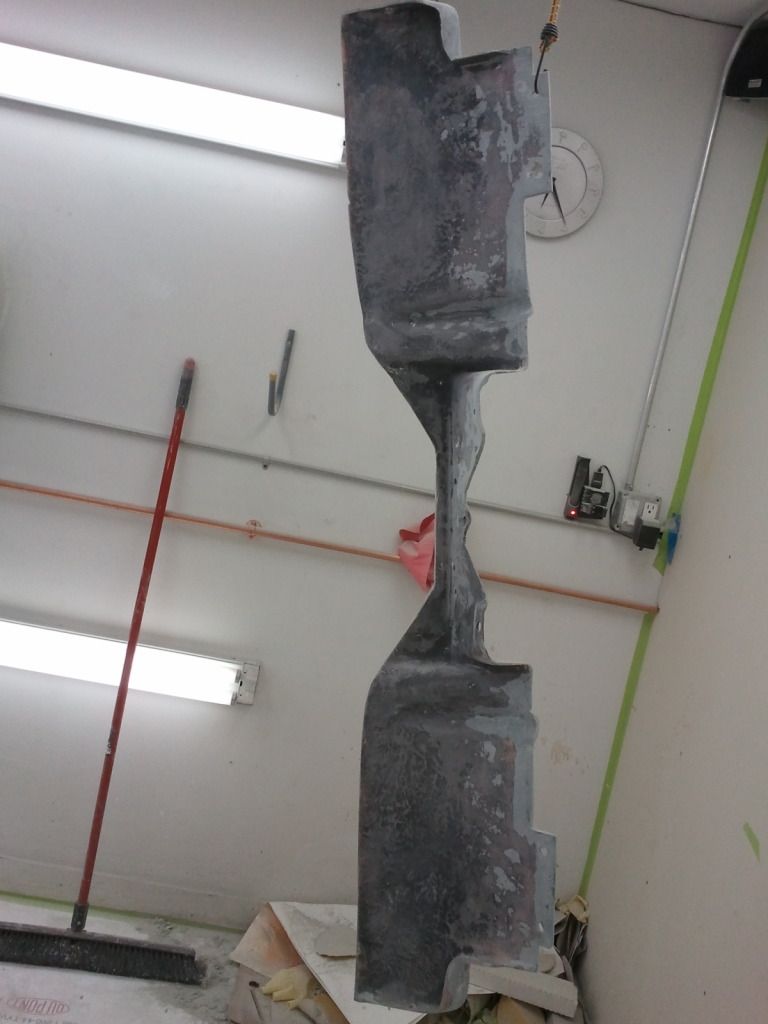
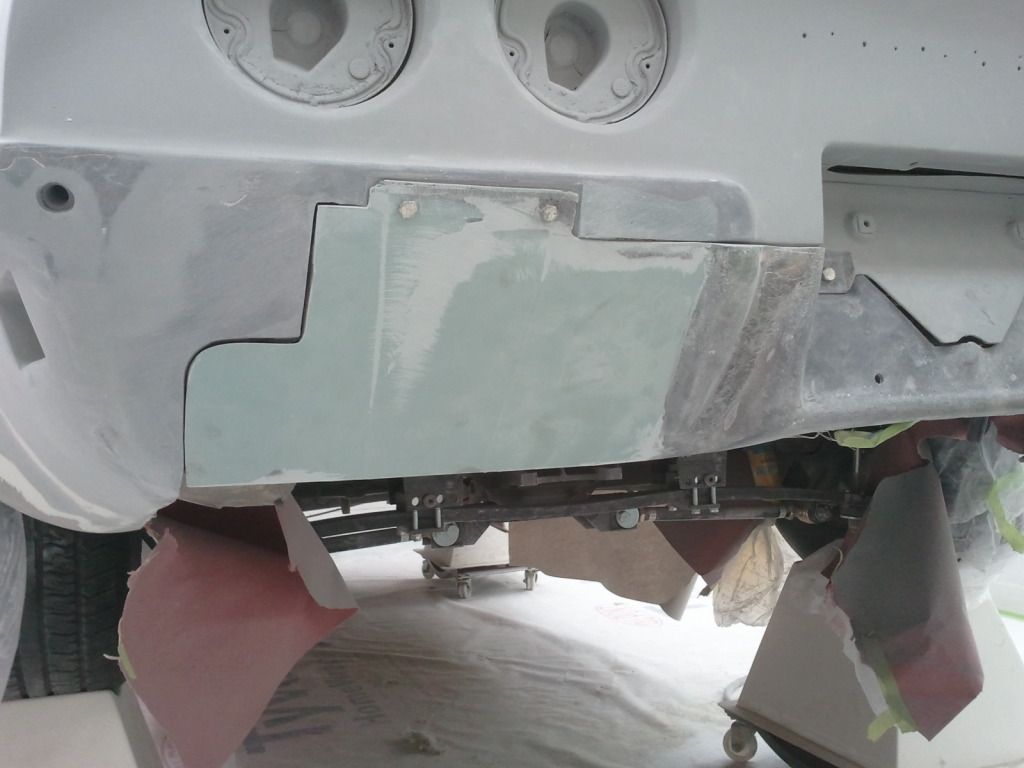
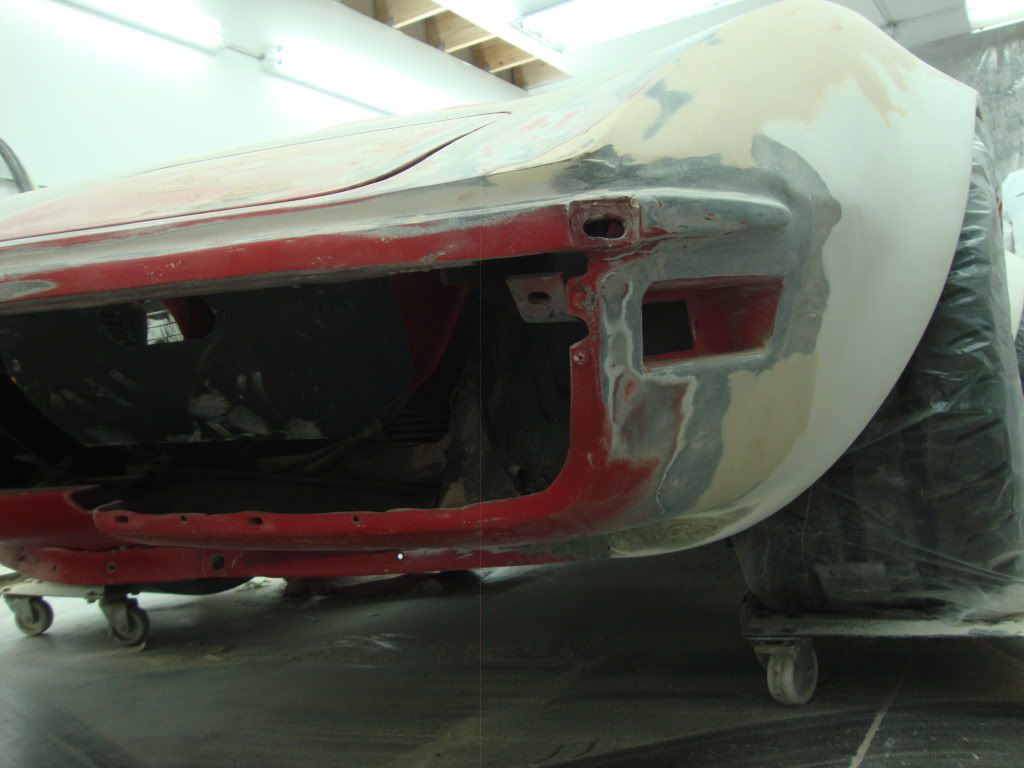
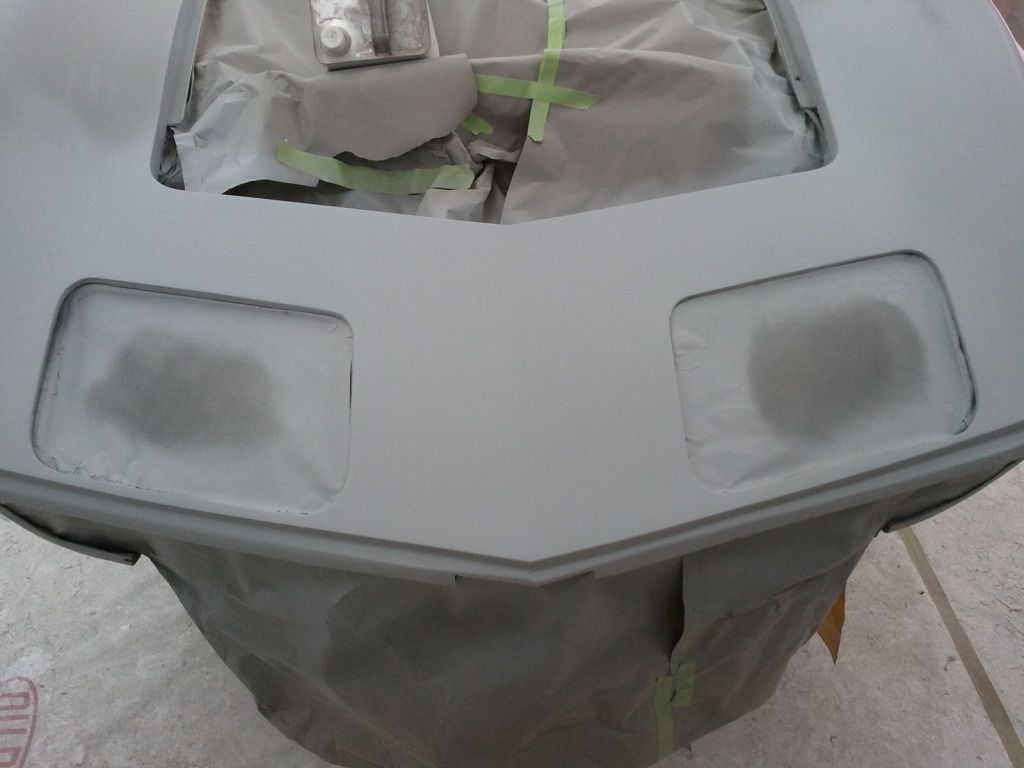
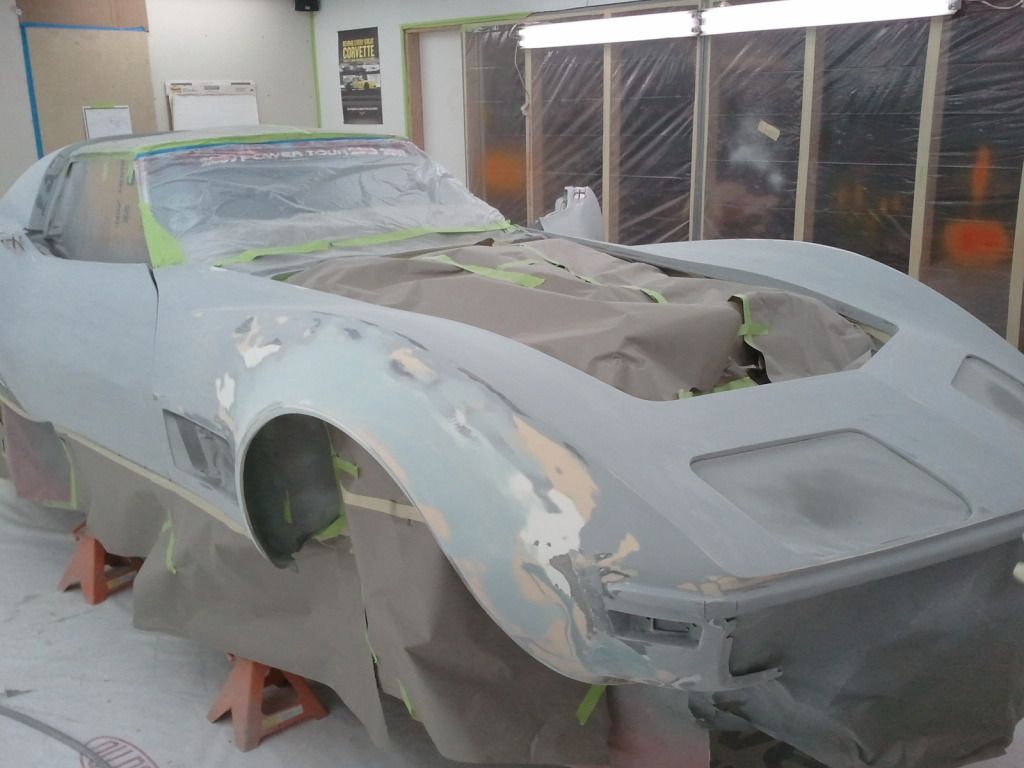
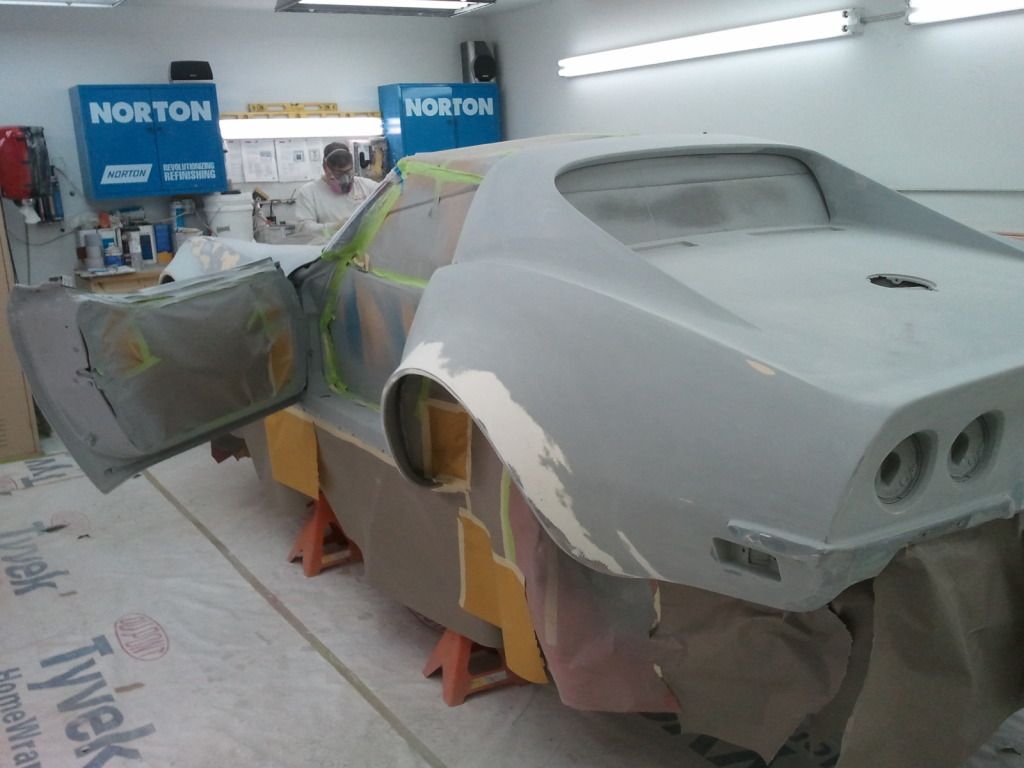
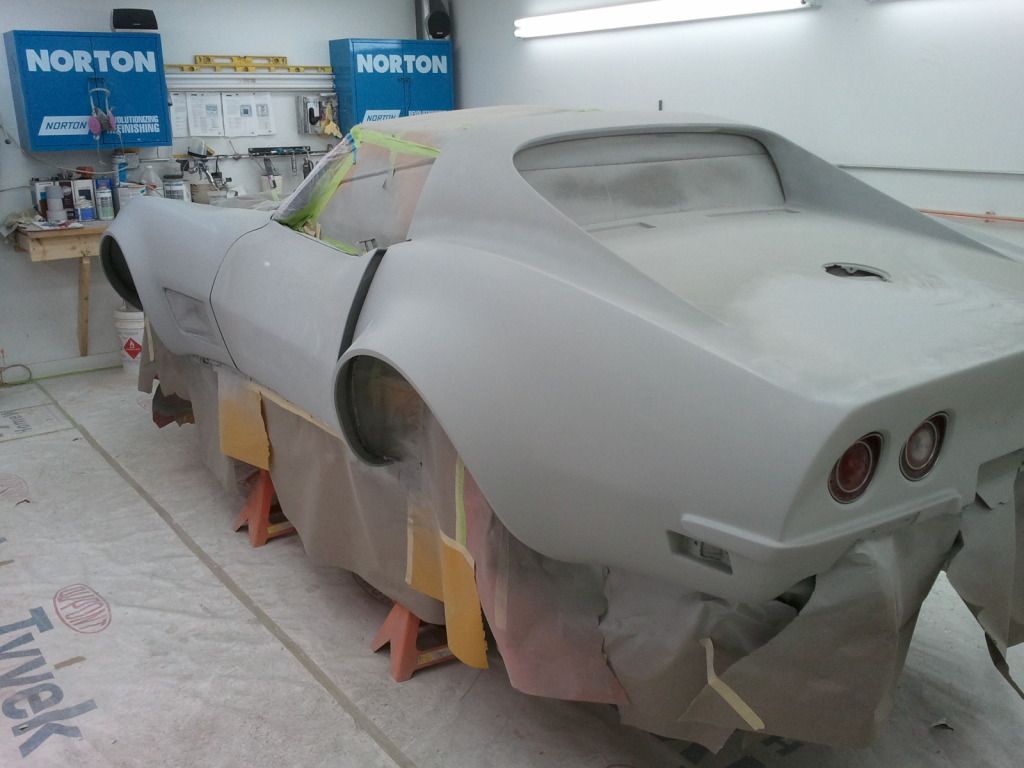
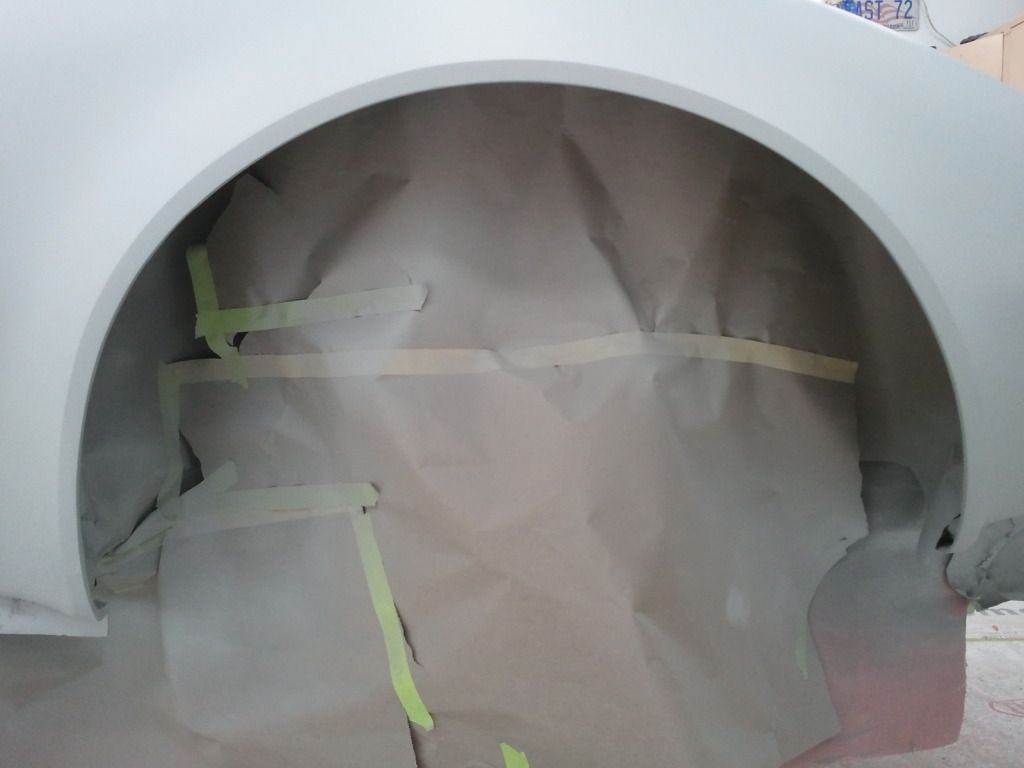
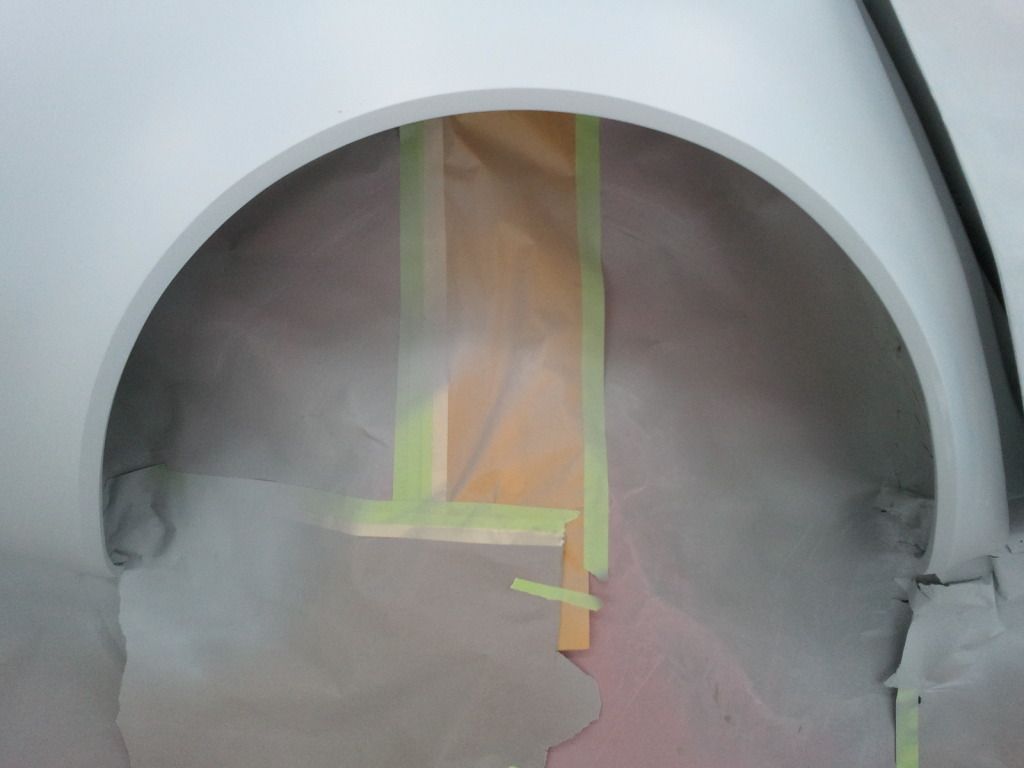
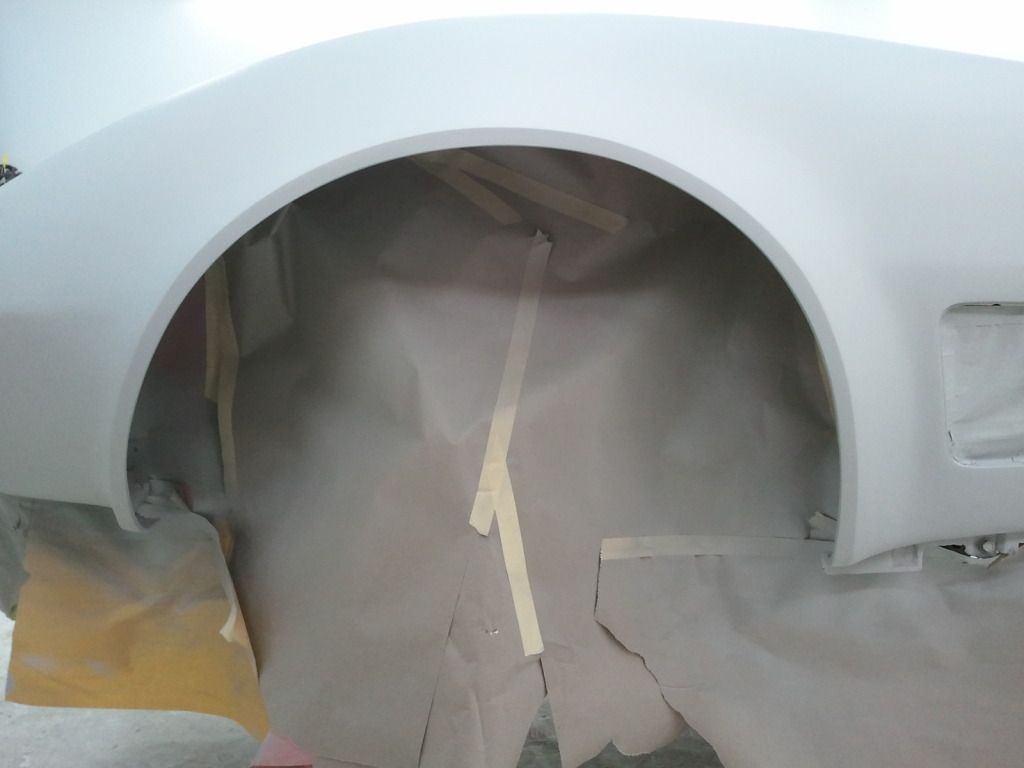
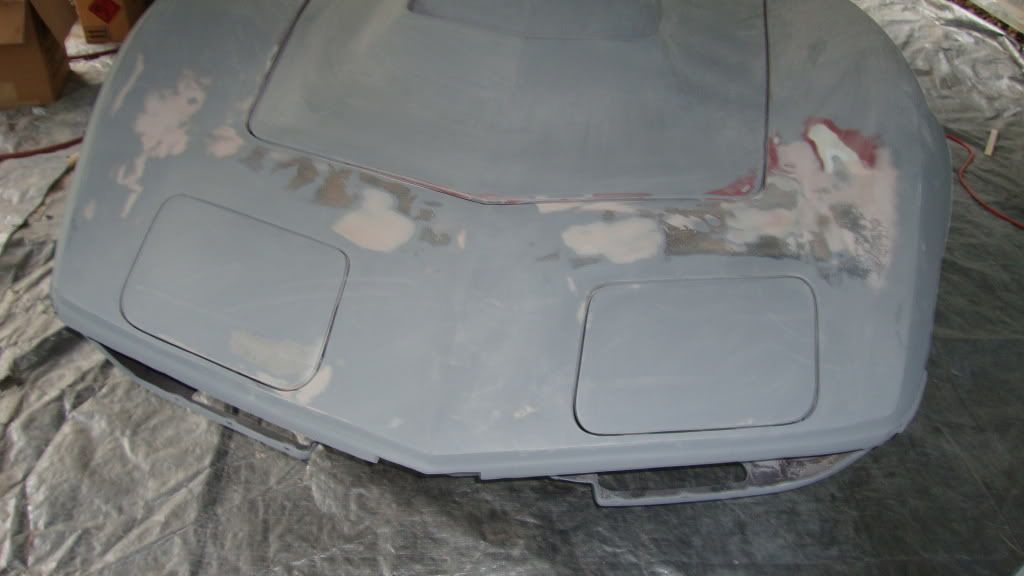
Here are the progress shots so far. The schedule is to get her in primer and ready for paint by January 15th.

Once she is ready for paint, she will get heat cycled a few times and I think Josh wil lbe making a set of molds off of her. This should cure the resin, duraglas, and body filler. After a few weeks, she will be sprayed with paint and re-assembled.
We have a track day scheduled for March 9th. I hope to have her race-ready by then.
When I got her, she was on her 3rd color and I found 8 layers of paint on her. Originally a small block car in War Bonnet yellow, she had been re-sprayed around 1977 (the passenger door has a 1977 date code on it), then some time after that, she has been given the sport mirrors and sprayed white. Some time after that, she was painted Rally Red and the big block was installed. I didn't have a lot of money to put in her all at once, so I did a little bit at a time.
I painted the hood, buffed out the rest of her as best I could, and drover her for a while. My first mod was when I swapped out the M22 for a Tremec TKO-600 for better highway cruising. I had idle and starting issues, so the next mod was to get rid of the Holley 850 and added EZ-EFI. I had to swap out the oil pan, becasue the GM pan hung below the frame. I knocked a hole in it on the 2009 Hot Rod Power Tour. Next I had Gary Ramadei build me a super 10 differential after I twisted an axle at the drag strip.
She has done the last two Hot Rod Power Tours completely and part of 2009. She has been on Talladega Super Speedway, Indianapolis Super Speedway, and a half dozen drag strips throughout the southeast. I drove her to the 09 Caravan. I take her on all the club cruises. I drive her anywhere, and everywhere. I even made the October, 2010 Hot Rod Magazine.
After my "temporary" paint job this last spring was such a hit, I have decided to expound on the theme and go "All In". Here she is at Indy.
I had a blast driving her with the satin road race paint job on the Hot Rod Power Tour. Everywhere I went, people responded positively to the look. All my friends loved it because if the authorities were to pick one of us to use as an example, it would be the one that is painted like a race car.
With the 2011 Power Tour looming, and all my spare time being consumed by the Talladega Vettes4Vets event, time was running out and I had to cut a lot of corners during the re-paint. What suffered was the prep work, the finish sanding, and the actual painting of the car. It was so bad, I decided not to clear coat the paint. It would have made it that much aharder to strip and re-do. Ironically, that is what made the car so popular.
All of this happened within 3 days...
It seems that satin paint was "In" with the power tour this year. Hot Rod magazine are using my car as the banner page for the Cocoa Beach photo albumn, which is cool. They also showed it twice during the "Hot Rod TV" coverage of the power tour, which is also cool.
It drew a lot of attention with the fans as well. One of my running mates said it was quite possibly the most photographed non-professional built car on the tour. Considering that it went from raw fiberglass to paint in the final 3 days before we left for Cocoa Beach, I really couldn't complain about the few issues. We were bolting in the seat 30 minutes before I hit the road.
In addition to the re-paint, over the winter I had completely rebuilt the front suspension, the rear suspension, and did some modifications to the cooling system. Gary Ramadei built me some monster trailing arms to go with my Super 10 differential. I replaced all the rubber brake lines ans some of the steel one that needed it and re-painted the claipers i had replaced the previous ydear.
This year's Hot Rod Power Tour was truely a 4,000 mile road test.
Outside of Florida on my way to Georgia, I lost the bolts that hold the differential to the front mounting plate. That downshift in traffic was a real eye opener. It sounded like the driveshaft was coming through my seat! A couple starter bolts from the local parts store, and we were back on the road in a few hours. (All part of the Power Tour experience in an old car.) There should have been kotter pins in those bolts, but I mus have had a brain fart on re-assembly.
The plan was to do a re-paint when I got back home after the 2011 cruise season. I was going to go back to a metallic Black Baldwin-Motion stripe over a Crystal Red Metallic base coat.
The response was so positive on the road race paint theme and I had such a blast driving around in a car with a number on the door (I now know know how Bo & Luke Duke felt), I decided to keep the road race theme, but really do it right with flares, wheels and a cage. My next step was to give Josh a call.
Since we had worked together on a few things, and Kaos had just left his shop on the way to Rob, I knew he was in a position to take on another project. We started talking aobut my baby and my plans. We worked out the details and in a couple weeks, I was trailiering her up there. I picked up another project car for him in St Louis along the way. Here is a shot of me on the road. I stopped for breakfast and to check the straps and shot a couple pictures.
We went over the car, I showed him the pictures of my re-paint and we came up with a game plan.
The first step was to get the right offset and width of the tires so the flares would look right. I gave Vintage Wheel Works a call and ordered new wheels and got my tires from Discount Tire.
The plan is to fix a few bad spots, correct the body lines that I abused in my last re-paint, put on the KAOS flares, but with the 72 side marker lights and egg crate openings and shoot some color on her.
Here are the progress shots so far. The schedule is to get her in primer and ready for paint by January 15th.
Once she is ready for paint, she will get heat cycled a few times and I think Josh wil lbe making a set of molds off of her. This should cure the resin, duraglas, and body filler. After a few weeks, she will be sprayed with paint and re-assembled.
We have a track day scheduled for March 9th. I hope to have her race-ready by then.