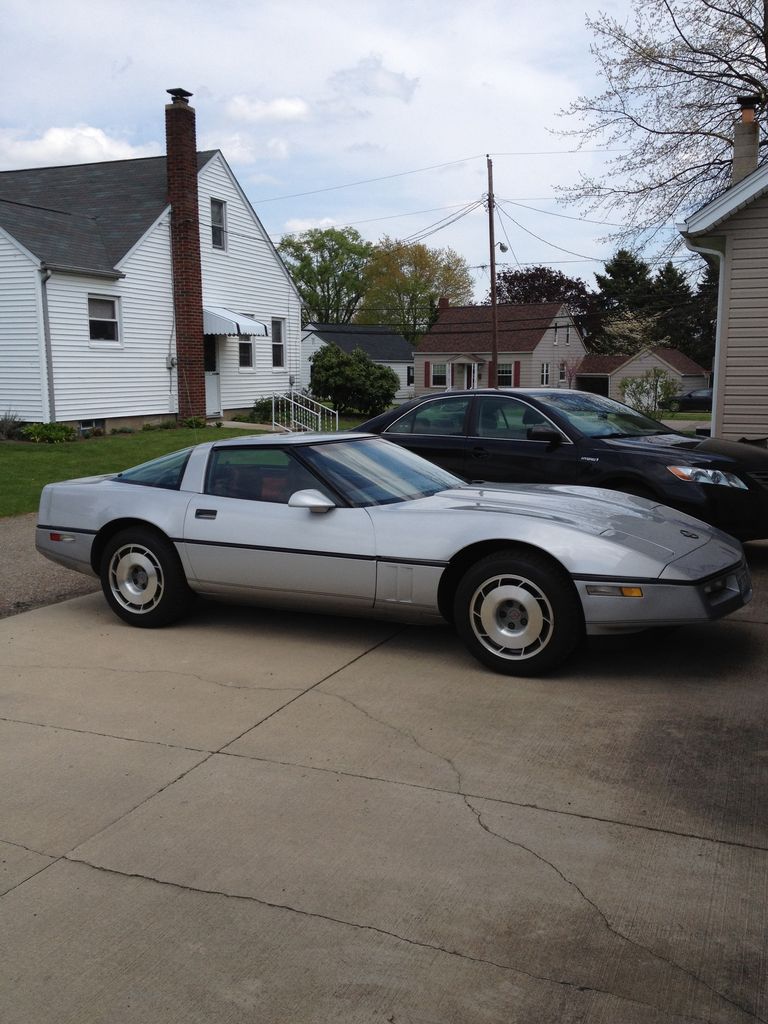
I've had this 1984 Corvette for 8 years now. When I first purchased it, it had a few issues that I corrected the first year I had it. I removed the illuminated dash and replaced all the bulbs and cleaned the contacts. It also had a very bad hesitation when at a full stop then acceleration. Replacing the TB gasket fixed that issue.
The he issue that has me stumped now is the Targa top. The rear bolts for the top were stripped out when I purchased it. I ordered new bolts and when I went to install them I noticed that the bolt holes in the frame that the bolts screw into were also stripped about the first 1/2 to 1 inch into the hole. I tried tapping it out to rethread the holes and it did hold for a while but it was only a temporary fix. I'm in NE Ohio so it's pretty much stored in the garage from November through April and when I get the opportunity to get it out I almost never have the top on. I'm getting more time now with my children finished with college but if I get caught out in the rain with it, it leaks badly.
Is there a permanent fix for this ? I've thought about an oversized bolt or possibly a longer bolt may work. An oversized bolt may cause a problem where it would go through the top it's self and I've never saw a longer bolt that's made for the targa top.
Thank You for any info. I've been a member for a few years but I've been MIA from the forum.
Chas


 !!
!!