- Thread starter
- #21
AussieCorvetteNut
Well-known member
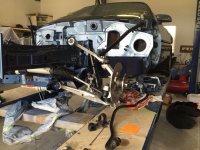
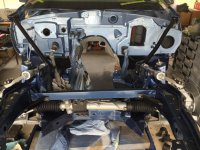
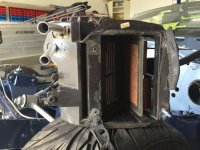
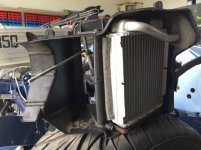
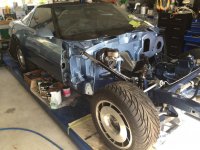
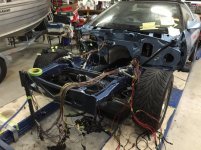
Front suspension and steering almost complete
Hi Fellas,
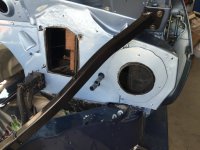
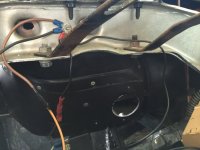
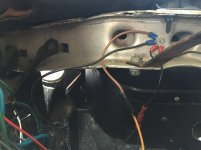
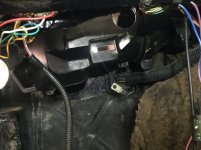
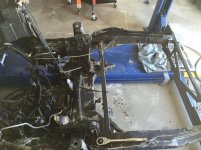
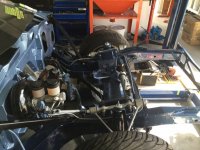
I have put together most of the front suspension and steering, just have to finalise the steering rack install and tie rods ends, and I can move onto the brakes.
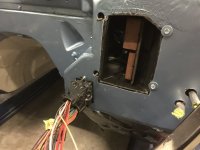
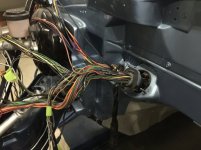
I had to shave half the inside radius off the stock rack bushing as I wasn't too sure what part was used in the conversion process, so the stock replacement was a gamble.
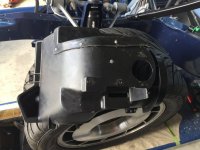
The photos show the bushing installed but not the bracket.
I am hoping to finish this bit by the weekend, so I can make up my mind if I am going to run some 2000 grit over my firewall clear coat or not.
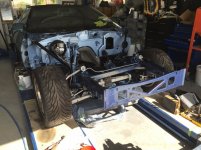
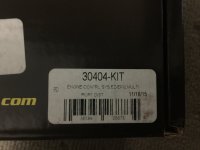
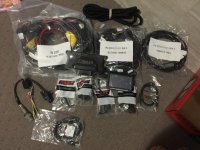
The modified tail section for the Tremec TKO 600 arrived about a week ago.
I managed to talk Hurst Drivelines into just supplying a conversion kit, modified tail section and Sidewinder II offset shifter. Just have to get the universal joints, modify the torque arm and cut the trans tunnel.
A real big thank you to Nick at Hurst Driveline Conversions!

Tony
Hi Fellas,
I have put together most of the front suspension and steering, just have to finalise the steering rack install and tie rods ends, and I can move onto the brakes.
I had to shave half the inside radius off the stock rack bushing as I wasn't too sure what part was used in the conversion process, so the stock replacement was a gamble.
The photos show the bushing installed but not the bracket.
I am hoping to finish this bit by the weekend, so I can make up my mind if I am going to run some 2000 grit over my firewall clear coat or not.
The modified tail section for the Tremec TKO 600 arrived about a week ago.
I managed to talk Hurst Drivelines into just supplying a conversion kit, modified tail section and Sidewinder II offset shifter. Just have to get the universal joints, modify the torque arm and cut the trans tunnel.
A real big thank you to Nick at Hurst Driveline Conversions!
Tony
Attachments

Last edited:
")
 ad
ad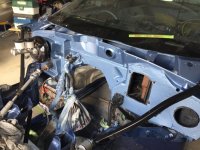


")


