LSC1Vette
New member
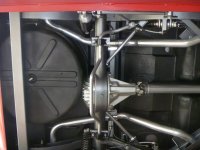
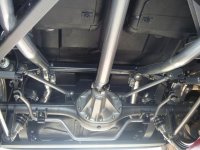
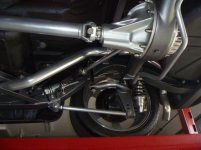
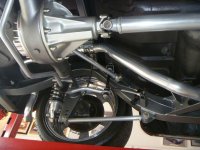
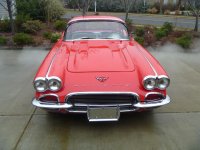
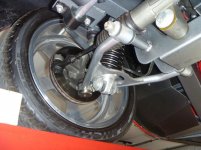
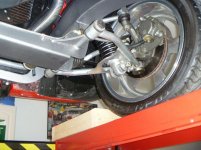
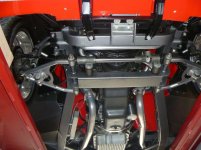
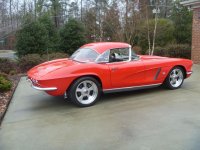
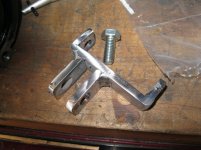
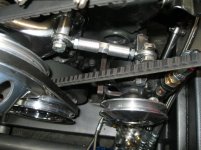
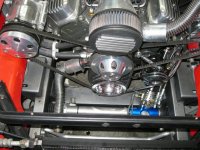
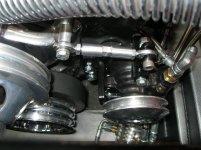
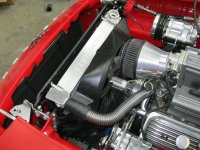
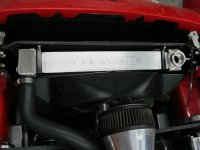
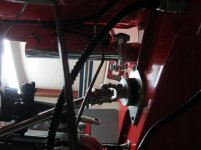
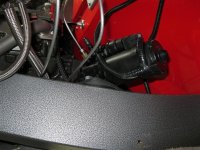
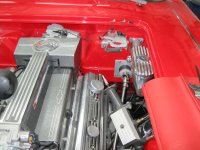
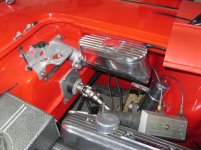
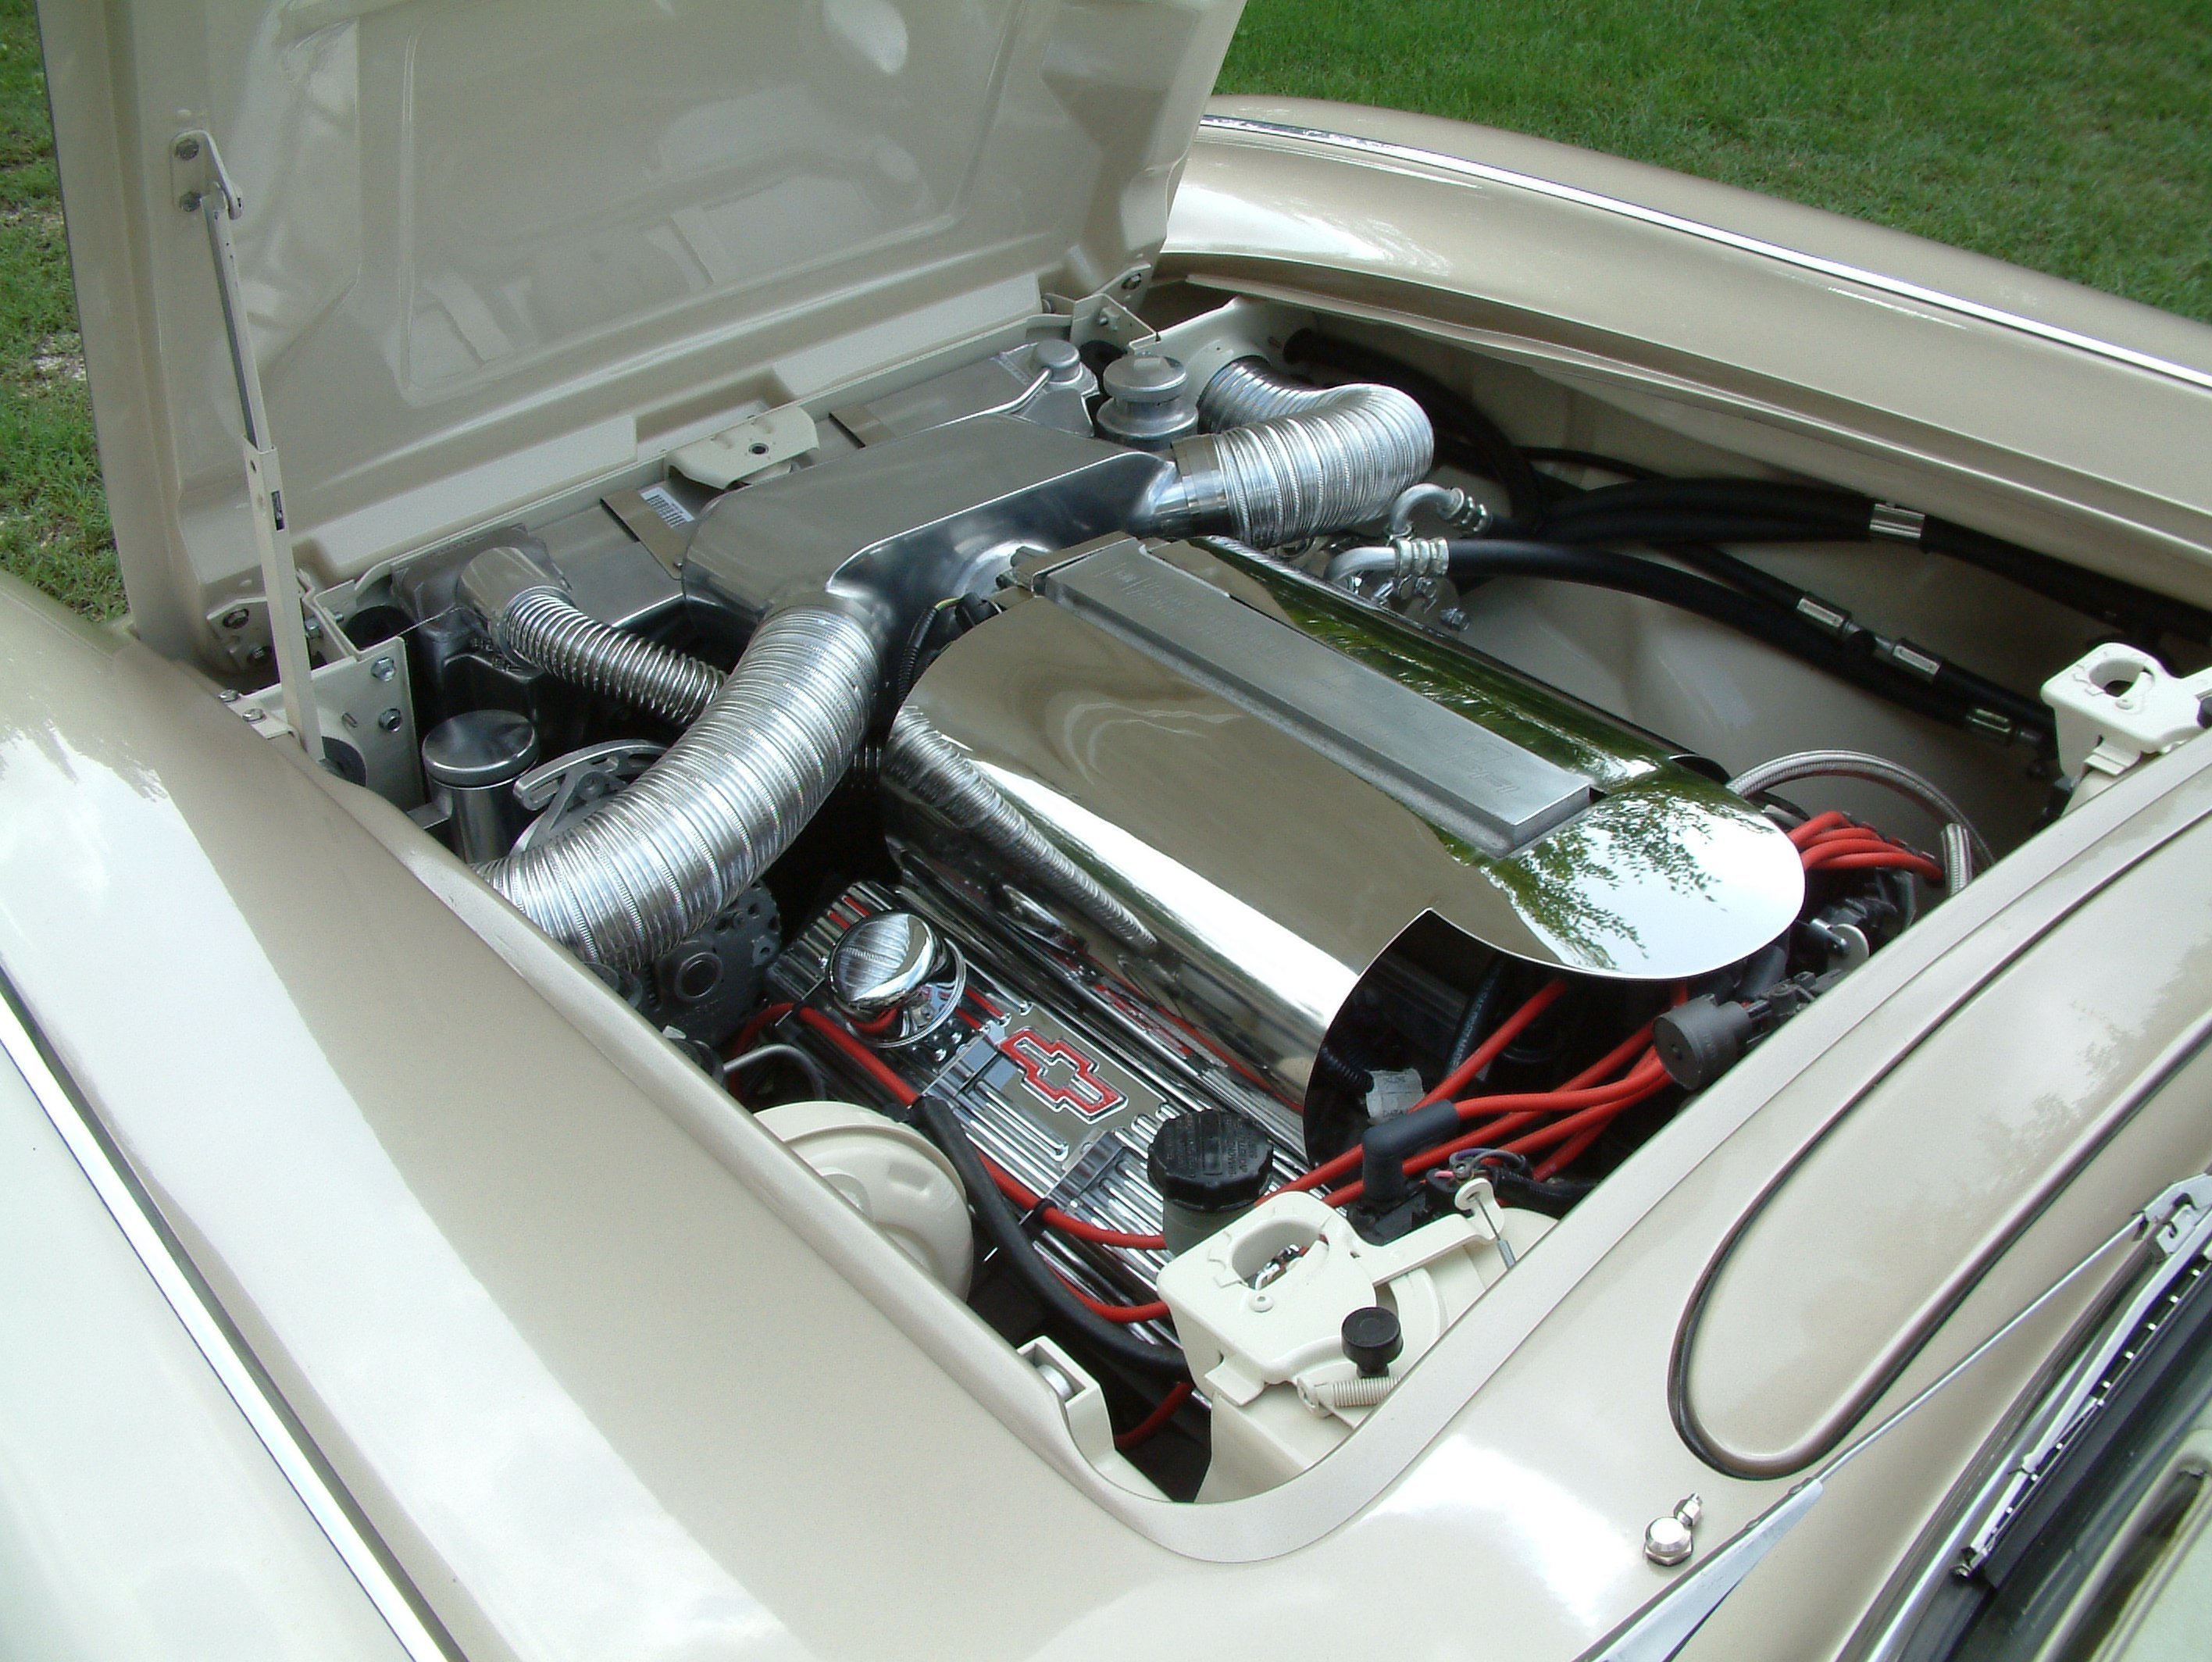
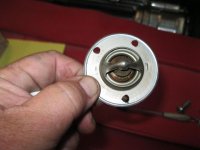
More Pics!
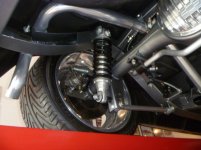
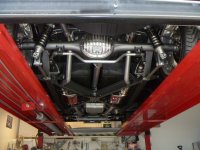
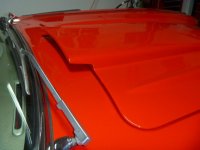
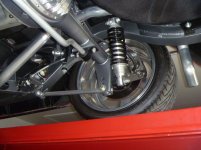
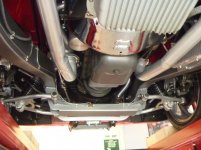
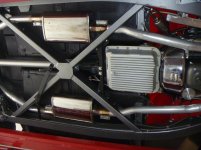
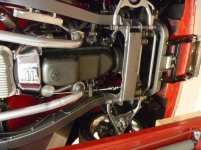
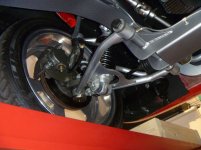
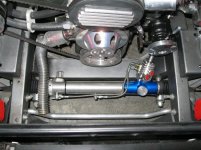
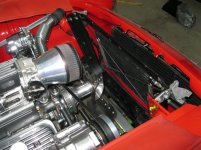
Beautifully done ... I can't stop staring at your car. I have a 62 that I'm in the process of restoring/restomoding. If your not tired of taking picture of your car, could I request a few more") ? Could you take more take pictures underneath facing read end/4 link setup, underneath mid section and underneath front suspension/headers ... and close up on the hood, top view and under view? Thanks for all the great pix you have posted.
? Could you take more take pictures underneath facing read end/4 link setup, underneath mid section and underneath front suspension/headers ... and close up on the hood, top view and under view? Thanks for all the great pix you have posted.
Thanks, Keith
Beautifully done ... I can't stop staring at your car. I have a 62 that I'm in the process of restoring/restomoding. If your not tired of taking picture of your car, could I request a few more
? Could you take more take pictures underneath facing read end/4 link setup, underneath mid section and underneath front suspension/headers ... and close up on the hood, top view and under view? Thanks for all the great pix you have posted.Thanks, Keith